WARN® INDUSTRIES PAGE 4 86531 Rev A0
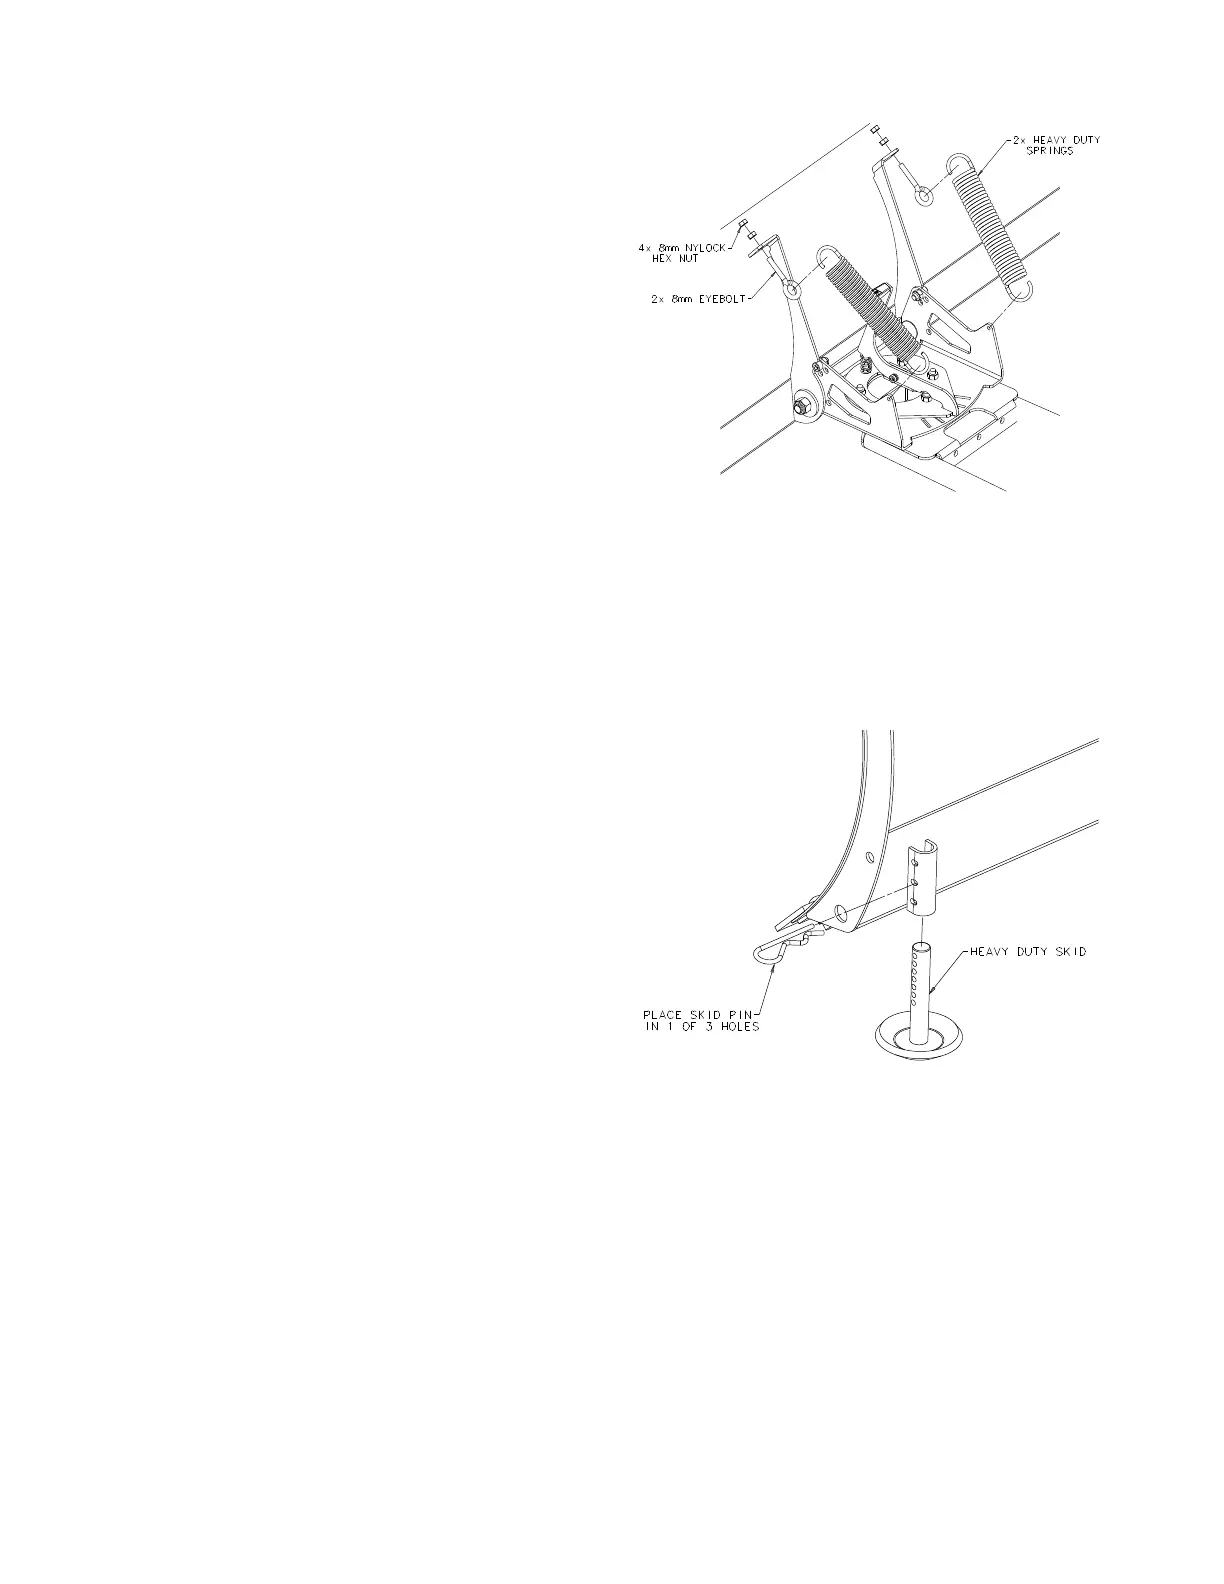
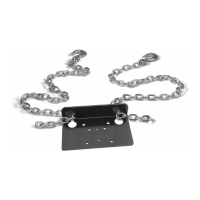
5. Assemble the plow springs as shown in figure 4.
Slide a 8mm dia eyebolt up through the small hole
located on the center bent flange on the plow
blade. Terminate the eyebolt with a 8mm dia nut.
Hook the heavy-duty plow spring onto the rear of
the side flange of the plow base, and to the eyelet
of the eyebolt. Tighten the 8mm nut until there is
tension on the spring (i.e.; it is difficult to remove
the spring from the eyebolt). Once the desired
tension is determined, terminate the eyebolt with a
second 8mm dia nut and tighten it against the first
8mm dia nut. If installed correctly, the nuts
should not be able to rotate off the end of the
eyebolt.
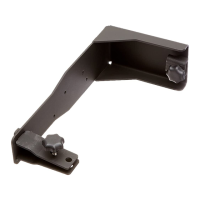
6. Attach the heavy-duty plow skids to the plow
blade. Slide the skid into the skid sleeve toward
the edges of the plow blade. Terminate with a
skid pin by running the pin through one of the
three skid sleeve holes and through the desired
skid hole. The skid height can be adjusted in
5/32” increments by placing the skid pin through
different holes in the skid sleeve. Be sure to lock
the skid pin when completed to prevent losing the
pin and skid during plowing.
NOTE: Set the skids higher than the edge of the plow
blade for gravel and decorative surfaces. Set
the skids at plow edge level for pavement and
concrete surfaces. Failure to use the skids
can result in scratches to the roadway surface
and reduced wear bar life.
Installation is now complete, please proceed to the
next section.
Figure 4 Assemble Plow Springs
Figure 5 Assemble Heavy Duty Skids