WARN® INDUSTRIES PAGE 19 72171 Rev A0
V. Calibration
1. Set up the plow support and blade on level solid
ground. Operate the winch to extend hook and
cable out approximately three feet. Drape
extended hook and cable over bumper tube. Do
not hook to vehicle bumper.
2. Load the vehicle and set the vehicle settings as
you would during plowing.
3. Drive the vehicle up to the plow support and align
the receivers on the plow mount to the receivers
on the plow support. See Figure 39. Stop just
before the plow support receivers enter the mount
receivers.
4. Turn off the vehicle and set the parking brake.
Walk around to the front to inspect for receiver
alignment.
5. Check to see if the bottom edge of the plow
support receiver is at the same approximate
height as the bottom surface of the plow mount,
that is they are aligned properly vertically. If they
are at various heights, follow the steps below:
Bottom edge of support receiver is HIGHER than the
bottom surface of the plow mount:
• Check that the tires have proper air pressure.
• If adjustable, adjust the shock settings to raise the
vehicle.
• If the tire pressure is correct, and the shocks are
raised to there highest setting, then lower the plow
support by removing the detent pins, lowering the
plow support by one notch, and reinserting the
detent pins in a different location.
Bottom edge of support receiver is LOWER than the
bottom surface of the plow:
• Check to make sure that the vehicle is loaded as
it would during plowing and have someone sit in
the driver seat.
• If the vehicle is properly loaded, then switch the
arm and arm stop settings from position #1 to
position #2 as described earlier in this document.
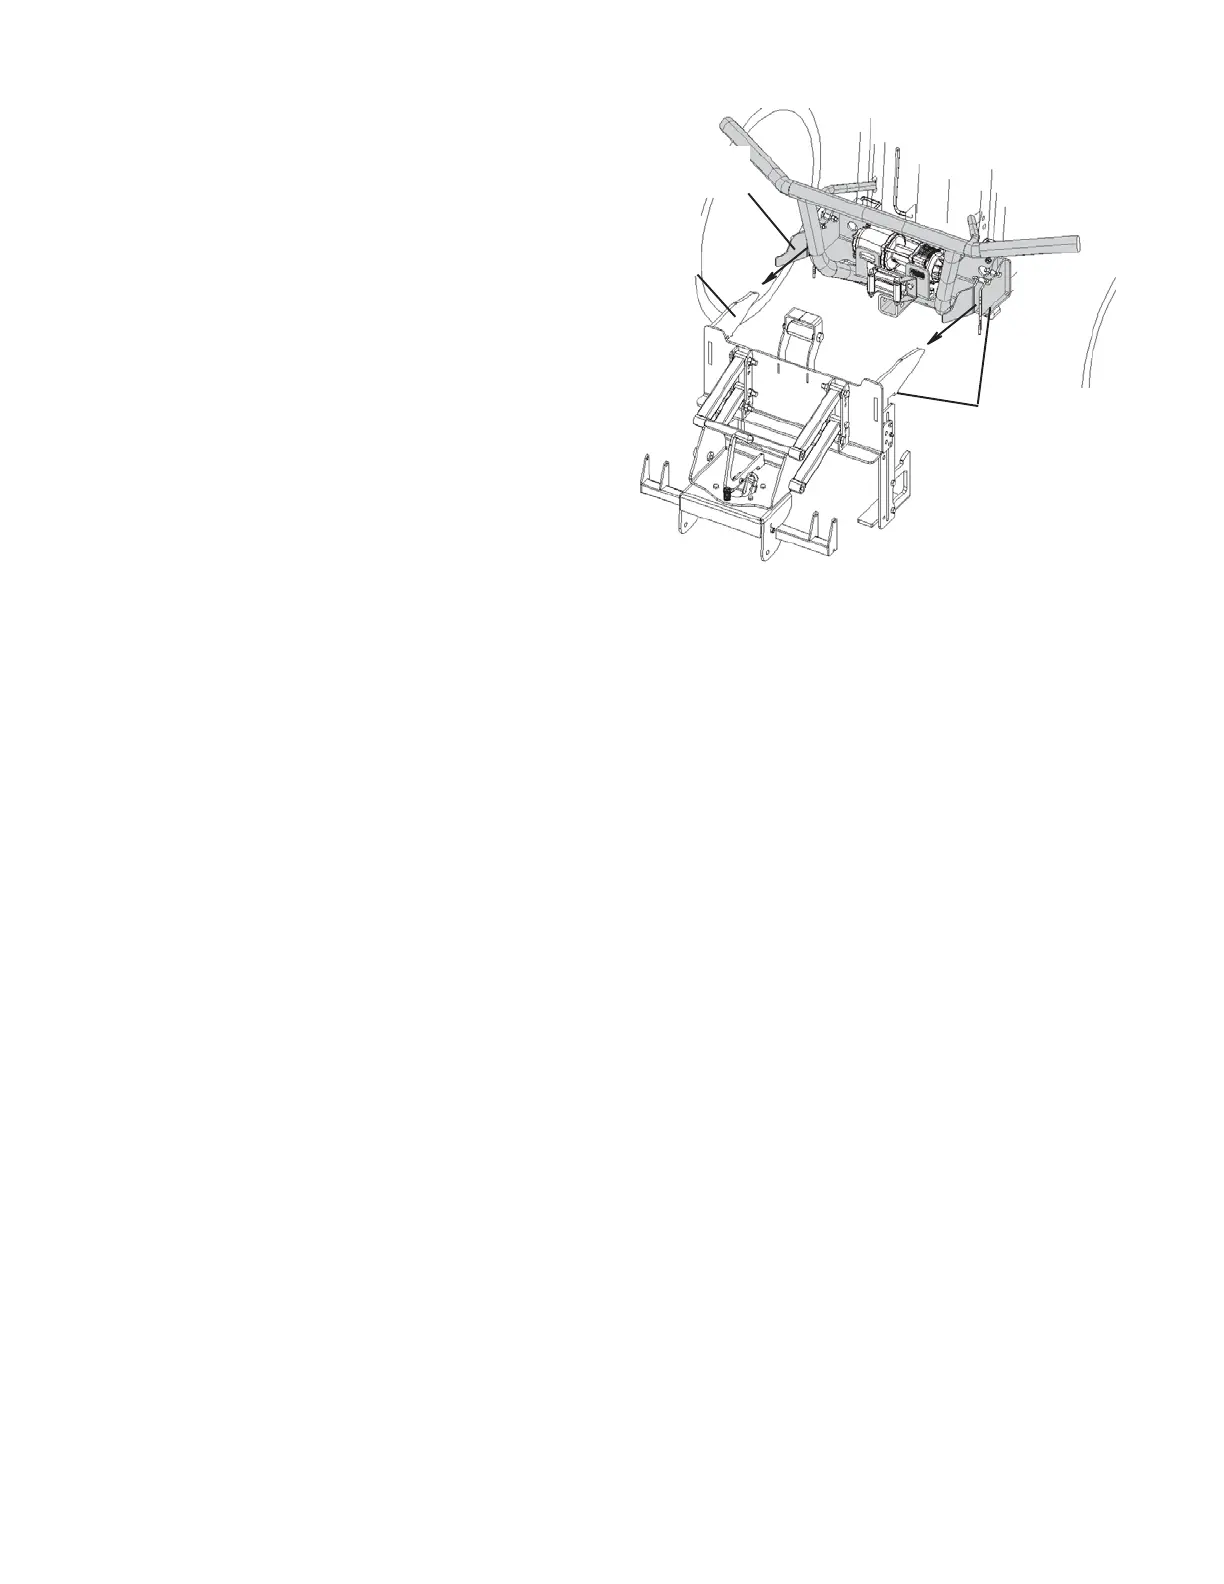
Figure 39 Align receivers and drive up to plow support
Mount bracket
receivers
Plow
support
receivers
Bottom edge and
bottom surface
should roughly be
the same height
(blade not shown)