©2016 Warn Industries, Inc. WARN® and the WARN logo are trademarks of Warn Industries Inc. 7 98271A1
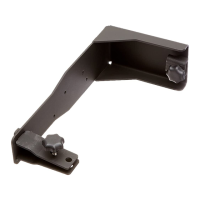
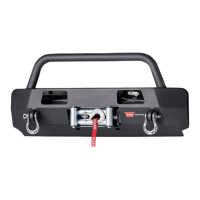
16. With assistance, slide bumper into position.
17. Bumper brackets should sit on the inside of factory bumper
brackets.
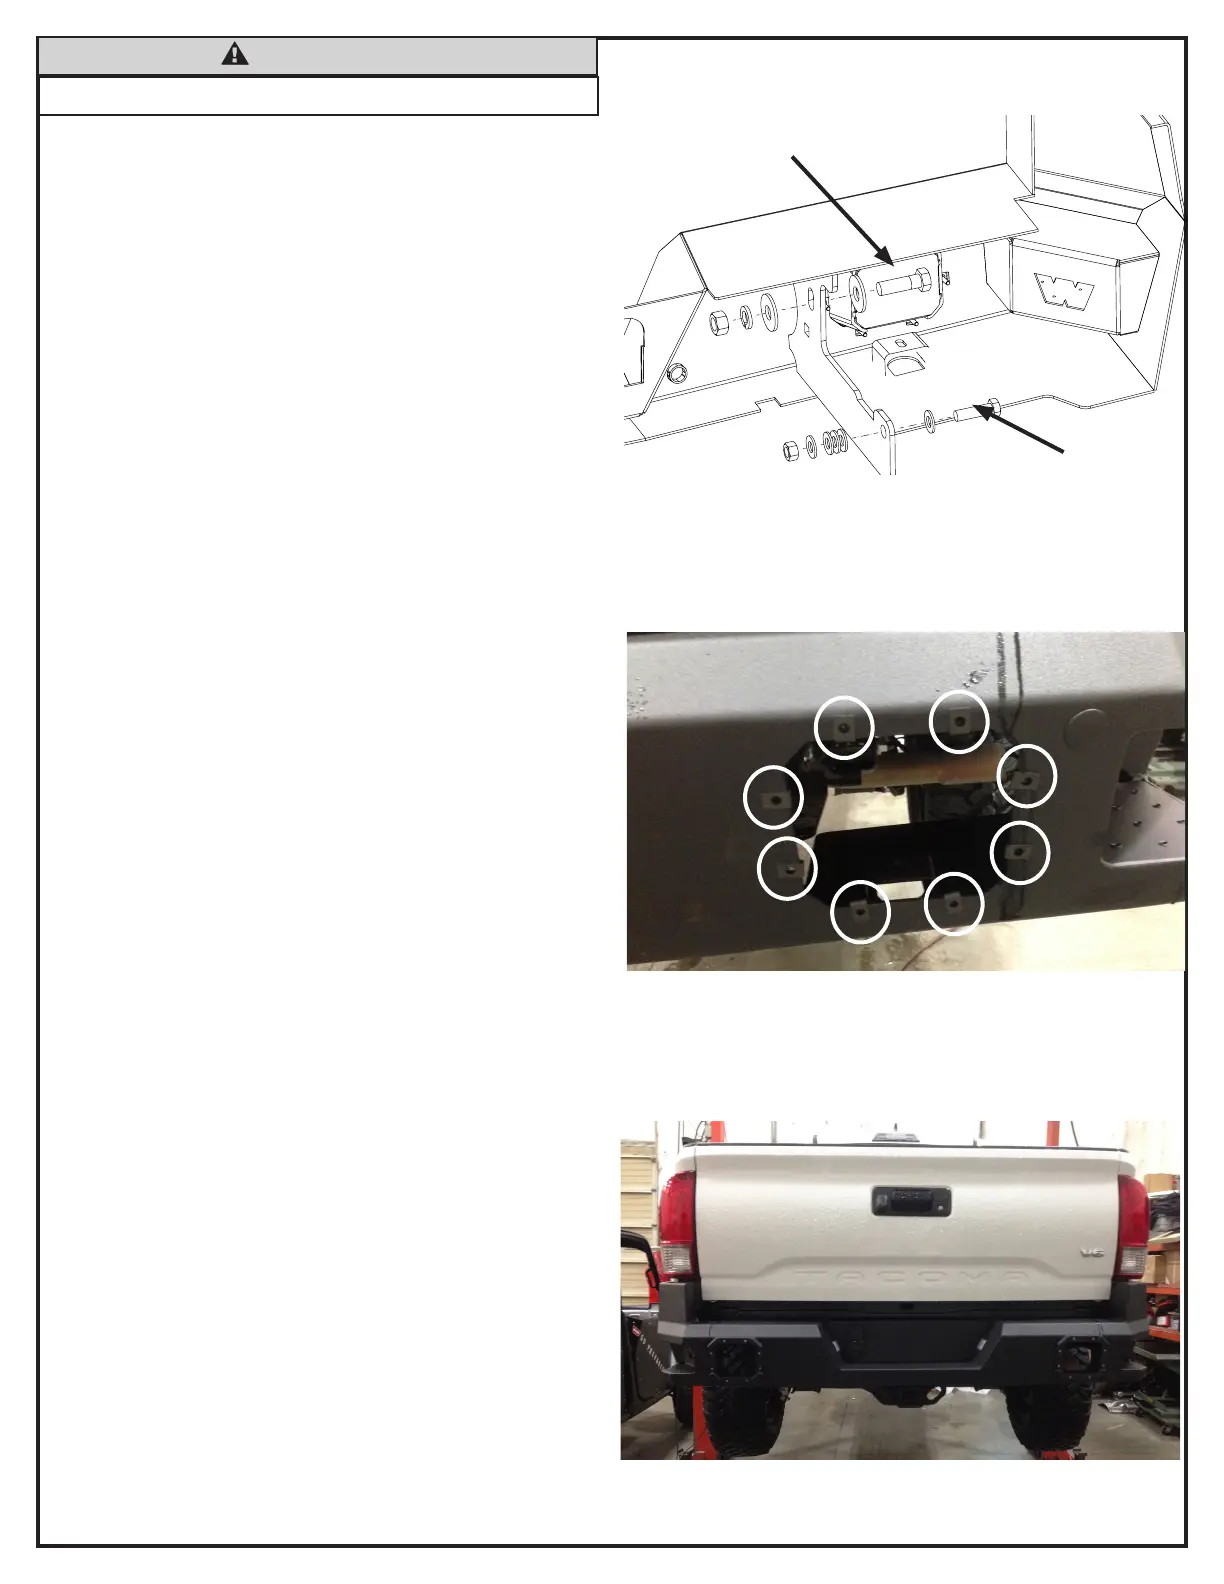
18. Secure forward mounting hole on new bumper with ½ inch
hardware.
19. Secure rear mounting hole on new bumper with 5/8 inch
hardware.
20. Tighten all hardware at this time.
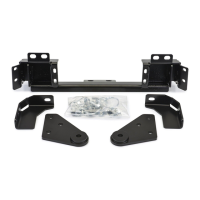
21. Place the nut clips over the light port holes as shown.
NOTE: If you are installing lights to your bumper, rst cut
the back of the bezel out before installing bezel to bumper.
22 Insert light bezel (A2) through bumper light port and align
with nut clips. Secure bezel with ten stainless steel socket
head screws (B9). Review exploded view on page 3.
23. Repeat for other side.
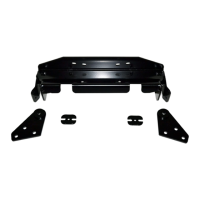
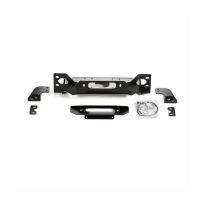
Figure 15
B2, B6, B3, B4
B1, B5, B8
CAUTION
• Always use assistance when moving or lifting heavy parts.
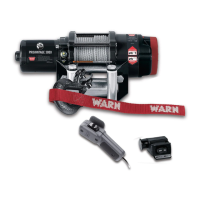
Figure 17
Figure 16