42
Ordinary and extraordinary maintenance
6
© WASP S.r.l.
Fig. 7.2.1 -Cleaning
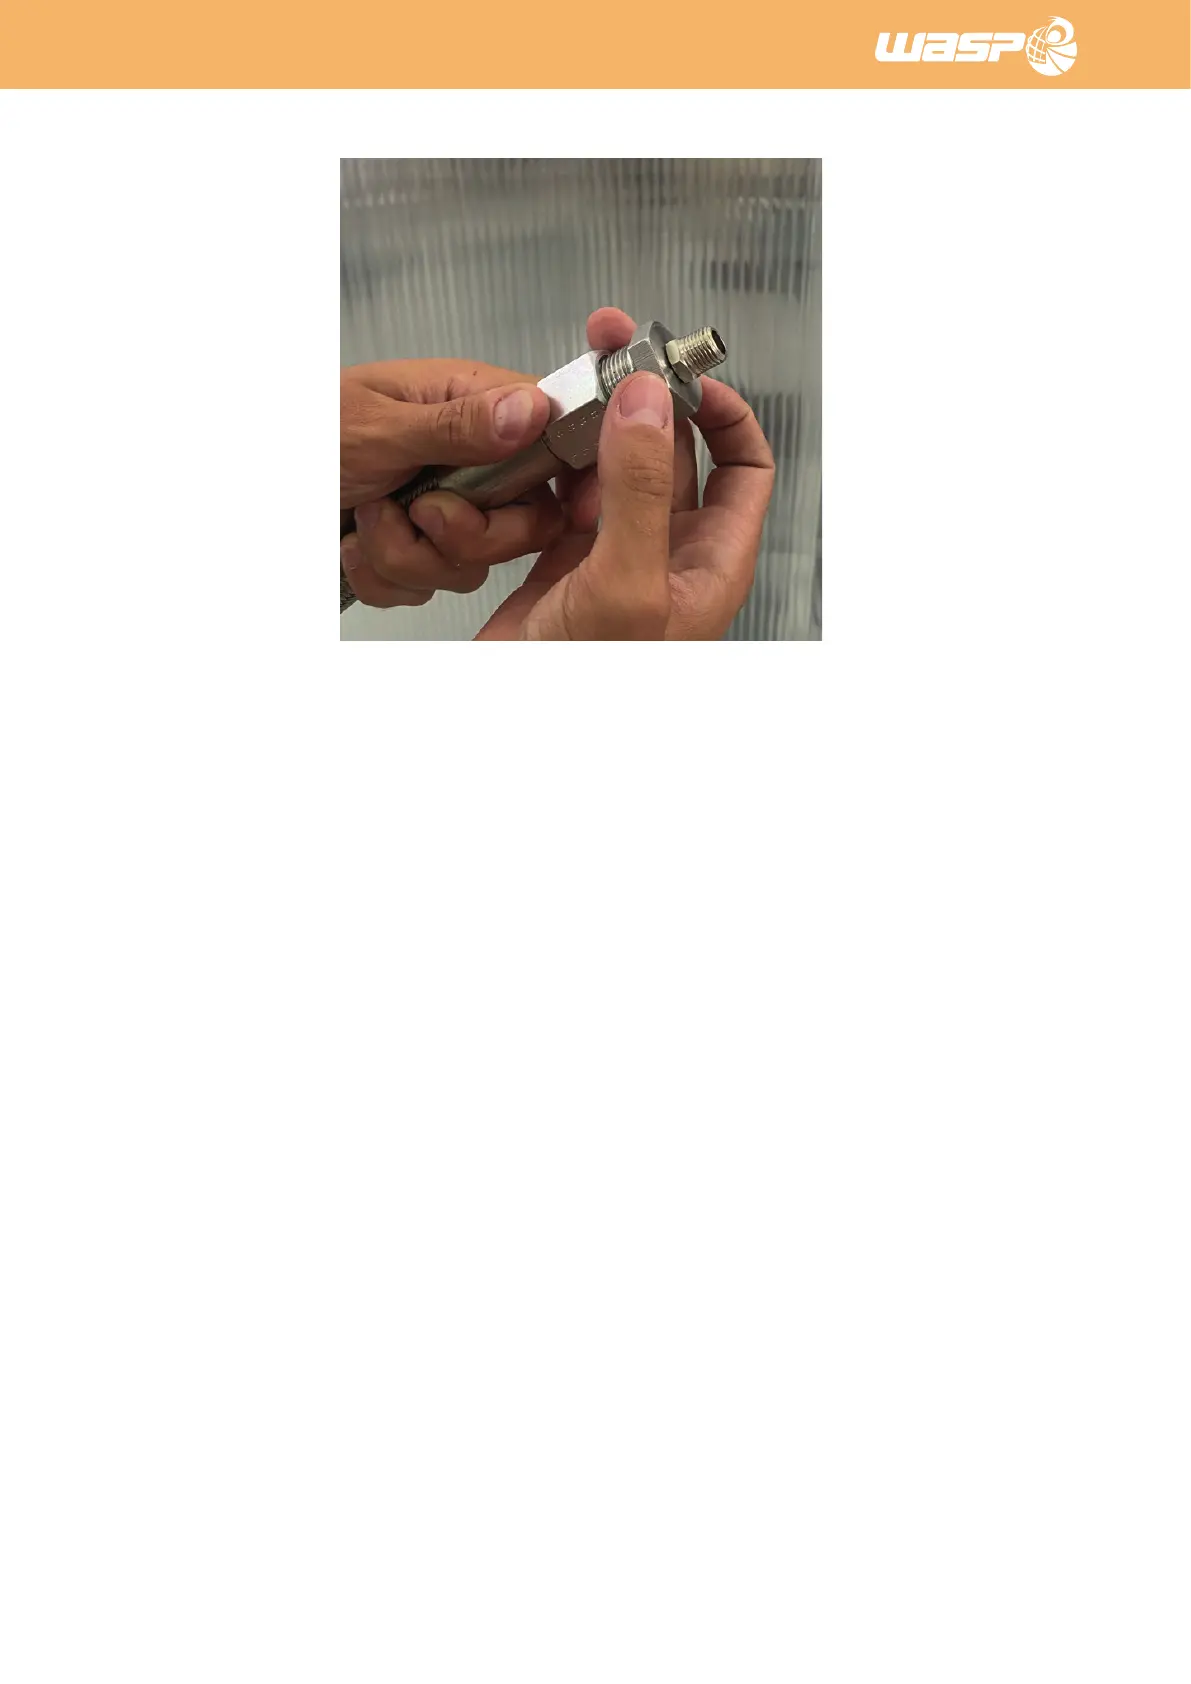
Fig. 7.2.1 o - Thread size reducer to 1/4”
12. Clean the parts as indicated:
Mixer:
Clean the part with water and sponge or brush.
Pressure washer can be used as well.
Lower component (Cone) and pipe:
Clean the part with water and sponge or brush.
Pressure washer can be used as well.
Main component:
Clean the part with water and sponge or brush.
Note: pay attention to the upper part, especially to the LED, the microswitch and the cable.
Do not use current water on the main part.
Screw:
Clean the part with water and sponge or brush.
Pressure washer can be used as well.
Hose:
1. Connect the Thread size reducer as displayed in Fig. 7.2.1 o
2. Connect the reducer to a water pressure output. (Do not exceed the 80 BARS)
3. Provide water until the material is out. Stay away from the hose during the operation.
Note: Cleaning the hose by penetrating with a second part can lead to wear and damage