23833A308
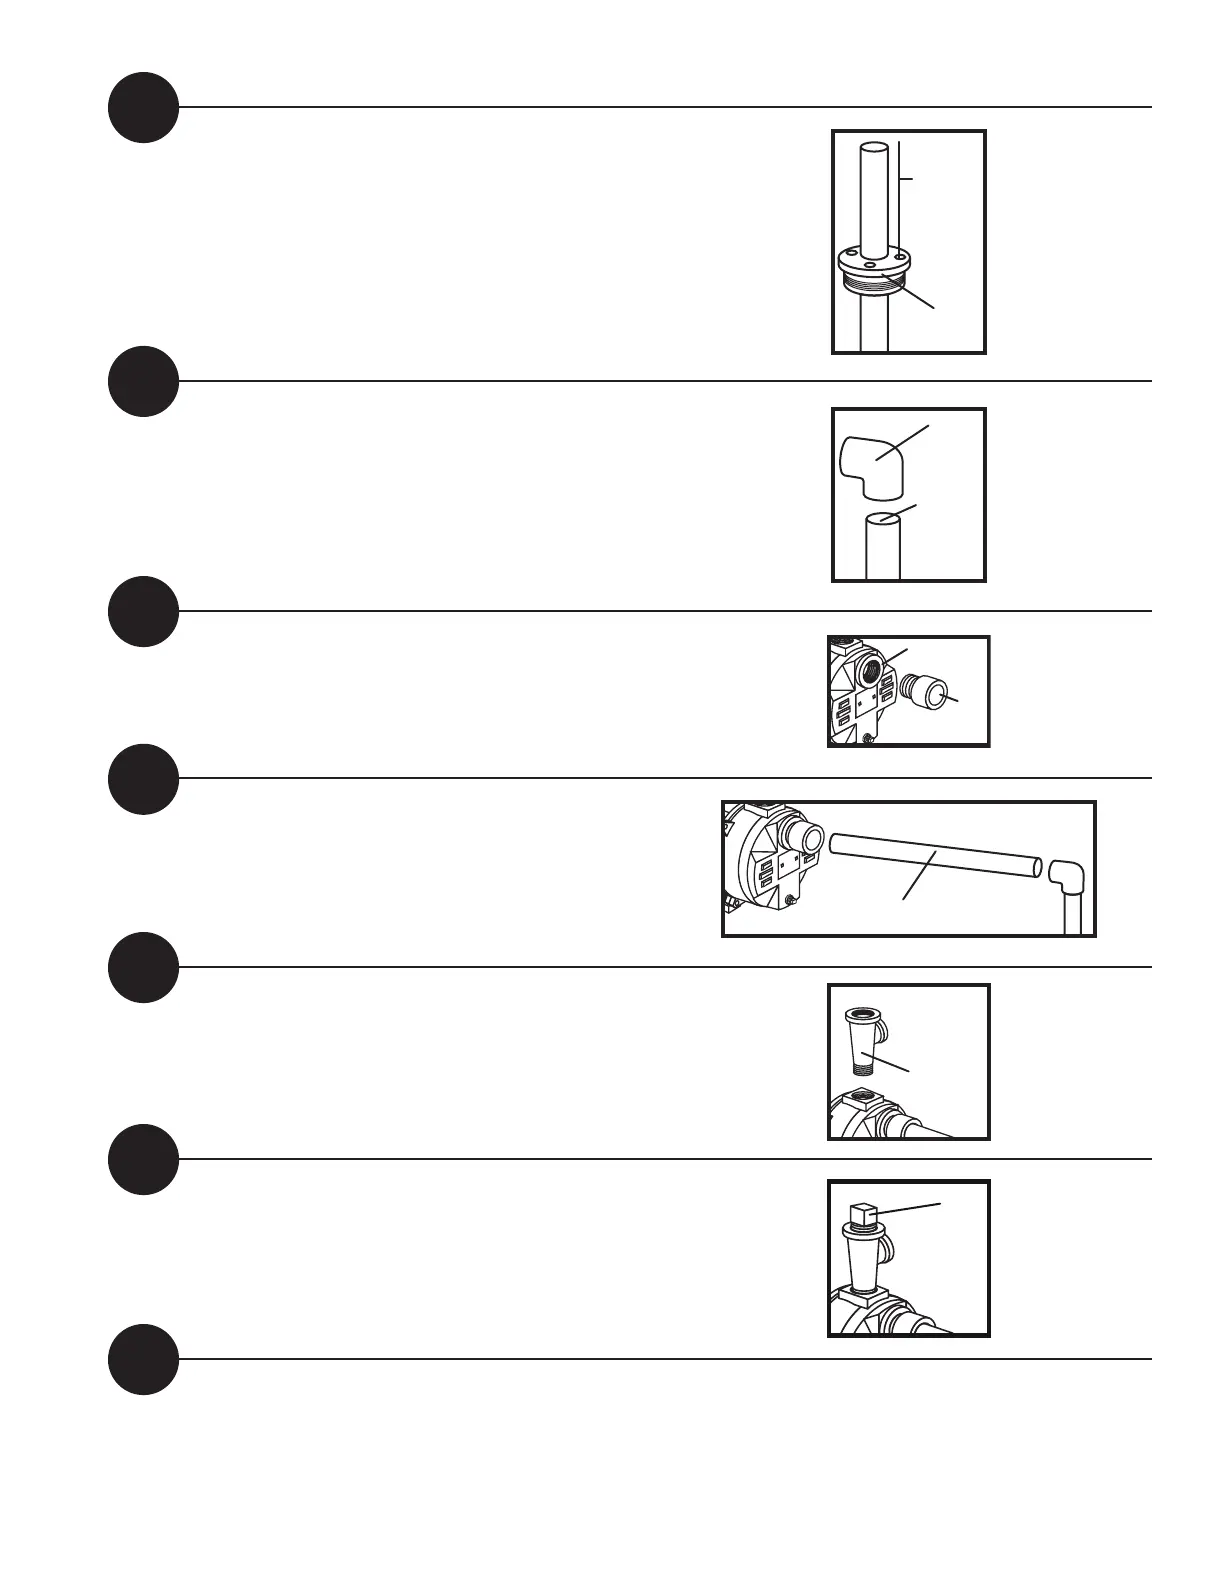
Remove pipe clamp and slide the 1-1/2" well seal over
rigid PVC pipe and onto well casing. Position assembly
so that twelve inches of rigid PVC pipe protrude from
well seal. Alternately turn bolts on well seal clockwise
until rubber gaskets are tight against well casing and
rigid PVC pipe.
STEP
4
1-1/2"
WELL
SEAL
APPROX.
12" OF
PVC PIPE
PROTRUDING
FROM WELL
SEAL
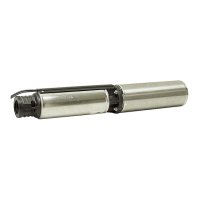
Cement 1-1/2" PVC elbow onto rigid PVC pipe protruding
from well seal. If desired, some length may be cut off
of rigid PVC pipe before cementing elbow. Smooth the
inside of any rigid PVC pipe that has been cut with a
round fi le or knife.
STEP
5
1-1/2"
PVC
ELBOW
TOP OF
PVC PIPE
PROTRUDING
FROM WELL
SEAL
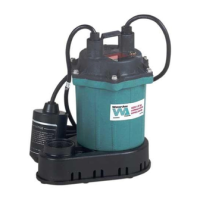
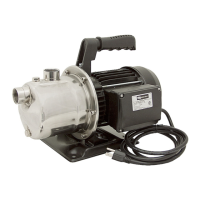
Thread a 1-1/2" male PVC adapter into front of pump.
Hand tighten, then turn 1/4 turn with wrench.
STEP
6
PUMP
1-1/2"
MALE PVC
ADAPTER
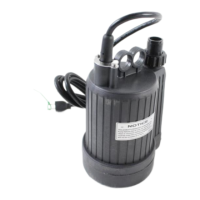
Cement as many sections and couplings of PVC pipe
needed to connect the PVC elbow to the 1-1/2" male PVC
adapter in the front of the pump.
STEP
7
1-1/2" PVC PIPE
Using pipe wrench, thread 1-1/2" Discharge Tee RDT-15 into
top of pump. Remove 1-1/2" plug from top of discharge
tee. Put a garden hose into top of discharge tee. Fill
pipes and pump until water overfl ows from top of
discharge tee. This may take several minutes.
STEP
8
DISCHARGE TEE
RDT-15
Thread the 1-1/2" pipe plug back into the top of
Discharge Tee RDT-15.
STEP
9
1-1/2"
PIPE
PLUG
Complete all electrical connections as specifi ed on
page 1 of the preinstallation instructions.
STEP
10
4