WebastoAirTopInstallationGuide–AT2000STC
5
AirTop2000STCInstallationGuide2020|WebastoThermo&ComfortAustraliaPtyLtd.
2StepbyStepInstallation
1. Aftercheckingwhatisunderthefloortoensureclearanceoftanks,chassisrailsetc.,Drillthe140mmfloor
mountbracketcutout.
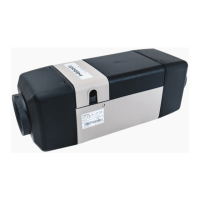
2. Assemblyoftheheater
2.1 Assembletheheatertothebracketwiththerubbergasketusingthe10mmnutsandwasherssuppliedinthe
kit.
(Rubbergasketmustbeappliedtoavoidanyheatdistributionthroughthevehiclefloor)
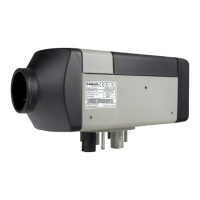
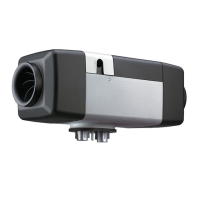
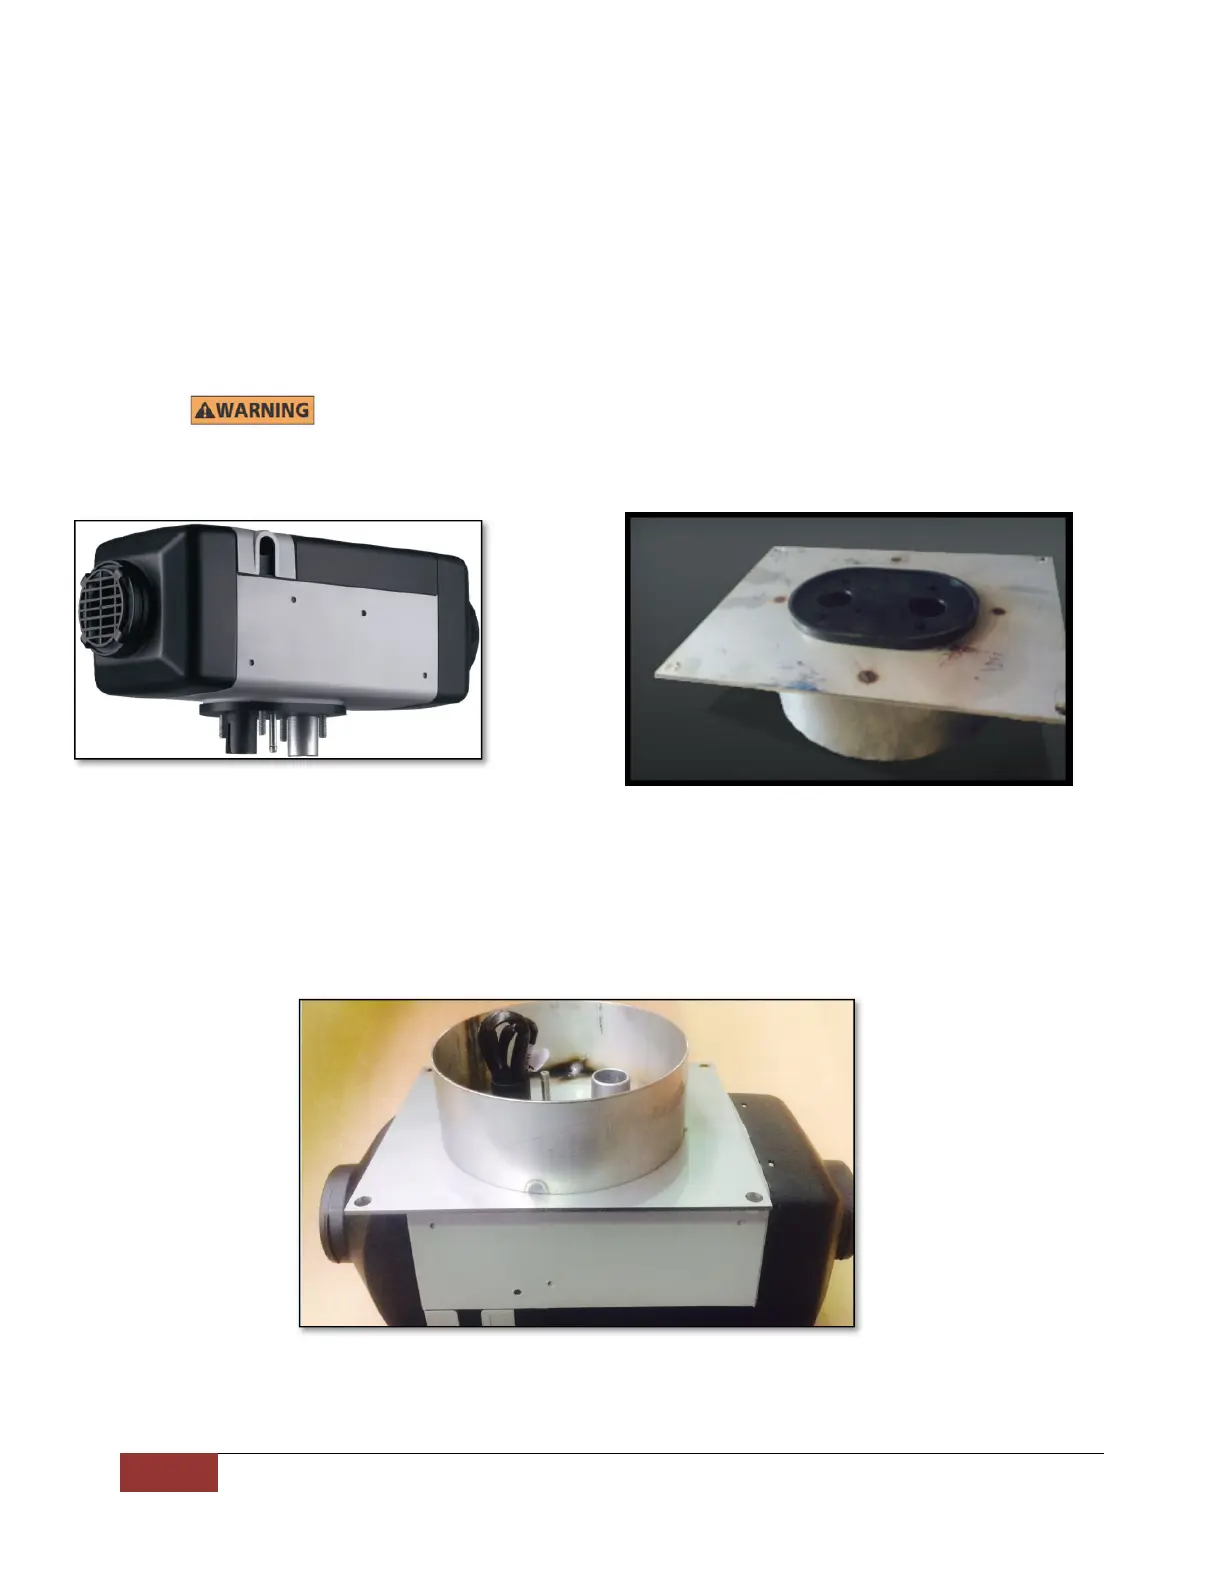
2.2 Placetheheatersothebracketisfacingup(Fig7),yo uwillnownoticeelectricalwiresbundledinthe
combustionairinlet(Fig3)(3),these2blackwiresareforthefuelpump.
Fig6
Fig5
Fi
7
Bracket
acin
u
wardsandnoticethewiresinthecombustionairinlet.
Thesealgasketmustbereplacedeachtimetheheaterisremovedandreinstalled.