DVS/GSE GSE DVS Field Service Manual
09030-78B 38 of 49
Webasto Charging Systems, Inc.
Turn off power to the DVS at the utility disconnect. Lock and tag disconnect. Using an approved
fuse-pulling tool, remove fuses F1, F2 and F3. Check continuity using a multimeter. Replace
any blown fuses with WCSI Part #06790, FUSE,MIDGET,SLO-BLO,0.5AMP,600VA. Look for
signs of improper wiring, damaged components or loose connectors, because these are the most
likely causes of a blown fuse.
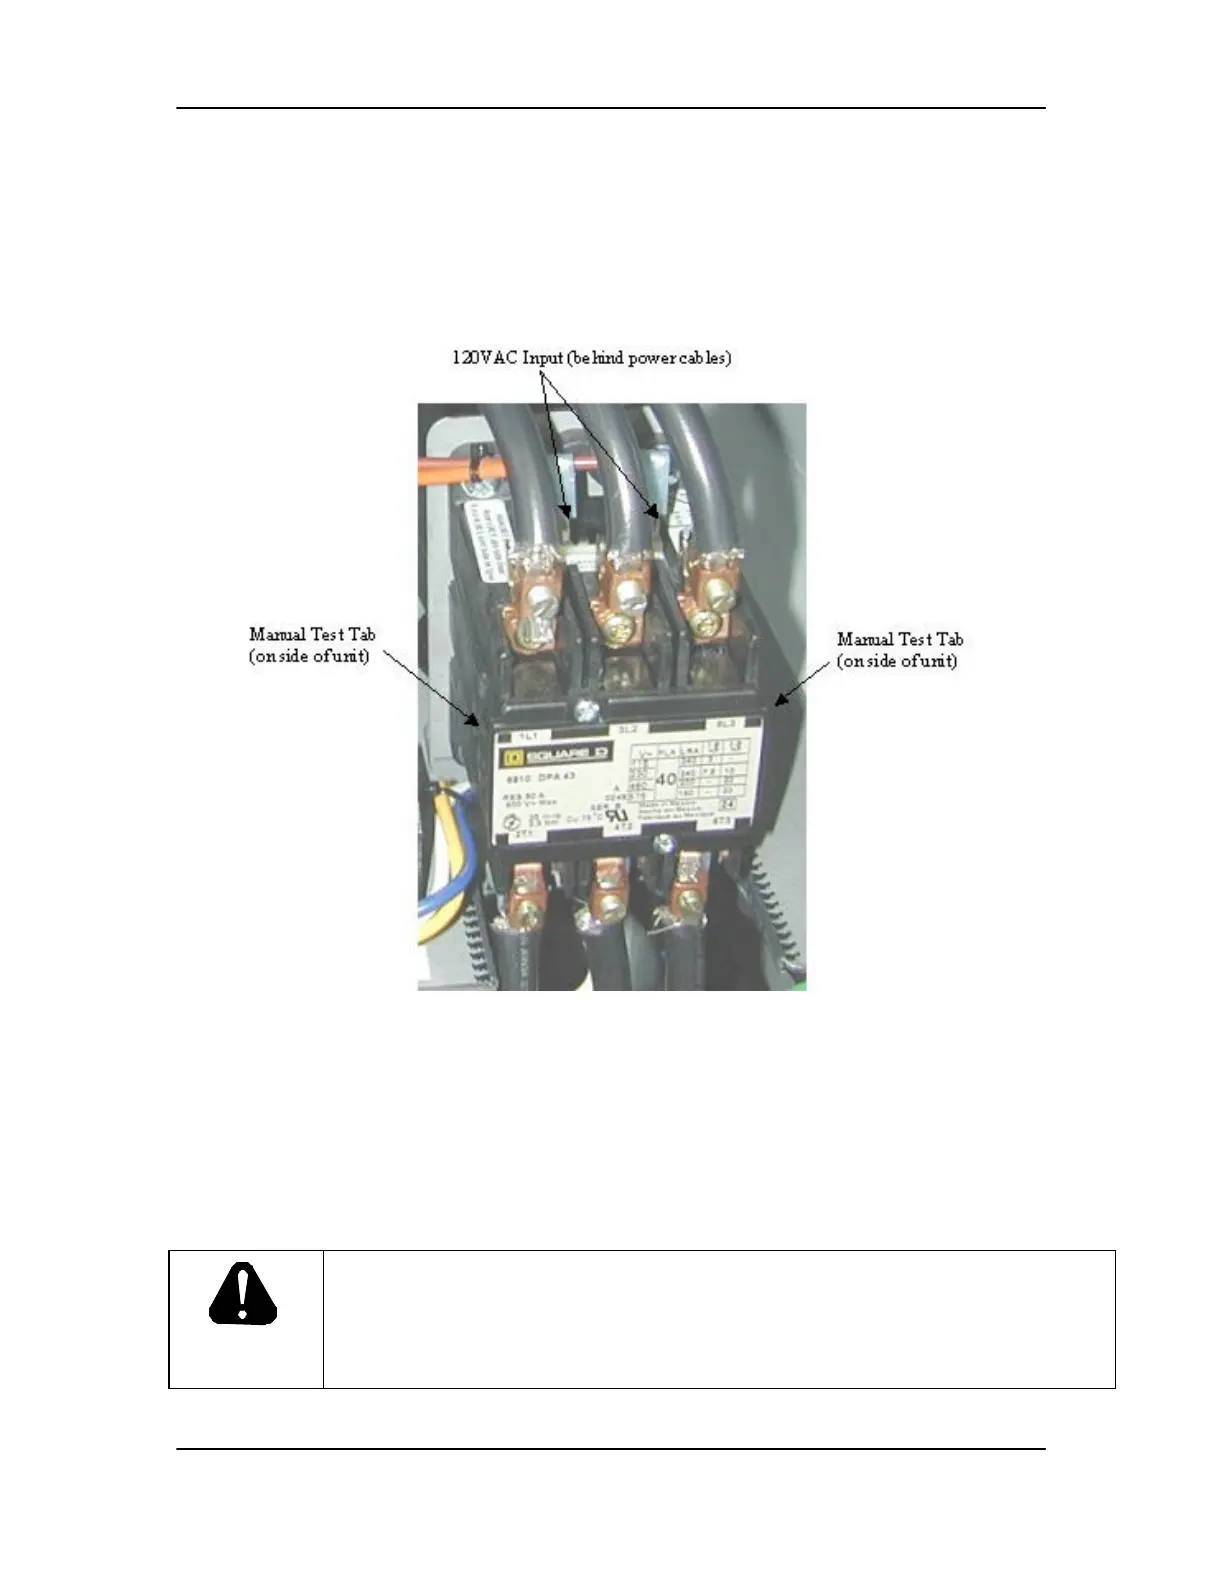
3.4.5 Troubleshooting Main Contactor, K1
Figure 7. Main Contactor, K1
Turn off power to the DVS at the utility disconnect. Lock and tag disconnect. Visually inspect
contactor for signs of damage. Simultaneously push both manual test tabs on the sides of the
contactor K1 back and forth to make sure that the contact has not “welded shut” and there is
nothing blocking proper movement. Check all wiring connections to make sure there are no loose
or faulty connections.
DANGER
USE EXTREME CAUTION WHEN TROUBLESHOOTING DVS
EQUIPMENT WITH ANY PANEL REMOVED. ELECTRIC SHOCK
CAN KILL: Touching live electrical parts can cause fatal shocks or severe
burns. The input power circuitry and internal circuits are live whenever input
power is on.
 Loading...