DVS/GSE GSE DVS Field Service Manual
09030-78B 23 of 49
Webasto Charging Systems, Inc.
3 MAINTENANCE AND REPAIR
DANGER
OBSERVE ALL RECOMMENDED SAFETY PRECAUTIONS
WHEN ACCESSING EQUIPMENT
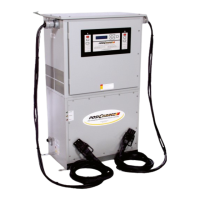
3.1 POWERSTATION CABINET
CAUTION
COVER THE DVS TO KEEP OUT WATER
AND PROLONGED DIRECT SUNLIGHT
3.1.1 Equipment Access
Be sure to use the proper size driver bits when removing or installing screws to avoid stripping
the heads. A driver with a clutch setting just sufficient to drive the screws should be used to
install them. This will avoid stripping the threads or breaking the threaded inserts. Screws
should be started slowly after aligning the holes to avoid cross threading.
3.1.1.1 Access to Front Enclosure
1. Remove 3 screws on left side of the door.
2. Open door to gain access to the:
a. Firmware
b. Door Assembly
c. Cooling Fans
d. Power Supplies (12v and 5v/15v)
e. Power Stage
f. Power Terminals
g. Contactors
h. Thermal Switches
i. Control Board
j. Display Board
k. Current Sensors
3.1.1.2 Access to Top Enclosure
1. Remove the two screws on each side of the lid and the three in front.
2. Remove the lid to gain access to the:
a. DC Buss Terminals
b. Output Cable Terminals