

J
Jeremy HansenAug 18, 2025
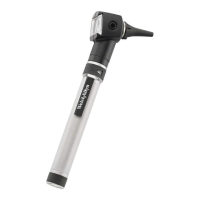
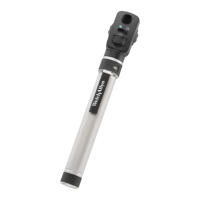
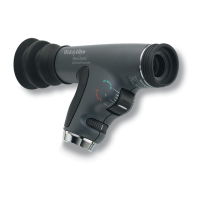
How to fix Welch Allyn PanOptic 118 with no light output?
- MMr. Matthew Johnson DDSAug 18, 2025
If your Welch Allyn Medical Equipment has no light output, there are several potential causes: * The aperture dial may be in-between positions. Try rotating the aperture dial. * The lamp may be burned out. Replace the lamp using Welch Allyn part number 03800. * The wrong lamp, an incorrect Welch Allyn lamp, or a non-Welch Allyn lamp may be installed. Replace the lamp using Welch Allyn part number 03800. * The battery handle may be completely discharged. Charge the handle, check the battery, and/or the charger.