OPERATION
12
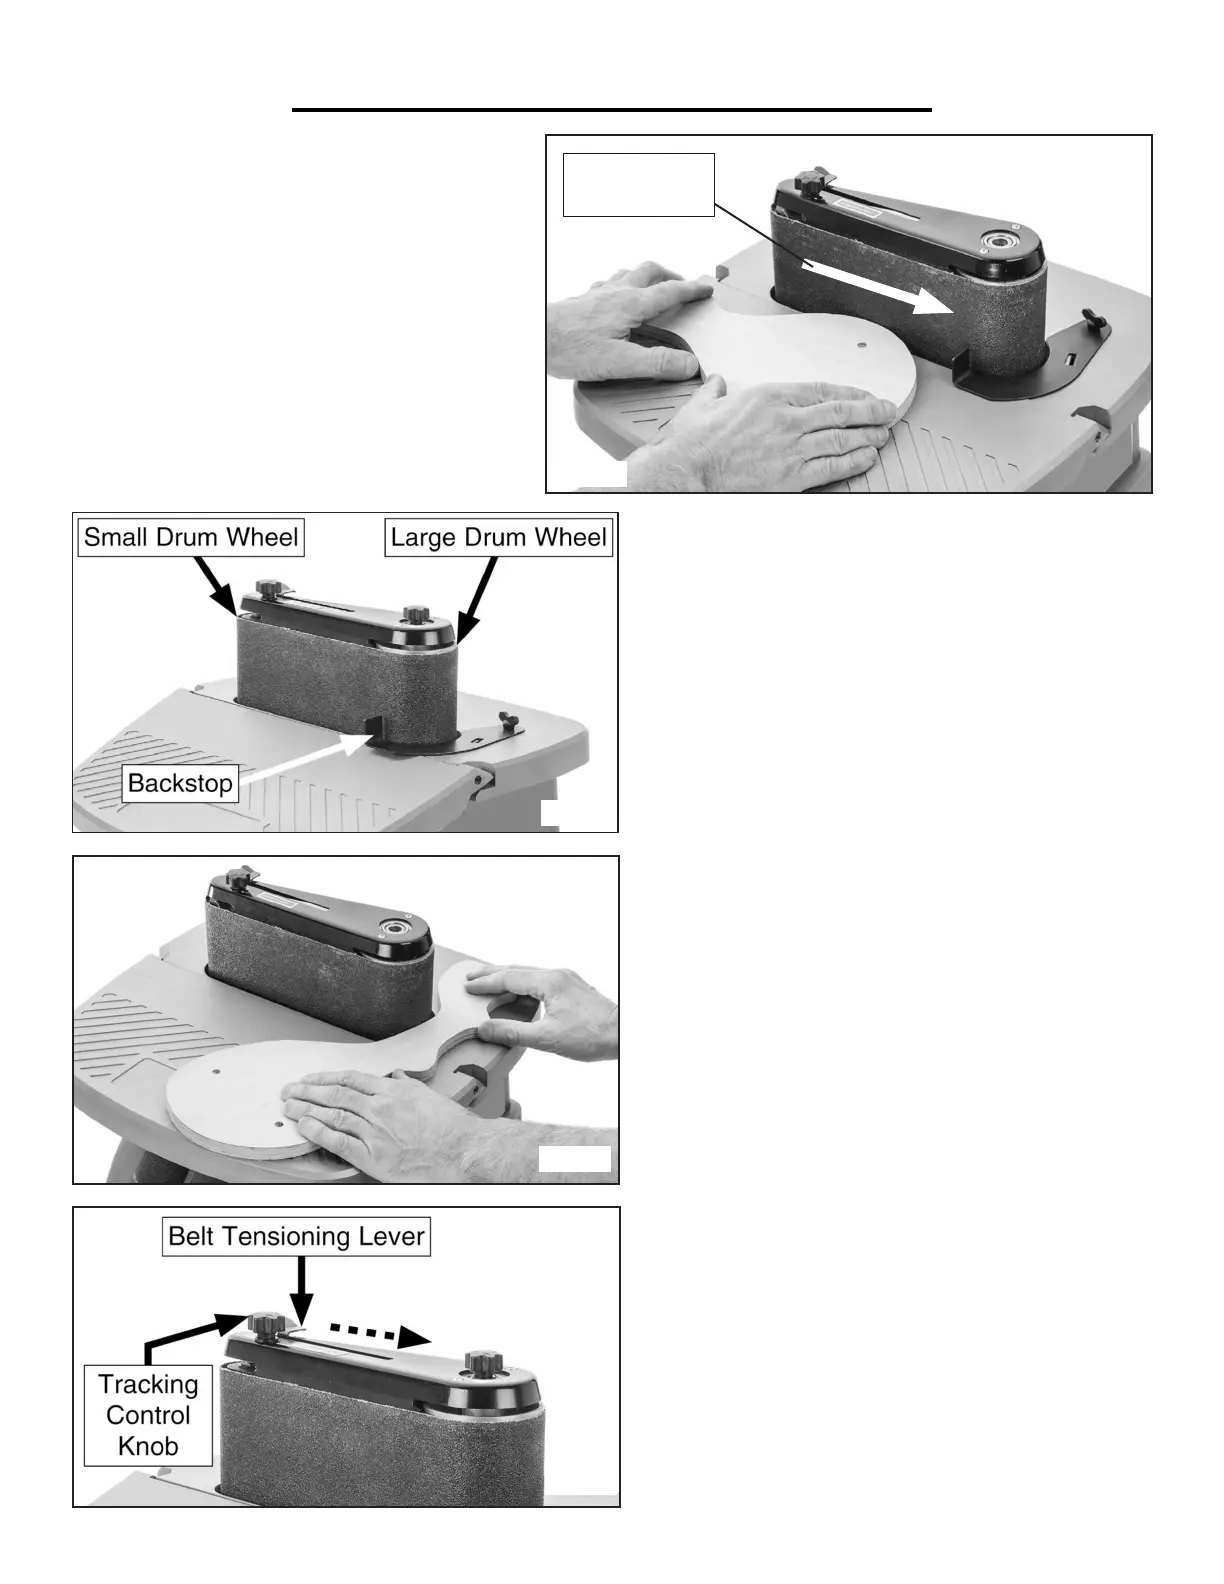
BELT SANDING OUTSIDE CURVES
1. Turn sander ON and allow it to reach full
speed before applying a load.
2. Using both hands, slowly guide the workpiece
against the sanding belt. Maintain downward
pressure on the workpiece against the table,
gently working it along the sanding belt until the
desired curve has been created (Fig. J).
3. When finished, turn the sander OFF.
Fig. J
BELT SANDING INSIDE CURVES
To belt sand any inside curves, use the rounded sur-
face of the large or the small sanding drum wheel. Re-
moving the workstop may be required in order to do
so. Make sure to unplug the sander when making any
adjustments.
1. Set table tilt to 0° and remove the work stop.
2. Power on the sander and allow it to reach full speed
before applying a workpiece.
3. Using both hands, slowly guide the workpiece
against the drum wheel portion of the sanding belt.
Maintain downward pressure on the workpiece against
the table, gently working it along the sanding belt until
the desired curve has been created (Fig. L).
CHANGING SANDING BELTS
To replace the 4 x 24 inch sanding belt, disconnect
the machine from its power source and slide the belt
tensioning lever (Fig. M) to the right to release the ten-
sion. Remove the sanding belt and put on the grit of
your choice before re-tightening the belt tensioning
lever.
Fig. K
Fig. L
Fig. M
Belt Rotation
Direction

 Loading...