9
OPERATION
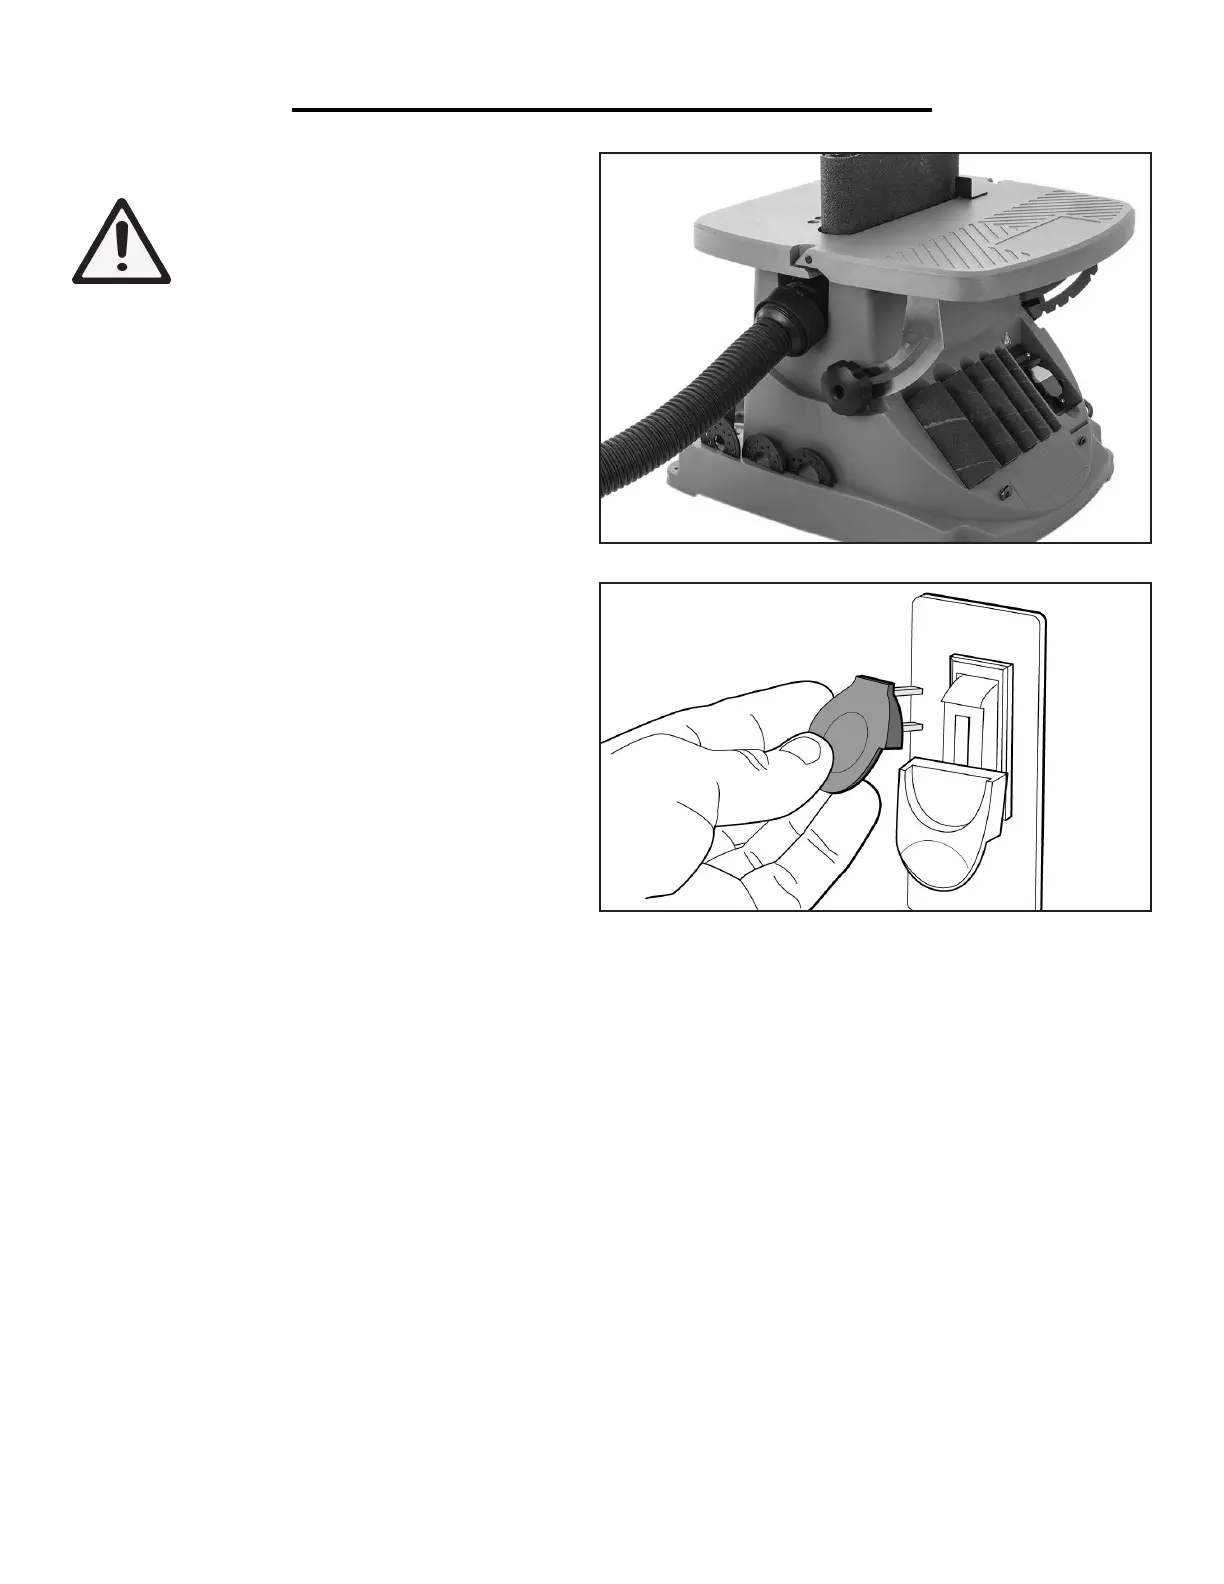
DUST COLLECTION (Fig. D)
WARNING: This machine creates a lot
of dust. Inhaling said dust on a regular
basis can cause permanent respiratory
illness. Minimize your exposure by
wearing a respirator and using a dust col-
lector. If you do not use some method
of dust extraction or collection, the
motor could overheat and fail. Failure to
use some method of dust extraction or
collection will void the warranty.
To connect a dust collection system to the machine:
1. Fit a 1-1/2 in. dust hose over the dust port and
secure in place with a hose clamp as needed.
2. Tug the hose to make sure that puppy is tight. A
tight fit is necessary for proper performance.
Fig. D
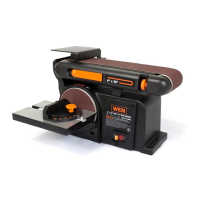
INITIAL TEST RUN
WARNING: This machine creates a lot of dust. In-
haling said dust on a regular basis can cause perma-
nent respiratory illness. Minimize your exposure by
wearing a respirator and using a dust collector.
Fig. E
Once assembly has been completed, run the machine to ensure proper connection.
1. Clear all setup tools away from the machine.
2. Connect the machine to a power supply.
3. Turn the machine ON to make sure the motor runs correctly. Once verified, turn the machine OFF. The mo-
tor should run smoothly without any unusual problems or noises.
4. Remove the yellow safety tab and try to start the machine (Fig. E). The sander should not power up without this
tab.
Once all of these steps have been checked and completed, the sander is ready for operation. If at any point you
encounter problems or have questions, contact customer service at 1-800-232-1195, M-F 8-5 CST, or email
techsupport@wenproducts.com.