PREPARATION & ADJUSTMENTS
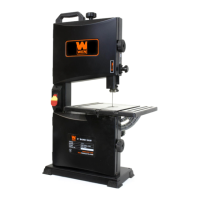
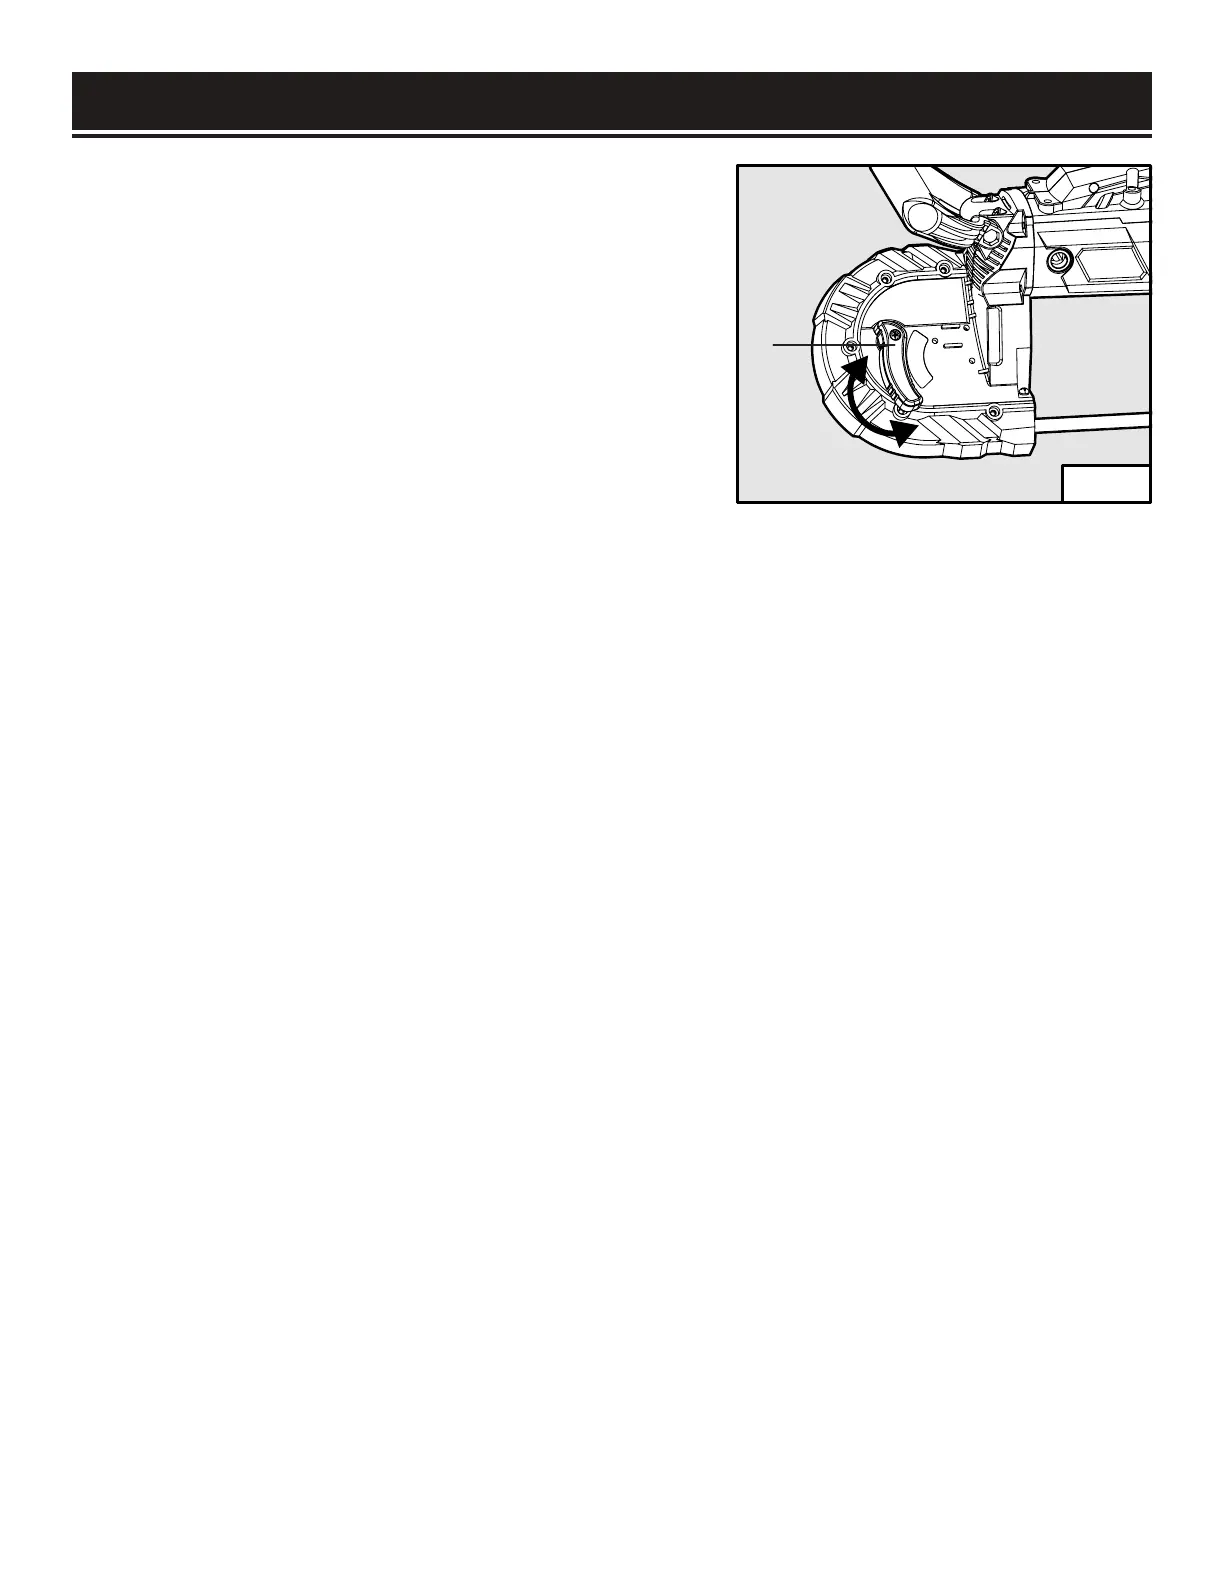
REMOVING THE BLADE (FIG. 4)
1. Make sure the saw is switched off and the power is
disconnected.
2. Turn the tension handle (Fig. 4 - 1) clockwise to release
blade tension.
3. Wearing work gloves and safety goggles, carefully slide
the blade off the top of the guide wheels and remove it
from the guide bearings.
NOTE: If the saw is not being used for a long time, release
tension and remove the saw blade before storage. This will
prolong the life of the blade.
1
Fig. 4
WORK AREA & WORKPIECE SET UP
1. Designate a work area that is clean and well lit. The work area must not allow access by children
or pets to prevent distraction and injury. Do not operate in wet environment or near flammable
materials.
2. Use suitable detectors to find hidden utility lines or call the local utility company for assistance.
Contact with electric lines can lead to fire or electrical shock; damaging a gas line can result in an
explosion; penetrating a water pipe will cause property damage or an electrical shock.
3. Route the power cord along a safe route to reach the work area without creating a tripping hazard
or exposing the power cord to possible damage by the saw. The power cord must reach the work
area with enough extra length to allow free movement while working.
4. Secure loose workpieces using a vise or clamps (not included) to prevent movement while
working. Do not work materials containing asbestos (asbestos is considered carcinogenic). Dust
from material such as paint containing lead, some wood species, minerals and metal may be harmful
(contact with or inhalation of the dust may cause allergic reactions and/or respiratory diseases to the
operator or bystanders). Wear a dust mask and work with a dust extraction device to reduce the risk
of personal injuries from saw dust.
11

 Loading...