OPERATING THE SPINDLE SANDER
1. Make sure that the machine has been securely
mounted, and all accessories have been properly in-
stalled according to the instructions in the "ASSEM-
BLY & ADJUSTMENTS" section.
2. Plug in and turn ON the sander. Let the spindle
reach full speed.
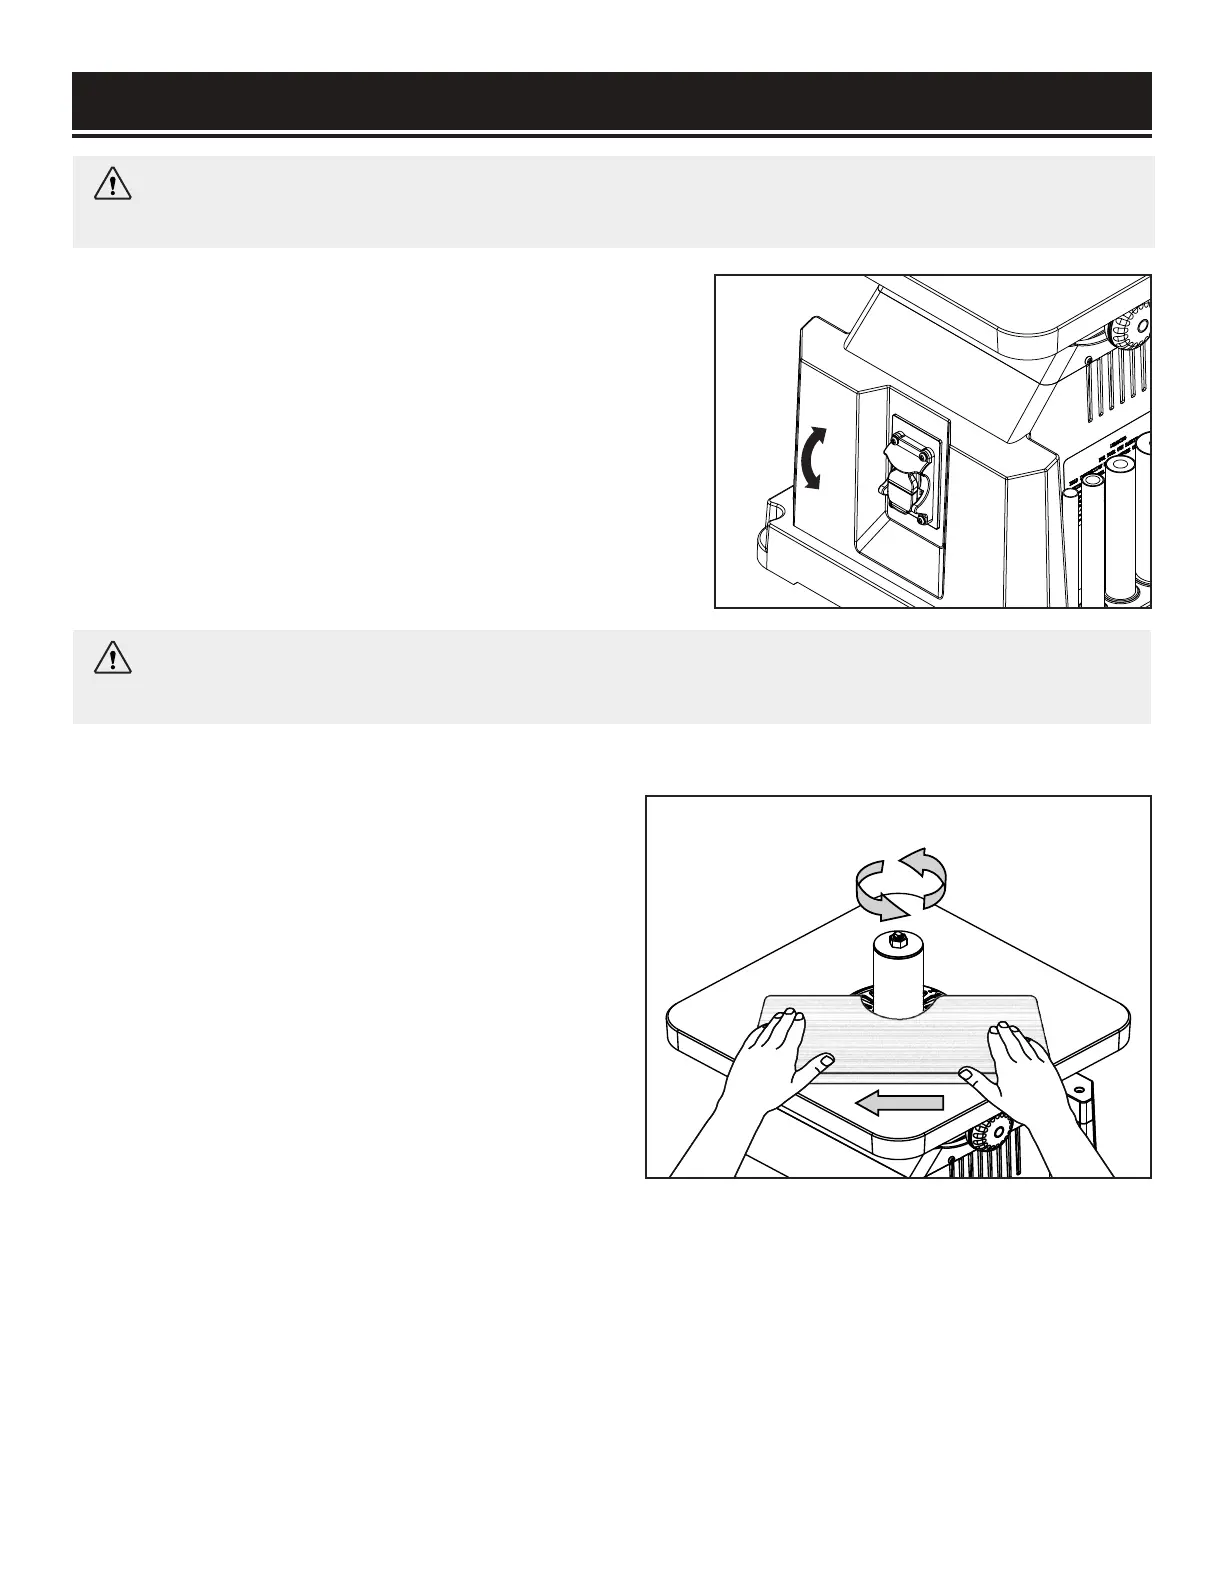
3. Maintain a firm grip with both hands on the work-
piece for maximum control. Slowly guide the work-
piece against the rotation of the spindle (Fig. 7).
NOTE: The spindle rotates in a counterclockwise
direction. Guide the workpiece from the right to left.
OPERATION
ON/OFF SWITCH WITH SAFETY KEY
The keyed ON/OFF switch (Fig. 6) is intended to prevent unau-
thorized use of the sander.
1. To turn the sander ON, insert the safety key into the key
slot in the center of the switch. Lift the switch up to turn ON
the sander.
2. To turn the sander OFF, push switch down. Remove the
safety key when the sander has come to a complete stop by
gently pulling the key out.
If you guide the workpiece in the opposite direction, the
forces of the spinning sanding sleeve will tend to throw or bounce the workpiece away from the sanding
sleeve, possibly resulting in injuries.
4. Maintain downward pressure on the workpiece against the table, gently working it along the sanding
sleeve until the desired curve has been created. Do not force the workpiece against the sanding sleeve.
5. When you are finished, turn OFF the sander and wait for the spindle to come to a complete stop.
6. Remove the safety key and unplug the machine from the outlet. Follow the maintenance instructions on the
next page to clean and maintain your sander.
WARNING: Remove the safety key whenever the sander is not in use. Place the key in a safe
place and out of the reach of children.
Fig. 6
Fig. 7
14
ON
OFF
WARNING: Do not plug in or turn on the tool until it is fully assembled according on the instruc-
tions. Failure to follow the safety instructions may result in serious personal injury.

 Loading...