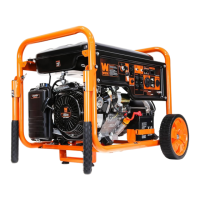
ASSEMBLY & ADJUSTMENTS
WARNING! Do not plug in or turn on the tool until
it is fully assembled according to the instructions. Read
through and become familiarized with the following pro-
cedures of handling and adjusting your tool. Failure to
follow the safety instructions may result in serious per-
sonal injury.
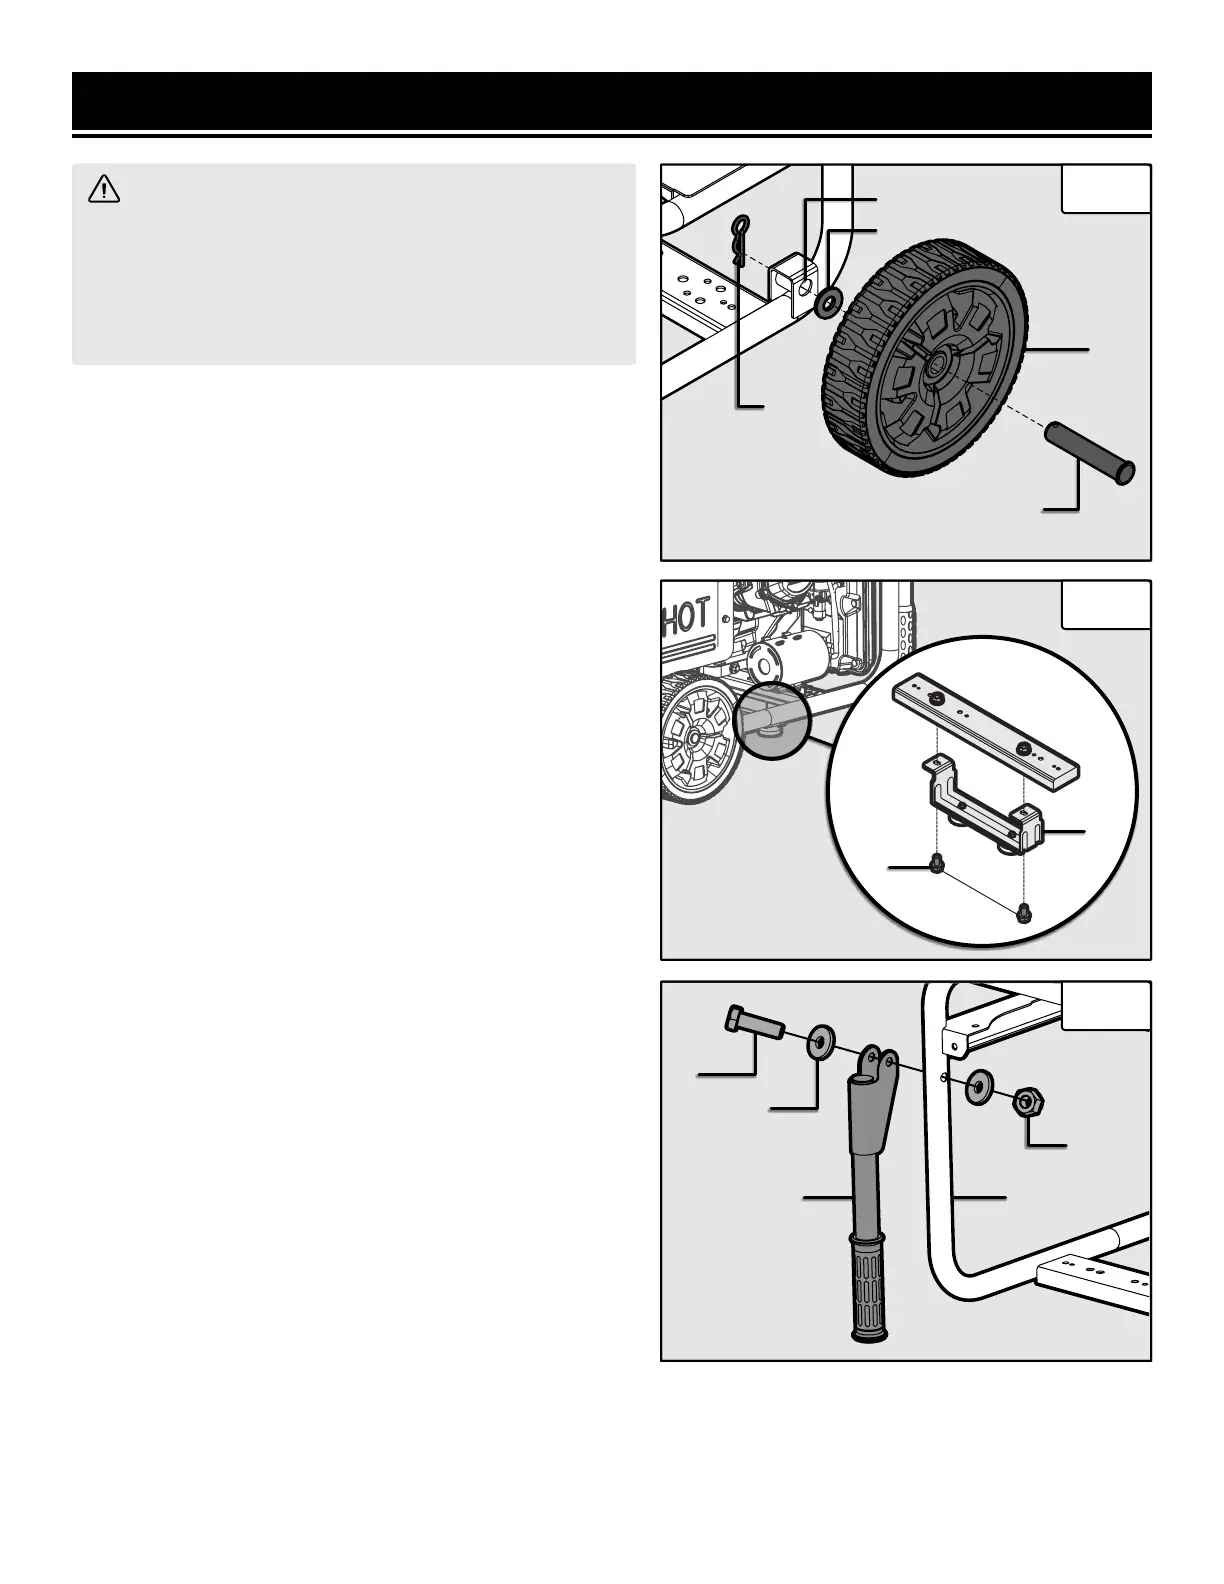
INSTALLING THE WHEELS
1. Prepare a set of blocks on level ground (a 4×4 block of
wood works well). Place the generator on the blocks.
2. Place the wheel axle pin (Fig. 1 - 1) through the wheel
(Fig. 1- 2), washer (Fig. 1 - 3), and mounting lug hole (Fig.
1 - 4). Secure it with the R-clip (Fig. 1 - 5). Repeat with the
other wheel.
INSTALLING THE SUPPORT BRACKET
1. Line up the support bracket with the corresponding
holes on the bottom of the generator.
2. Secure the support bracket (Fig. 2 - 1) to the generator
using two M6 nuts (Fig. 2 - 2).
INSTALLING THE HANDLES
1. Place the M8x40 bolt (Fig. 3 - 1) through one washer
(Fig. 3 - 2), the handle (Fig. 3 - 3), the generator frame (Fig.
3 - 4), and the other washer. Secure it with the M8 nut (Fig.
3 - 5). Repeat with the other handle.
After completing the above assembly,
the generator is ready for preparation.
Fig. 1
Fig. 2
Fig. 3
12
5
4
2
1
1
2
1
2
3
3 4
5