OPERATION
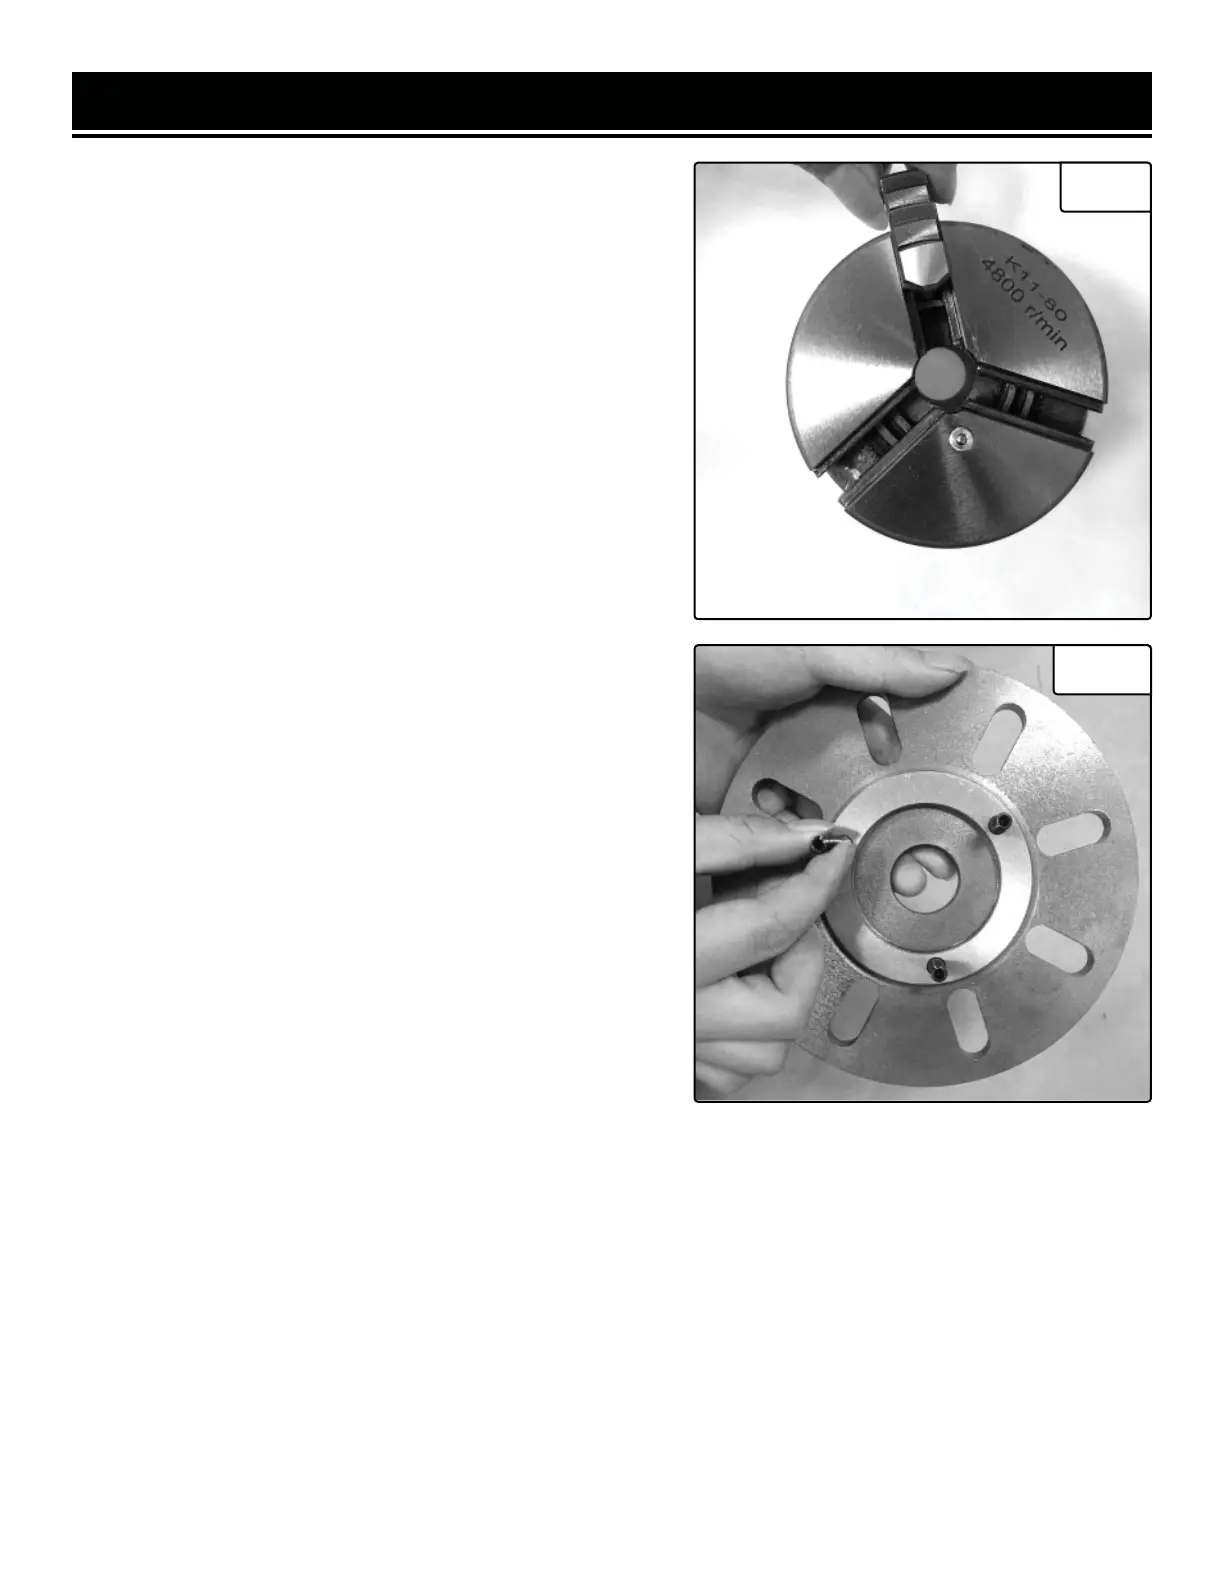
CHANGING THE JAWS IN YOUR CHUCK (FIG. 9)
1. Make sure your lathe is turned off and unplugged.
2. Insert the chuck key into the square hole of the chuck. Turn
the chuck key counterclockwise until all of the jaws come out
of the chuck.
3. Clean out each slot in the chuck making sure all dirt and
debris are removed.
4. Each jaw has a number or letter (1, 2, 3 or A, B, C) that cor-
responds to a number in the slot.
5. Take Jaw #1 and insert the chuck key into the chuck. Turn
the key clockwise while looking directly at the chuck so you can
see inside the slot. You will see the beginning of a lead thread
on the scroll of the chuck pass the opening, heading counter-
clockwise.
6. Insert Jaw #1 into this slot and turn the chuck key until the
thread engages the jaw.
7. Repeat these steps for jaws 2 and 3. Make sure to always
insert the jaws in order.
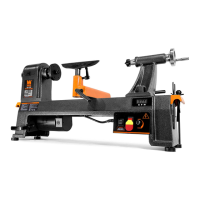
REMOVING A CHUCK OR FACEPLATE (FIG. 10)
1. Turn off and unplug your lathe! It is recommended to place a
piece of plywood over the bed underneath the spindle in order
to protect the bed if you drop the chuck/faceplate.
2. Hold the chuck or faceplate with your hand while using a
10mm wrench with your other hand to loosen and remove the
three hex nuts on the back of the spindle plate.
3. Pull the chuck/faceplate slowly off the spindle. It may be
necessary to tap the back surface of the faceplate/chuck with a
rubber mallet to get it off the spindle.
4. Make sure to keep track of the studs used for positioning the
chuck/faceplate, and set the piece aside.
INSTALLING THE CHUCK OR FACEPLATE
1. Insert the guide studs into the chuck/faceplate you wish to
install. To do this, make sure the studs extend at least ½” from
the surface of the chuck/faceplate.
2. Align the studs with the holes on the spindle and secure the
chuck/faceplate in place with the nuts using a 10mm wrench.
Fig. 9
Fig. 10
19