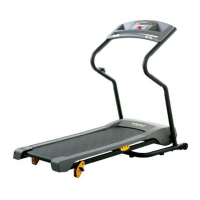
8
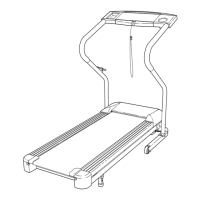
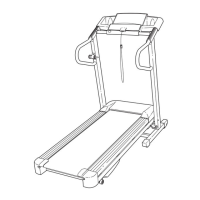
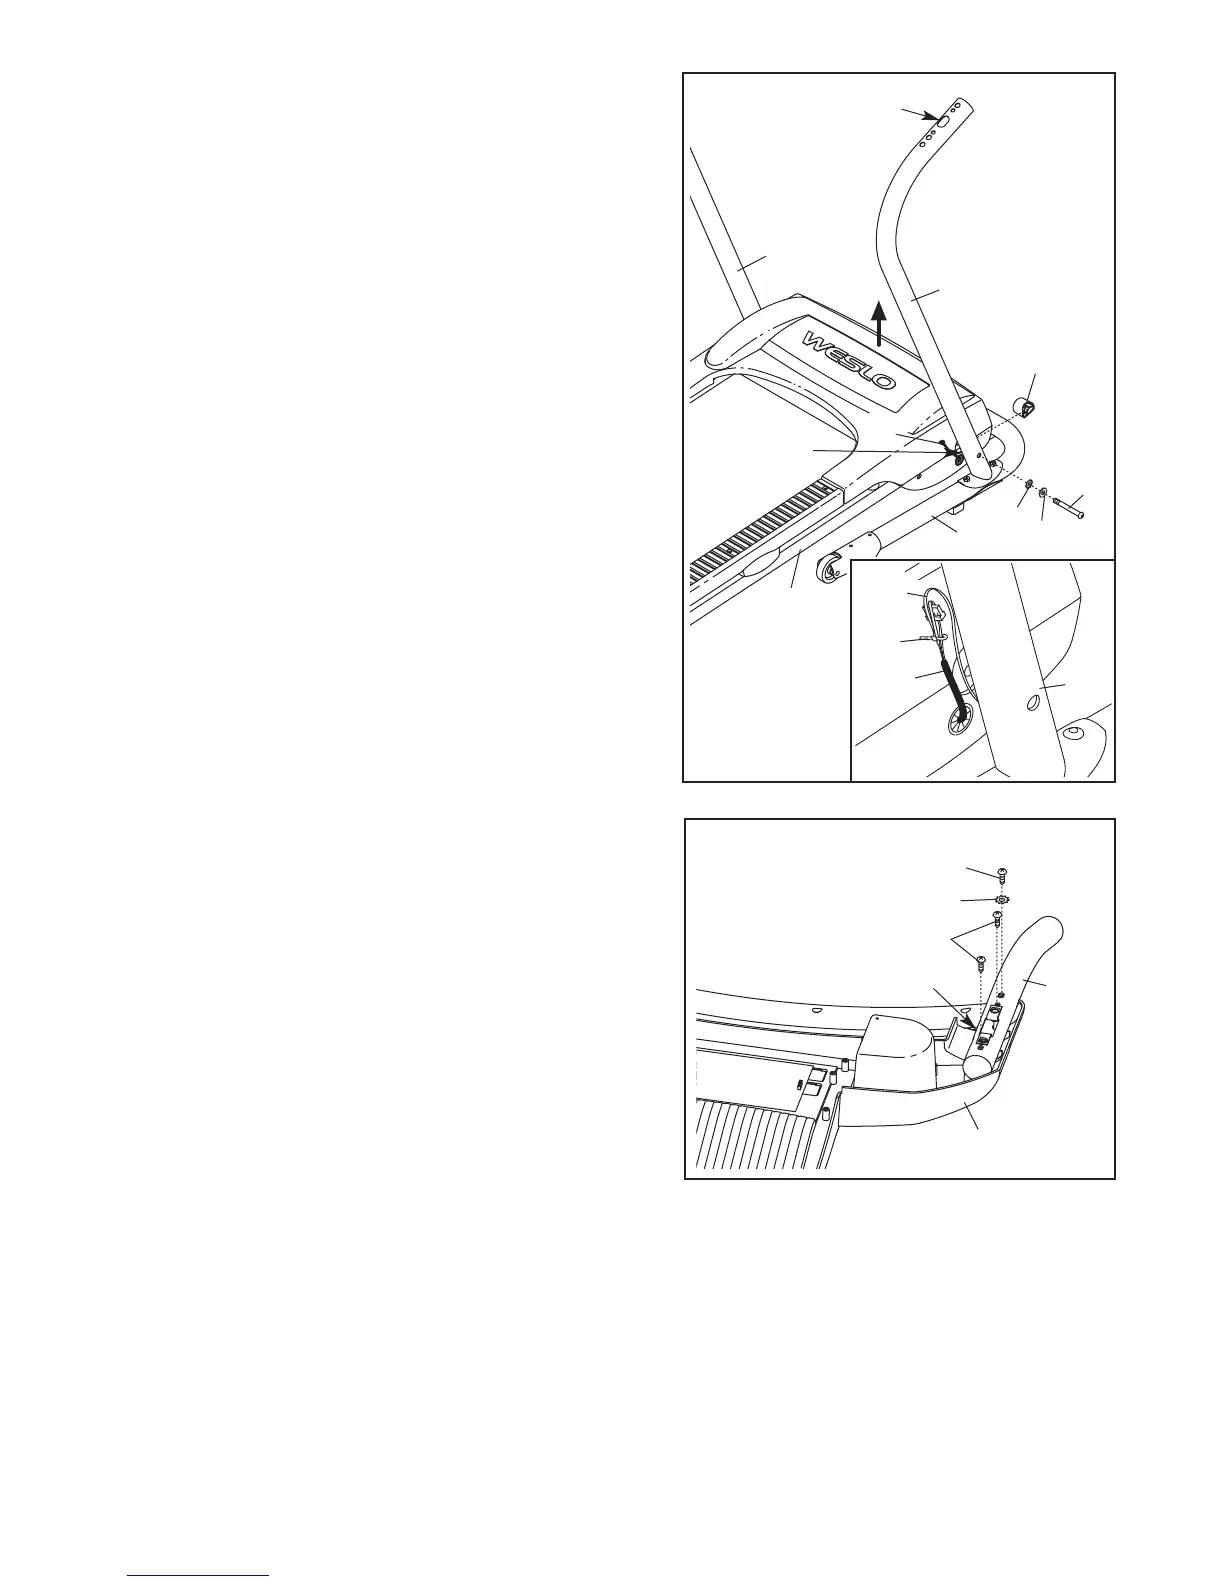
3. With the help of a second person, raise the Uprights
(53, 54) so that the Base (52) is flat on the floor as
shown. Next, position the front of the treadmill Frame (51)
b
etween the Uprights.
S
ee the inset drawing. Locate the wire inside of the
lower end of the Right Upright (54). Secure the wire to
the Wire Harness (98) using the included plastic tie.
Then, pull the upper end of the wire until the end of the
Wire Harness is extending from the indicated hole in the
upper end of the Right Upright.
Have a second person lift and hold the front end of the
Frame (51). Hold a Frame Spacer (23) between the Right
Upright (54) and the Frame. Attach the Right Upright and
the Frame Spacer to the Frame with an M10 x 110mm
Bolt (1), an M10 Washer (14), and an M10 Star Washer
(9).
Repeat this step on the left side of the treadmill.
Note: There are no wires on the left side of the treadmill.
9
23
52
14
1
54
51
Large
Hole
H
ole
3
53
98
54
Tie
98
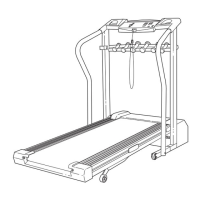
4. Turn the Console Assembly (91) face-down. Be careful
not to scratch the face of the Console Assembly.
Identify the Right Handrail (55), which has a large hole
in one side.
Attach the Right Handrail (55) to the Console Assembly
(91) with two M4.2 x 19mm Screws (4), an M5 x 16mm
Screw (5), and an M5 Star Washer (12).
12
91
4
Large Hole
5
55
4
Wire
 Loading...