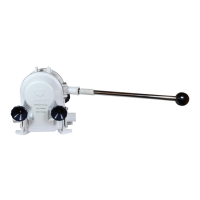
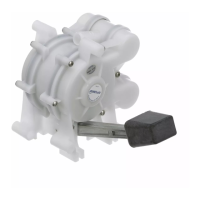
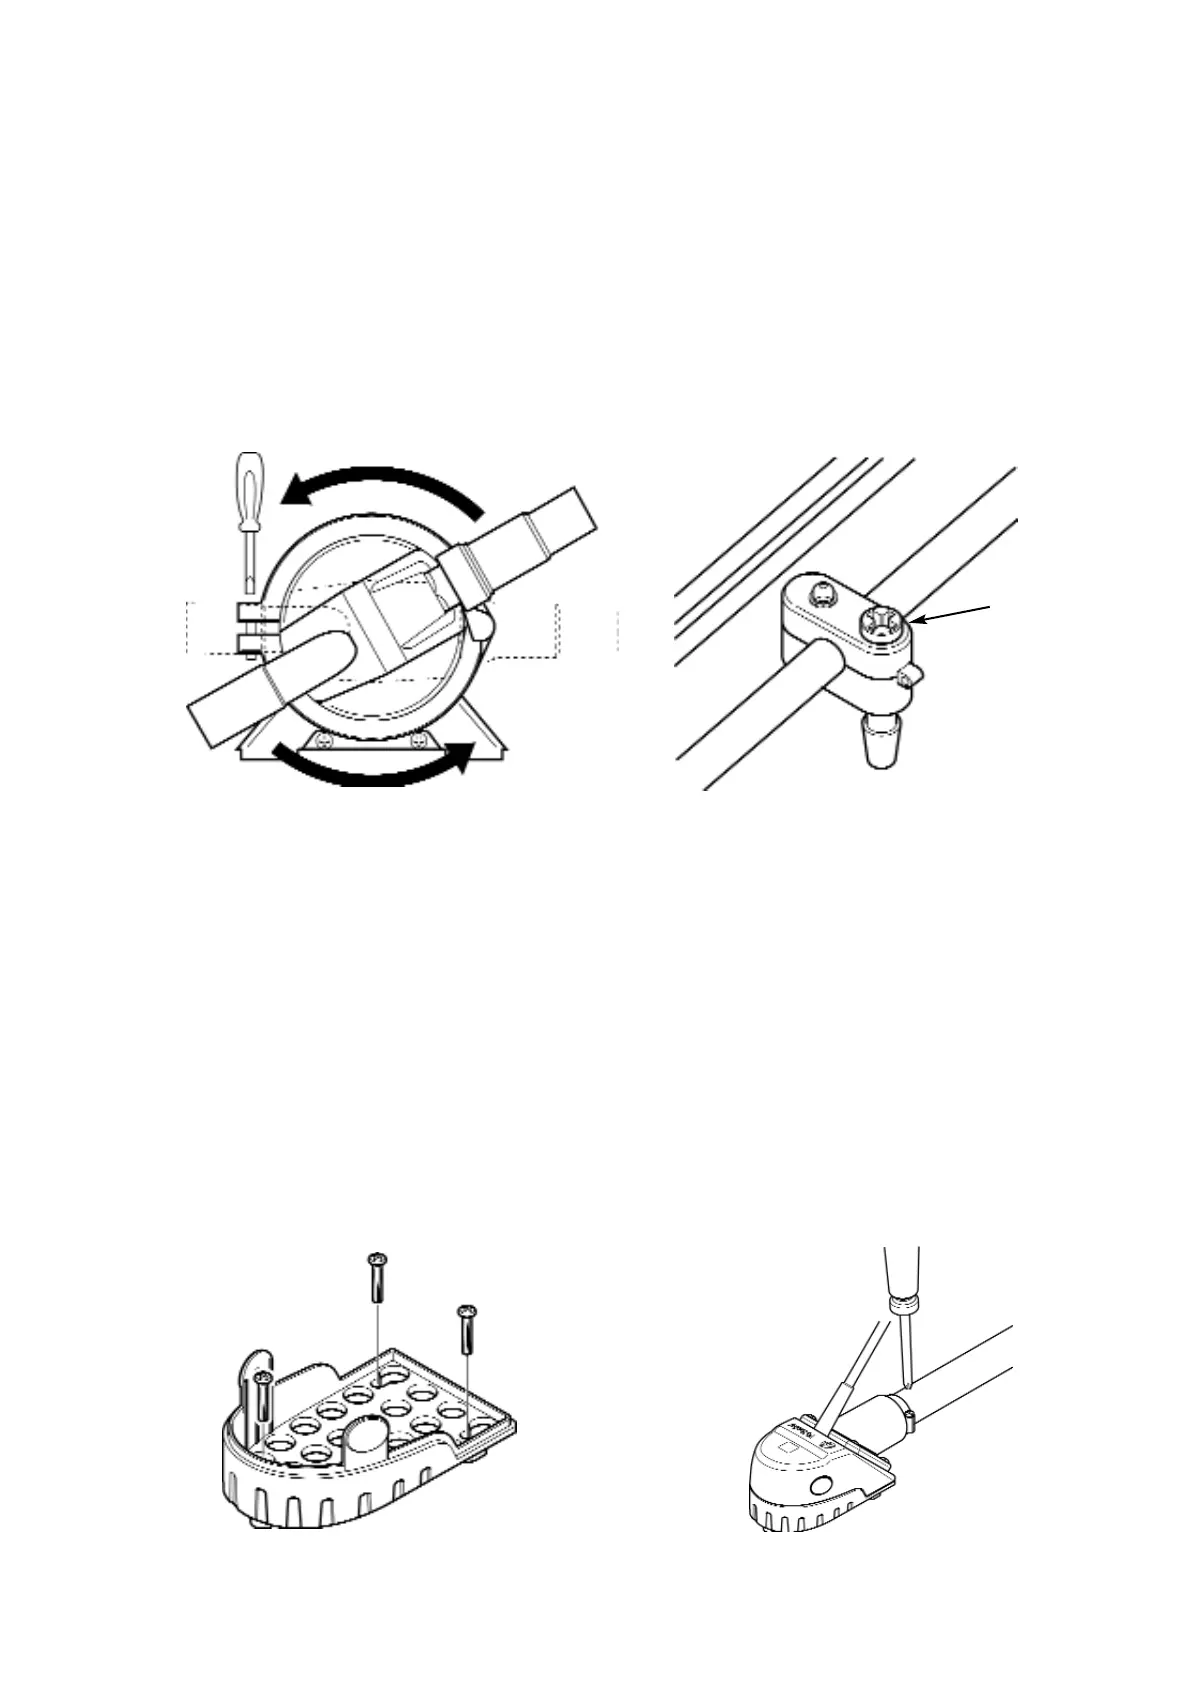
Loosen the screw, adjust and ensure diaphragm remains in place.
Reposition the head to the required position (fig 3) and tighten the screw
• Drill pilot holes of 3.2mm (1/8").
NOTE: Do not drill through hull, ensure that pump is mounted to additional board or
bulkhead.
• Use the three No.8 self tappers and washers (included) to secure the
pump.
• Use 19mm (3/4") or 25mm (1") smooth bore reinforced hose to connect to
the pump with hose clips.
NOTE: Barbed connections mean no need to cut inlets or outlets to size.
NOTE: Ensure tight connections, but do not over-tighten clamp rings/ screws/hose
clips
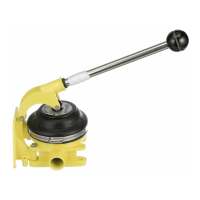
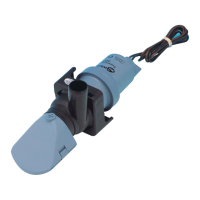
Fig 3 - Gulper® Installation Fig 4 - Fit P clamp
• Screw p clamp to bulkhead ensuring it is located Approx. 100 mm (4")
from rear housing (Fig 4).
NOTE: In order to securely fasten the unit, ensure that the p clamp mounting surface
is at least 19mm (3/4") minimum thickness.
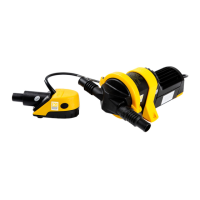
11.iii Mounting Instructions - Strainer IC
• Mount in a position with the shortest pipe run lengths.
• Drill pilot holes. NOTE: do not drill through hull; ensure that strainer is
mounted to additional board or bulkhead (Fig 5).
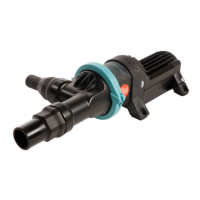
• Use 19mm (3/4”) smooth bore reinforced hose to connect to the strainer
with hose clips (Fig 6).
Fig 5 Connect Strainer IC to bulkhead Fig 6 Attaching jubilee clips
P Clamp
 Loading...