21
Removing the Rear Bulkhead Assembly
1. Remove the front panel.
2. Reach underneath drum to locate idler pulley. Push idler pulley to left to release drum belt
tension. Remove belt from motor pulley. Remove the drum from dryer.
3. Remove heat source assembly (burner assembly and funnel or heat element and duct).
4. Move dryer so you can easily remove back of dryer.
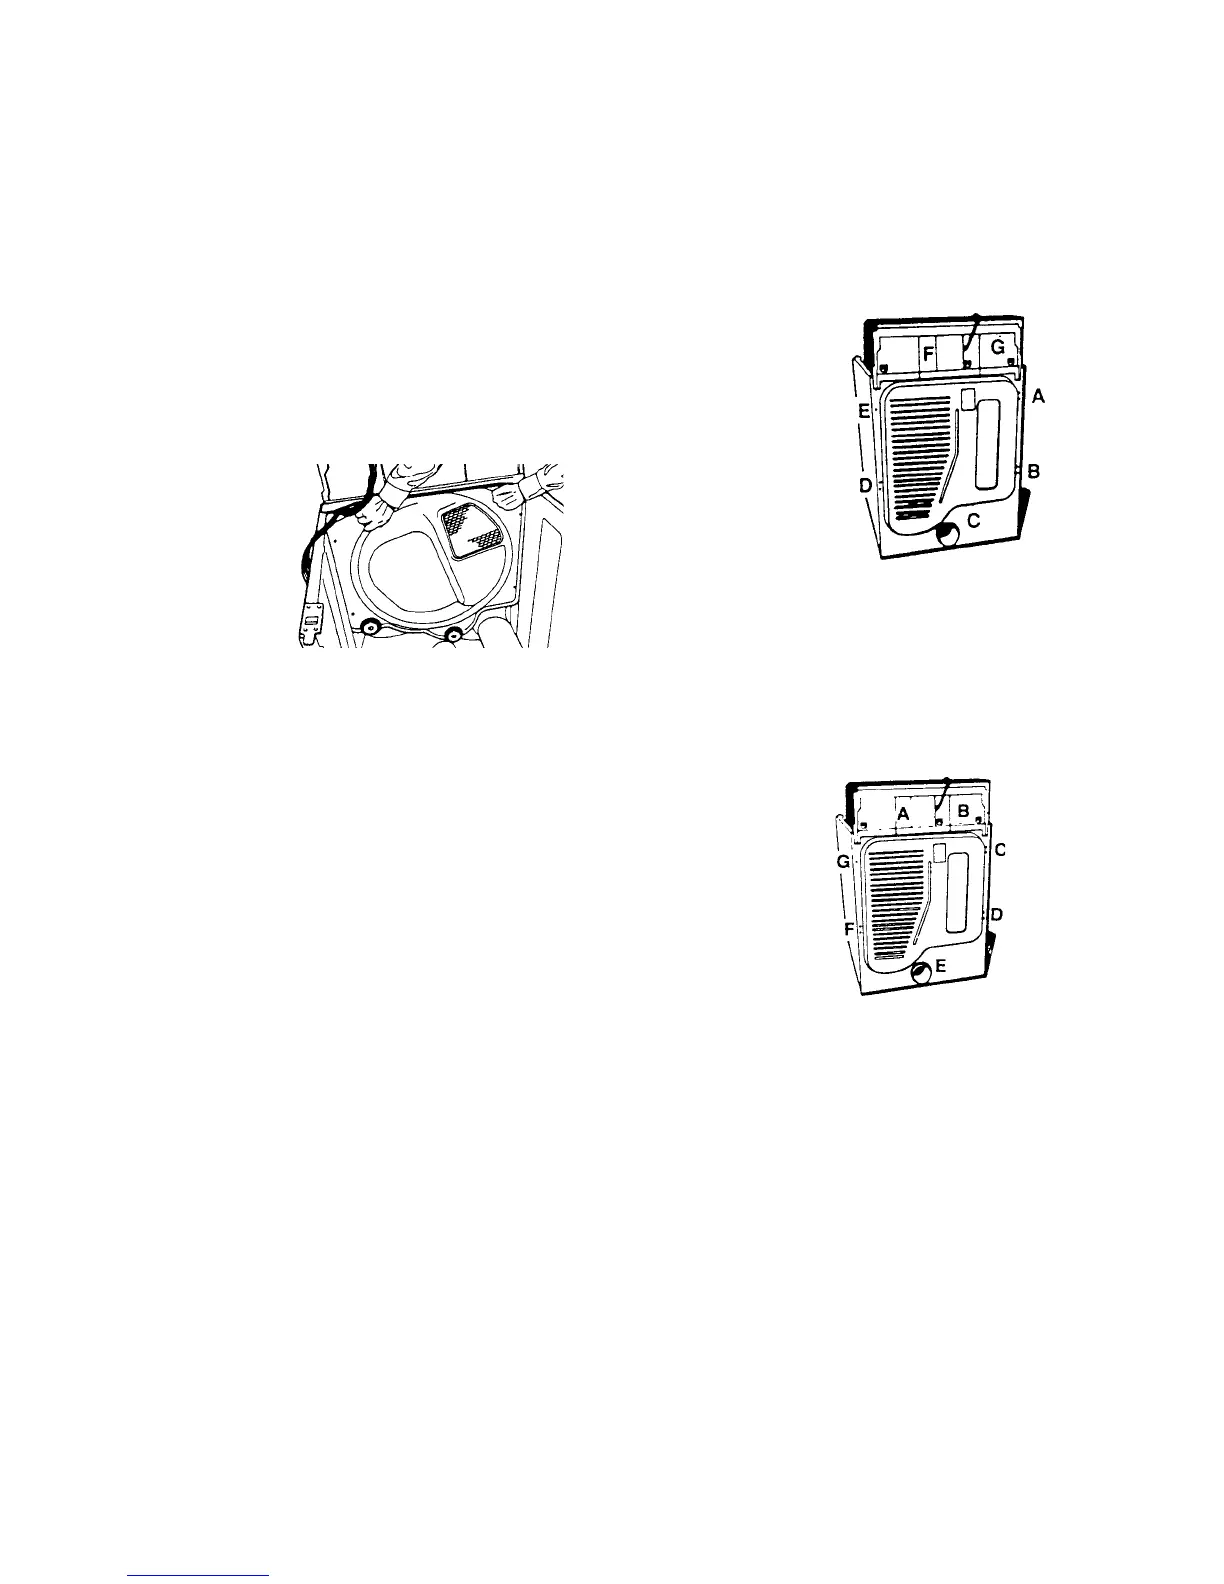
5. Starting with screw (A), remove in order screws
(A), (B), (C), (D), (E), (F), and (G) from back of dryer. (Fig. 45)
6. Slide rear bulkhead assembly up and out of dryer. (Fig. 46)
Fig. 45
Fig. 46
Reattaching the Rear Bulkhead
1. Slide the rear bulkhead assembly down into place at the rear of the cabinet.
2. Starting with screw (A) replace in order screws
(A), (B), (C), (D), (E), (F) and (G) to secure the
back panel of the dryer to the cabinet. (Fig. 47)
3. Move the dryer back into its installed location.
4. Replace the heat source assembly (burner assembly
and funnel or heat element and duct).
5. Replace the drum.
6. Reach underneath drum to locate idler pulley. Push idler pulley to left to wrap the belt around
motor pulley.
7. Replace the front panel.
Fig. 47