WALLMOUNTING INSTRUCTIONS
The dryer can be mounted to a wall by following these instructions.
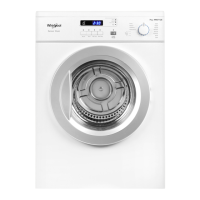
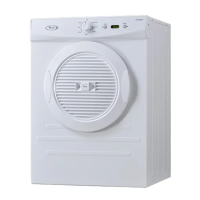
Firstly select whether to mount the dryer vertically, with the control panel at the top - or
to the controls.
1. Determine the location of the dryer on the wall and mark the bracket position.
A minimum 50mm is needed between the top of the dryer and the ceiling for ease of
installation.
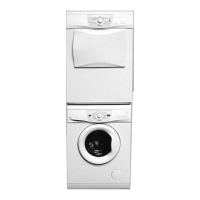
If mounting above a top load washing machine, allow suf?cient room to open the lid of the
washer.
TOOLS REQUIRED
For plaster or Drill & 3mm bit 1
timber wall
Phillips head screw driver 1
WALL MOUN TING KIT IN CLUDES
Description PlasticSpacers 2
Wall hanging brackets 2
Hanging hook 2
Wood screws,12g x 50mm 4
timber screws
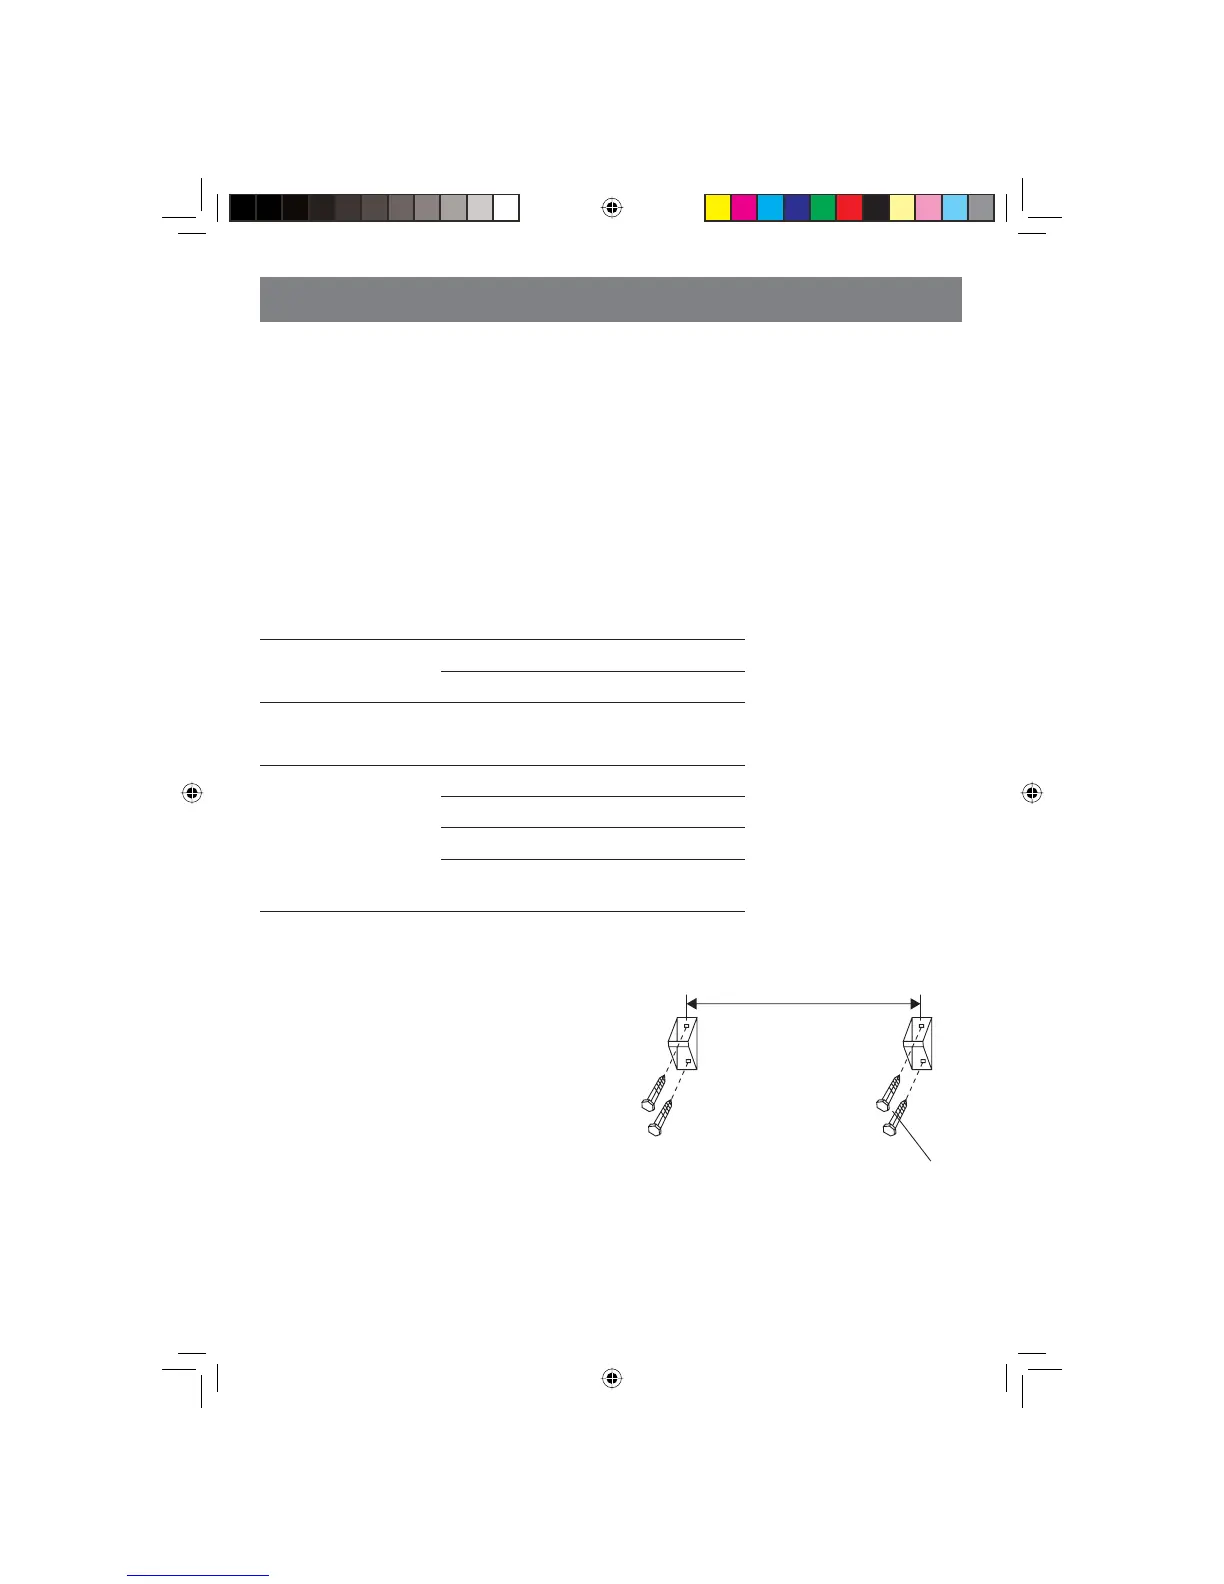
2. Fix the wall hanging brackets to the wall
securely (eg. into the stud).
If the studs are too far apart, fit a timber slat to
the studs then mount the brackets onto the slat.
The distance between each bracket is 553mm as
per diagram.
553mm
Wood screws
6
TumbleDryer_AWD60A-4.indd 6 5/8/08 4:25:46 PM
FIG.1.
invent the dryer so the control panel is at the botom(see figure 4) this allows easier access