35
Wilson Audio Specialties
s e C T i O n 3 . 2 — A l e x i A P r O P A g AT i O n D e l AY A D j u s T M e n T
ously.
2. Remove the Propagation Delay Tables from Section 8 in this booklet and
place them close by for easy reference. Propagation Delay Tables are also
available on Wilson Audio APP, which is available on iTunes.
3. Make sure that you are in your intended listening position.
4. While sitting, have someone measure your ear height from the floor directly
below your ear canal. You should be relaxed in your chair, as you would be
when listening to music (see Figure 7).
5. Now measure the distance (on the floor) from the point on the floor below
your ear to the base of the loudspeaker, as shown in Figure 6.
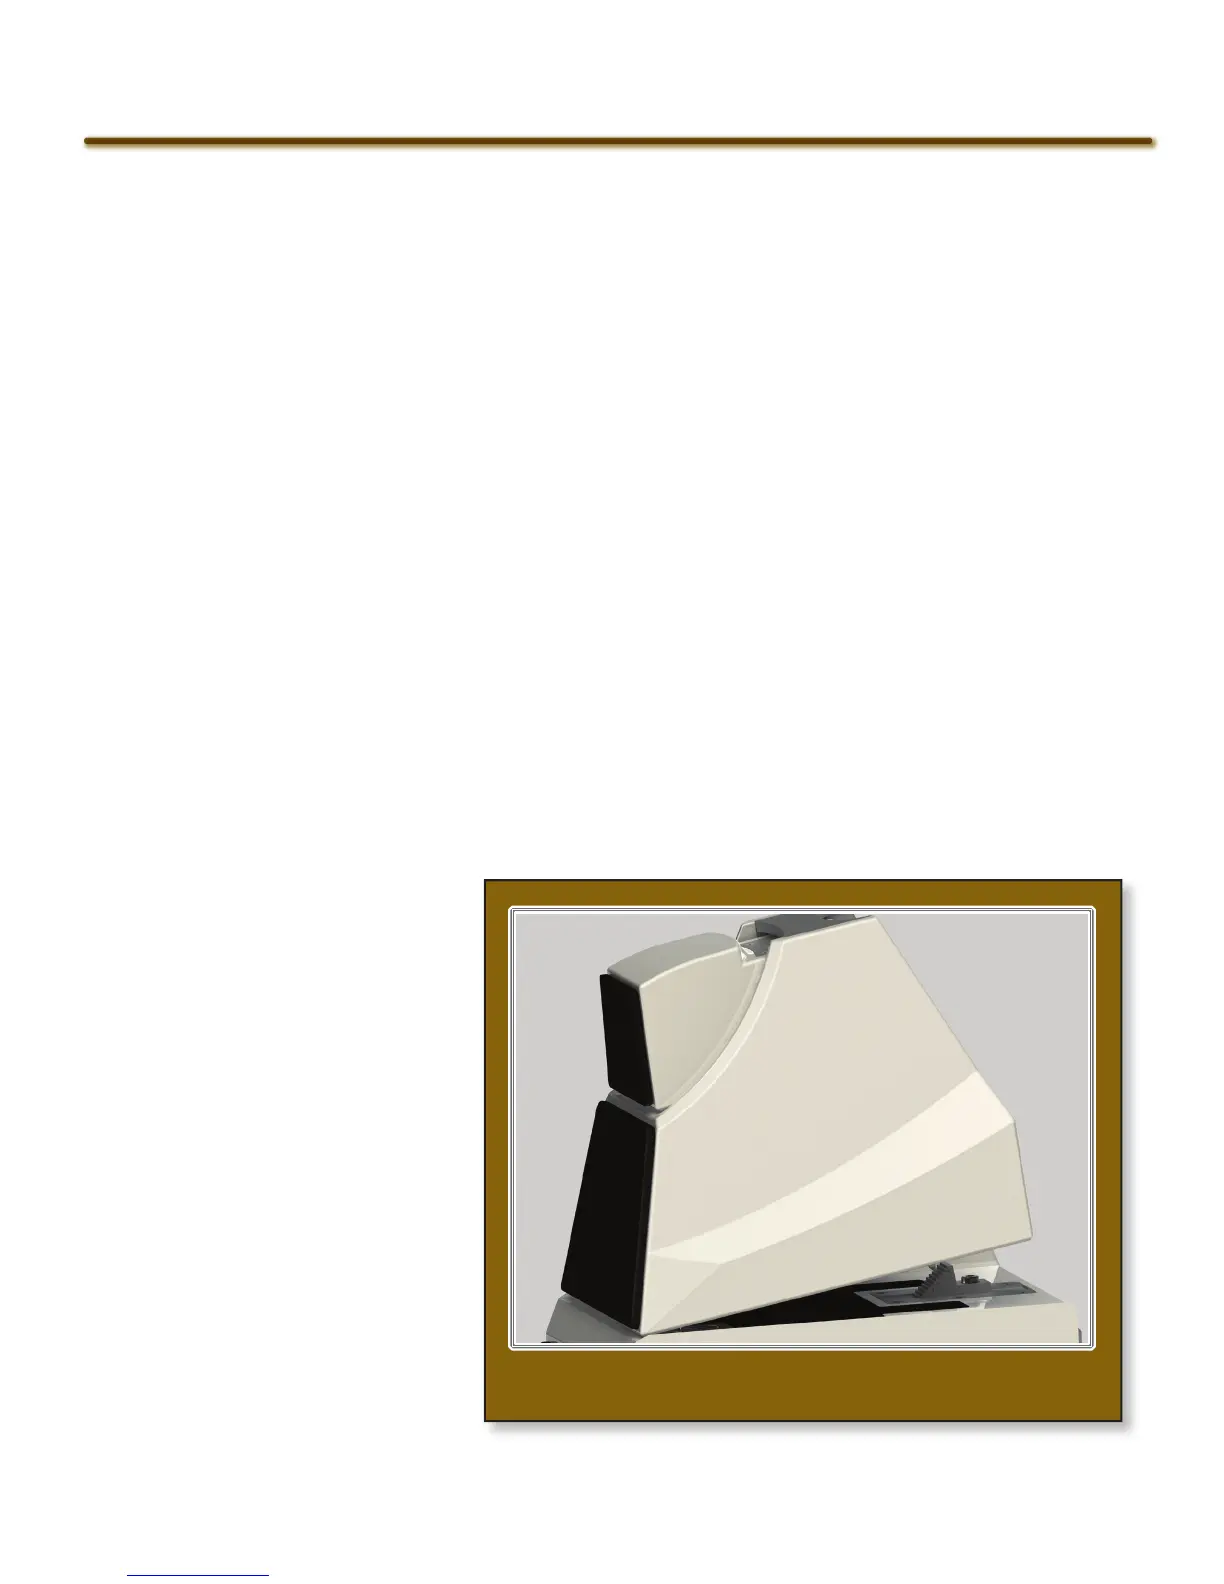
6. Refer to the Propagation Delay Tables (Section 8) and locate the corre-
sponding ear height for each module. There are four charts for the Upper
Array. The first: “Alexia Upper Array Spike Length” is a table determin-
ing the rear spike
length. The sec-
ond is the table:
“Alexia Upper
Array Alignment
Block Position”
determining the
blocks front-to-
back location (see
Figure 7). The third
table: “Alexia Up-
per Array Align-
ment Block Step”
specifies the step
on which the rear
spike will rest
(see Figure 7). The
figure 8—pOsitiOn reAr spike Of the upper ArrAY intO
the prOper blOck step