51
Care, cleaning and maintenance
Assembly:
– Screw the screw plug back in and refit the cladding parts 1– 4.
– Close the control panel, connect the securing mechanism and mains power plug at the top using a screw and
hook in the side panel.
3.9.1 Rotary feeder
VarioWIN S/P with 41 kg reserve supply container / pneumatic pellet feed:
Cleaning:
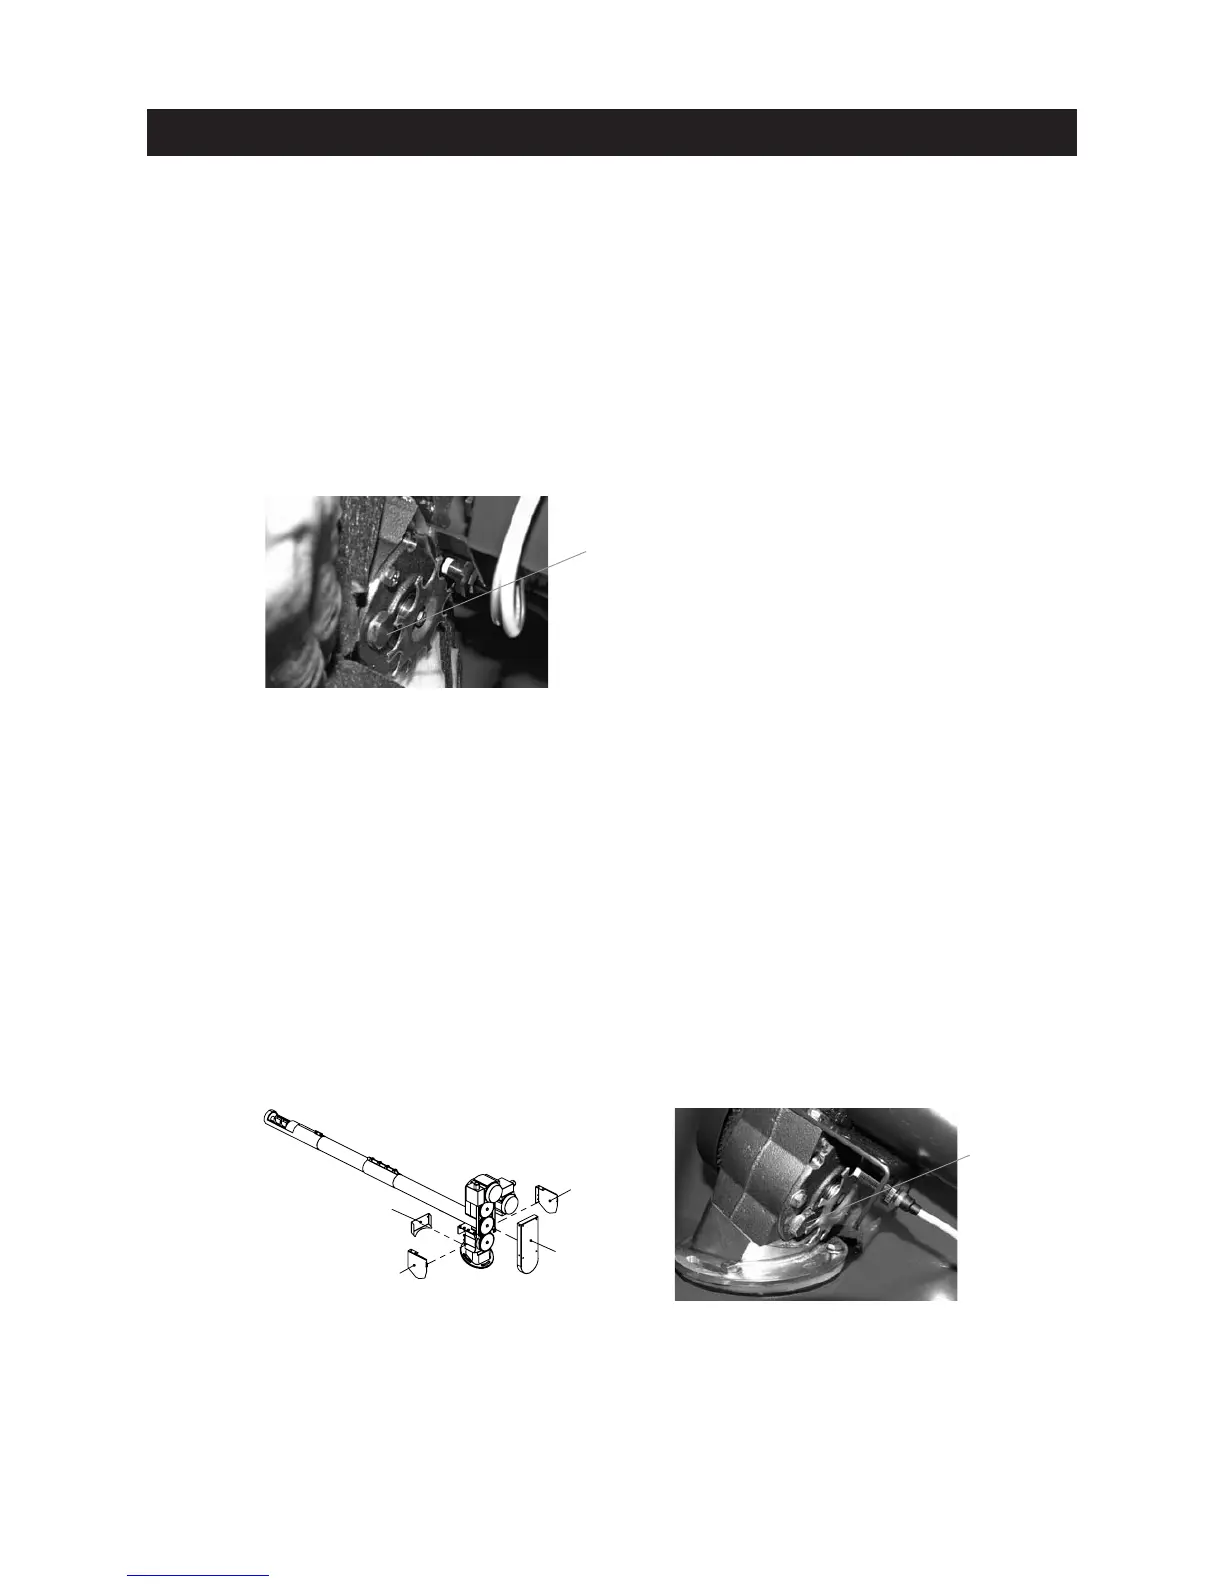
– Unscrew the screw plug (WAF 22) from the rotary feeder (Fig. 151) and vacuum pellet dust out of the rotary fee-
der using a vacuum cleaner.
Fig. 153 Removing dust from the rotary feeder
Screw plug
Fig. 152 Removing cladding parts 1–4 in the
case of direct pellet feed
VarioWIN D with direct pellet feed:
Cleaning:
– In the case of the VarioWIN with direct pellet feed, cladding parts 1 to 4 must be removed from the actuator
first – Fig. 152
– Unscrew the screw plug (WAF 22) from the rotary feeder (Fig. 153) and vacuum pellet dust out of the rotary fee-
der using a vacuum cleaner.
Fig. 151 Removing dust from the rotary feeder
Screw plug
Assembly:
– Guide the blower unit in at the back using the stay bolts and attach at the front with two wing nuts.
– Reconnect the blower plug.
Assembly:
– Screw the screw plug back in.
– Close the control panel, connect the securing mechanism and mains power plug at the top using a screw and
hook in the side panel.