02
Installation Rules | Installing a Whole-Home System
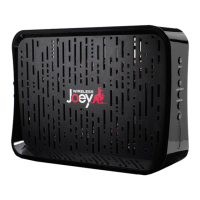
Installing a Wireless Joey Receiver
Follow this procedure to install a Wireless Joey receiver. To ensure a proper installation,
see Maximum Components per Whole-Home System and the Wireless Joey diagrams in
the Installation Diagrams chapter.
Note: A Wireless Joey receiver uses its own wireless network that does not impact the
performance of an existing home network.
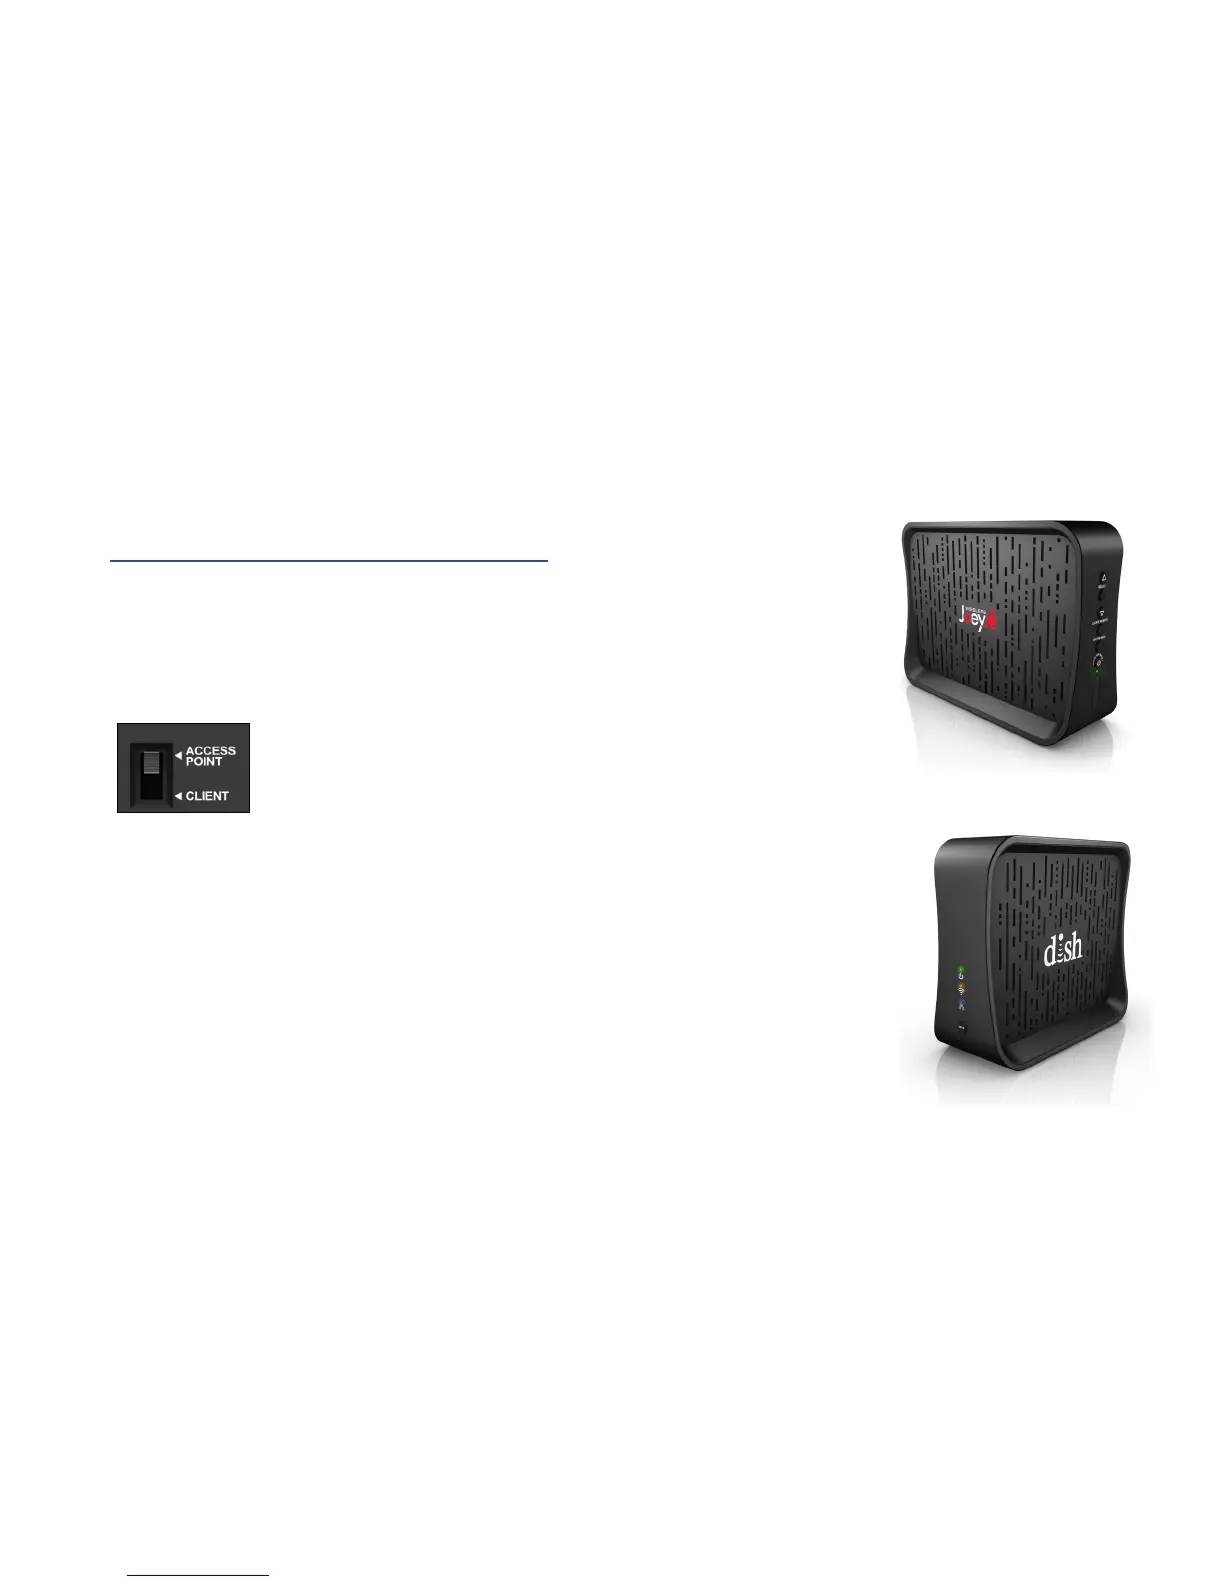
1. Check the mode switch: On the back panel of the Wireless Joey Access Point,
verify that the mode switch is set to Access Point, as shown below.
2. Connect the Wireless Joey Access Point: Connect an Ethernet cable from the
Wireless Joey Access Point to the desired Hopper receiver model or a
Hopper Internet Connector.
Note: Each Wireless Access Point supports up to three Wireless Joey receivers.
3. Power on the Wireless Joey Access Point: Plug in the Wireless Joey Access Point
to power to automatically power on the device. The blue Ethernet LED lights up,
then the green power light blinks, indicating that the Wireless Joey Access Point is
downloading software. Do not disconnect the device from power or Ethernet.
Wireless Joey
Wireless Joey Access Point