6
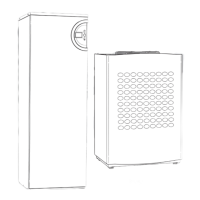
This manual gives you all the information necessary to install the heat pump
and HWDU. The guide is divided into several parts in the order in which
installation and commissioning must be carried out.
Before staring the installation:
The heat pump may be temporarily tilted with the compressor
downwards. It must never laid down or transported horizontally. (See
Transport and storage)
Check that the plumbing connections in the heat pump and the HWDU
are intact and have not shaken loose during transport.
Before the commissioning the heating system must be filled up and
completely vented.
Important information to the installer
Checklist
The following checklist will give you a general description of how the installation
should be carried out.
1. Position the heat pump on a solid base.
2. Install the incoming and outgoing pipes for the heat pump.
3. Install the drainage pipe for the heat pump.
4. Fit the filter valve.
5 Install the incoming and outgoing pipes for the
HWDU.
6 Install the waste water hose for the
HWDU.
7. Install the unvented kit and inlet control group external to the unit.
8. Connect the heat pump and
HWDU.
9. Connect the heat pump and the
HWDU to the heating system.
10. Install the outdoor sensor and room sensor.
11. Connect the CANbus wiring between the heat pump and the
HWDU.
12. Fill and vent the heating system before commissioning.
13. Connect any residual current device.
14. Connect the heat pump and
HWDU to the power supply.
15. Commission the heating installation by making all the necessary settings on the
control panel.
16. Check the heating installation after commissioning.
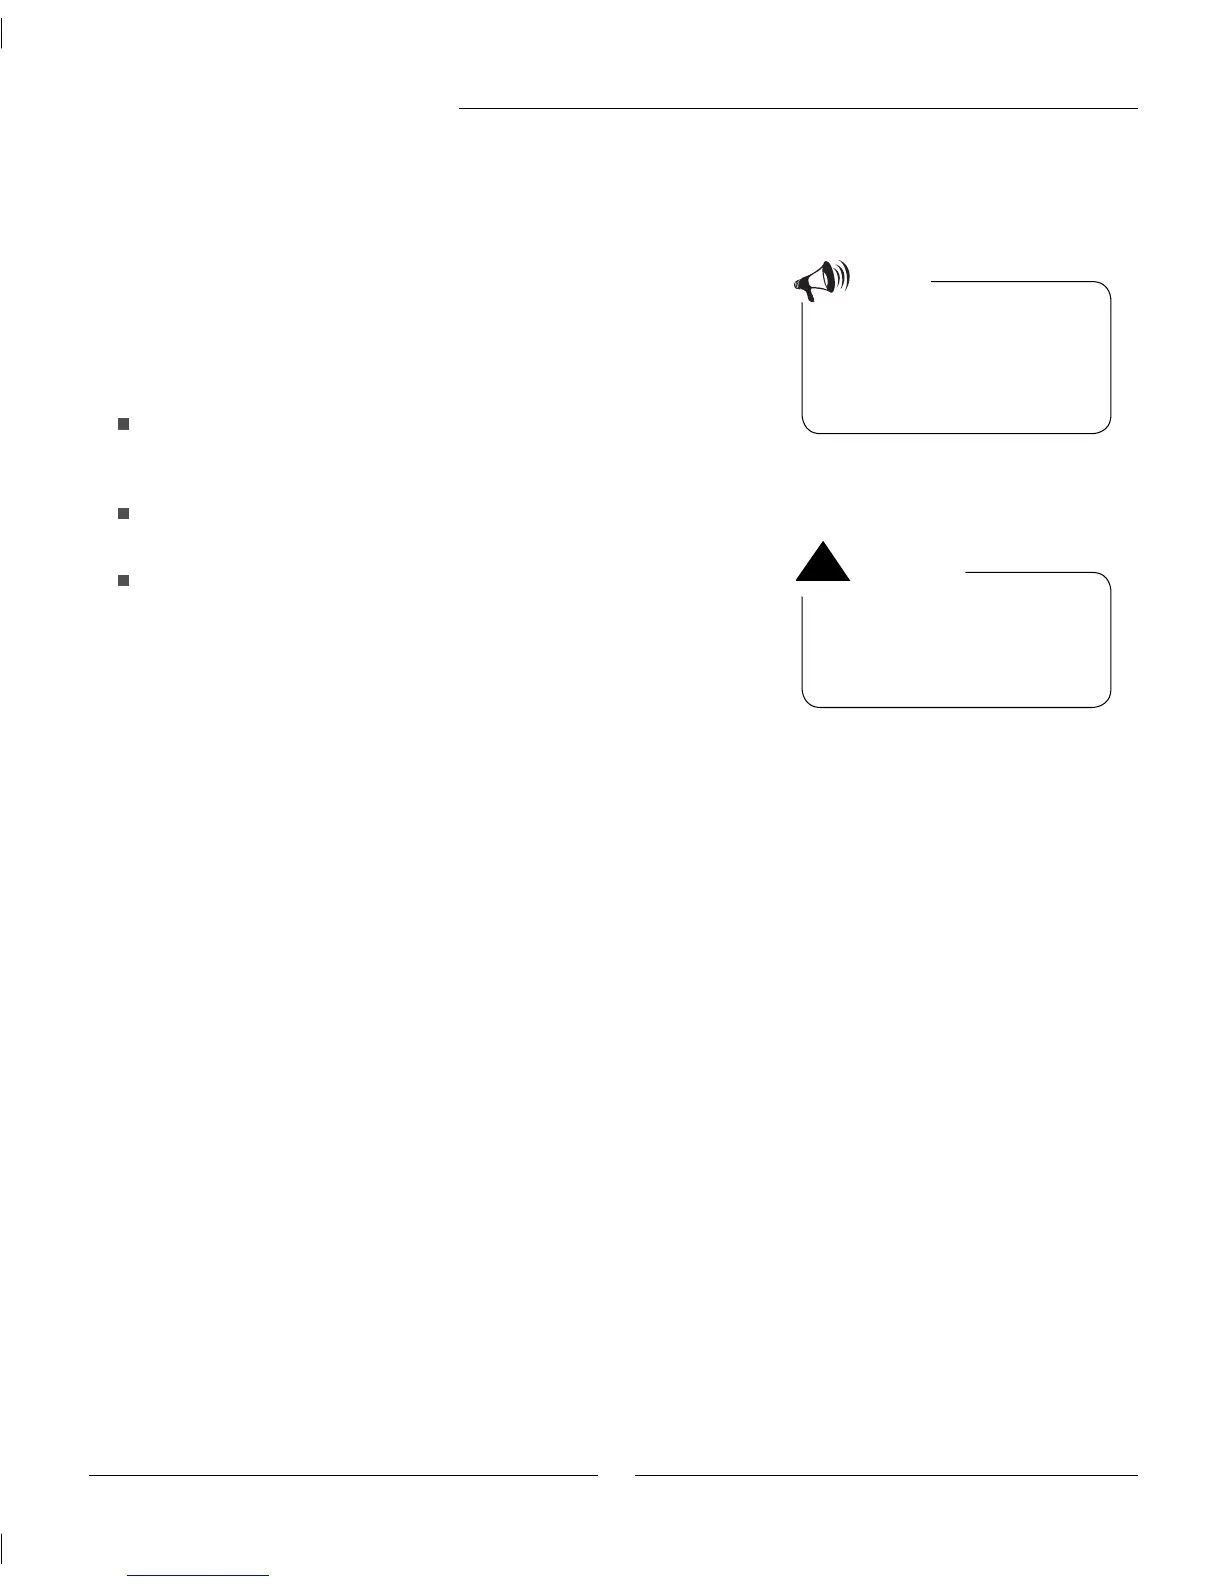
Warning
For reasons of safety the main power
supply must be disconnected before
working on the heat pump and
HWDU.
Note
Only qualifi ed installers may carry
out the installation. The installer must
follow applicable rules and regula-
tions and recommendations from the
manufacturer.
Important information to the installer / Checklist