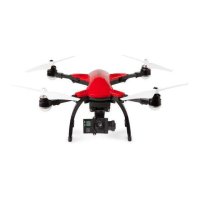
Camera Instructions & Overview
Notes:
1. Do not insert or take out the memory card while the camera is powered on. The card won’t go into the
slot if inserted in the opposite position, or is flipped, do not force it.
2. The WiFi signal may be weakened when the camera power is low. The WiFi distance and image
quality may vary on different mobile devices and different surroundings.
3. The camera can only support 4K or 1080p 60FPS video with memory cards with a reading
rate over 80MB/S.
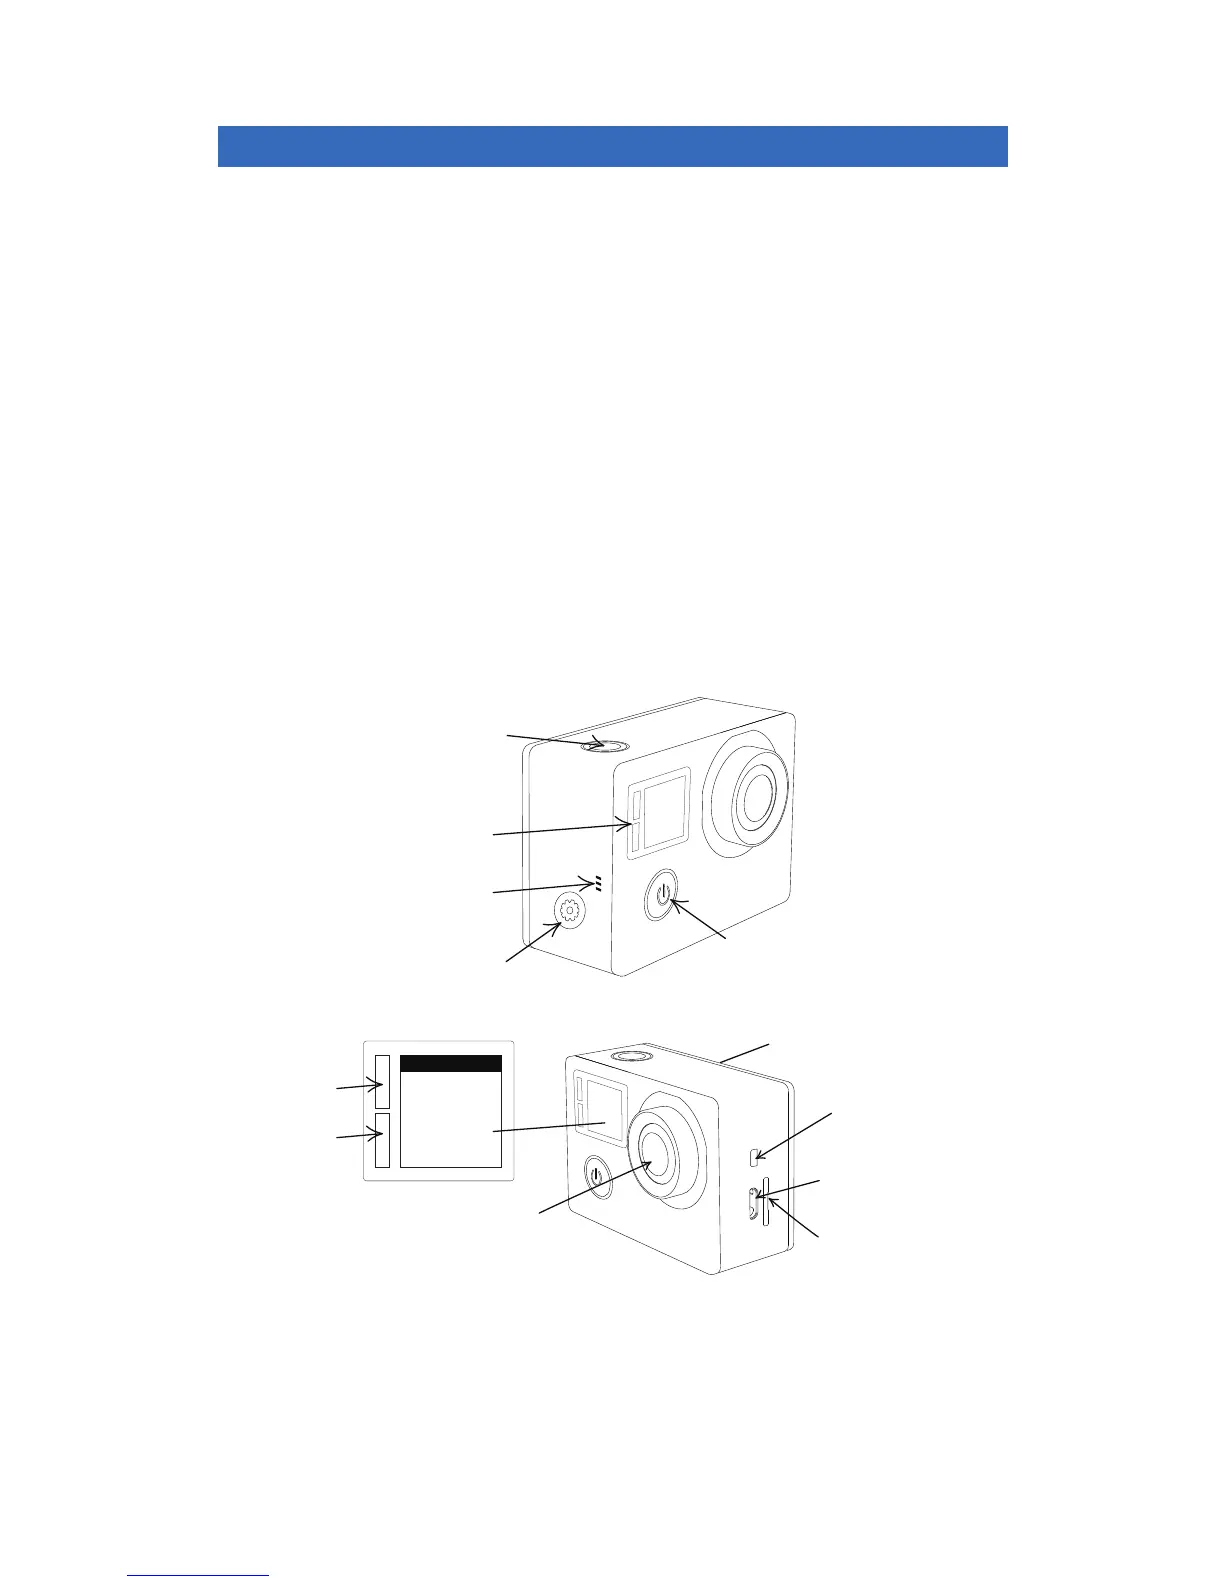
Setup & Assembly Cont.
Memory Card Slot
Mini USB
Mini HDMI
(Connect to TV for
Video/Photo Playback)
Battery Compartment
(Install when using without drone)
Camera Lens
1. Insert a memory card into the camera. The camera supports a maximum size of
64GB. The camera can only support 4K or 1080p 60FPS video with memory cards
with a reading rate over 80MB/S.
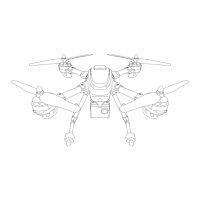
2. Plug into Gimbal if using with drone and remove the camera lens cover.
3. The camera will automatically turn on when the drone is turned on. It will display
“Waiting For Connect” on the LCD Display and send out a WiFi signal with the
name “Recon_#######” Enter the password “1234567890” to connect.
4. Once connected to the camera, all settings can be changed through the app.
5. When done just turn off the drone and the camera will automatically shut off. Hold
down the Power Button to power down when using by itself.
6. The photos or videos can be transferred to a computer via the memory card or in
app via the media library directly to the smartphones photo library.
Camera Shutter (Photo Mode)
Start/Stop Record (Video Mode)
Select Button (Settings)
Power Button (Hold On/Off)
Change Mode (Press Once)
Down Arrow (When in Settings)
WiFi Mode (Hold On/Off)
Settings (Press Once)
Back (When in Settings)
Mic
LCD Display
Power
Green Indicator
Charging
Red Indicator
MODE
Resolution
Video/Photos
Taken
Memory
Space Battery