Lawn Mowing Robot EN
12
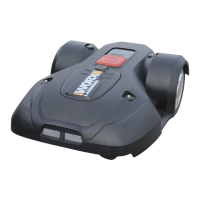
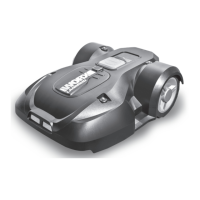
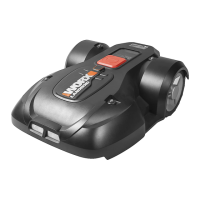
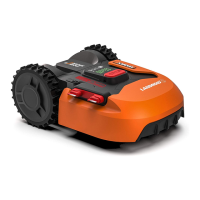
Your Landroid
®
L will cut its best in dry weather. It does not like wet grass, which can build up on the Blade Turning Disc (16)
and within the motor, and can also cause loose traction and slippage while working.
Your Landroid
®
L is afraid of Lightening Storms. In case of a Lightening Storm, protect the Landroid
®
L by unplugging the
Charging Base (3), disconnecting the Boundary Wire (23), and making sure the Landroid
®
L is not allowed to charge.
Your Landroid
®
L loves mowing grass and needs its Cutting Blades (17) kept in good condition to cut its best. The Landroid
®
L
can do most things by itself, but will need your help sometimes to keep from hurting itself.
s .EVERLETTHE,ANDROID
®
L travel over gravel.
s 2EMOVEORBLOCKOFFOBSTACLESTHATTHE,ANDROID
®
L could accidentally climb and hurt its Blade Disc on.
s 2EMOVEALLDEBRISANDFOREIGNOBJECTSFROMYOURLAWN
4. Boundary Wire Basics
4.1 Pegging the Boundary Wire
Use the Boundary Wire Distance Gauge (26) to set the correct
distance from the border of your lawn (approx. 45cm *).
* This is the recommended distance. Use the provided distance
gauge to ensure proper installation.
If your neighbor also uses a Landroid
®
L, then you must keep a
spacing of at least 3 metres between your Boundary Wire and your
neighbors.
Please be aware that your Landroid
®
L will not be able to receive a
signal from the Boundary Wire beyond the distance of 25m.
The boundary wire must outline the intended mowing area exactly.
Your Landroid
®
L will become confused by extra bends or coils of
Boundary Wire that are not part of its mowing area ( See Fig. H).
If there is excess Boundary Wire after the mowing area has been
outlined, then cut it off and store this additional wire in a separate
location. However, it is important to leave the necessary length where
it connects to the Charging Base so it can be connected and still
remain buried.
4.2 Burying the Boundary Wire
We recommend that you bury your boundary wire a few centimeters
underground. This will ensure trouble-free operation year after
year, season after season. For burying the Boundary Wire you may
purchase the optional WORX Territorial Marker Tool accessory at the
same store that sold you your Landroid
®
L.
If you are planning to bury the Boundary Wire then it should be noted that when entering its Charging Base for the first
time, your Landroid
®
L may find problems with the way you have laid the wire. It is recommended to first peg down the
Boundary Wire to the lawn so it is easy to make adjustments if necessary. This will allow the Landroid
®
L to become
adjusted to its new environment and ensures it will successfully work with the charging base before the Boundary Wire is
buried.
4.3 Joining the Boundary Wire
IMPORTANT: The Boundary Wire will not work properly if it is joined to extend over a distance of 250m.
The Boundary Wire (23) can be extended simply by splicing the ends and connecting it to the ends of another piece of wire.
You can use scotch tape to secure the joined part of the wire. (See Fig. I)
4.4 Turn on and Test Installation
If your Landroid
®
L is inside its territory but the display says “out of cutting area” and the LED is on, it means you clamped
the boundary wire ends incorrectly. Just reverse them.
H
I
 Loading...