Prosine Installation & Operation Guide 49
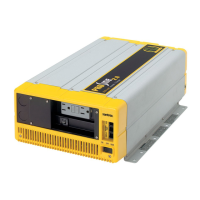
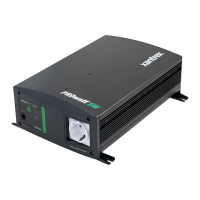
Section 4: Inverter/Charger Installation
8. If you are using the remote temperature sensor, plug it into the temperature sensor jack
(BATT TEMP) on the side of the Prosine inverter/charger chassis. Route the sensor wire
safely to the battery location and mount the sensor's ring tongue connector directly on
the NEGATIVE battery post. Do not mount the sensor between the DC negative power
cable and the negative battery terminal.
9. For residential installations, a DC wiring enclosure is required to cover DC connections
and cables. Contact Xantrex or your distributor for this part. For other installation,
install the red and black DC terminal covers over the positive and negative terminals,
respectively.
DC Grounding
The Prosine inverter/charger has a lug on the rear panel labeled Chassis Ground. This lug is used to
connect the chassis of the inverter/charger to your DC ground as is required by regulations for some
installations. Depending on where the inverter/charger is being installed, follow the instructions below
that correspond to your installation location.
Recreational Vehicle Installations
Use #8 AWG or larger copper wire (green if insulated) and secure it to the Chassis Ground Lug as
well as the grounding point in your vehicle (usually the vehicle chassis).
Residential Installations
The chassis of the Prosine inverter/charger must be connected to the system’s DC grounding point.
Typically wire is #2 AWG (12-volt models) or #6 AWG (24-volt models) copper wire. Consult your
codes.
Marine Installations
The Chassis Ground Lug should be connected to the boat’s Engine Negative bus or DC Grounding
bus. The ABYC recommends the following, based on 75 C wire:
•
PS2.5/12: # 1/0 AWG
•
PS3.0/12: # 2/0 AWG
•
PS2.5/24: # 3 AWG
•
PS3.0/24: # 1 AWG
Connecting the Battery Temperature Sensor
Mounting Options
You can mount the battery temperature sensor (BTS) in one of two ways:
•
Mounting the sensor to the negative battery post allows the internal battery temperature to be
sensed and provides the most accurate results.
 Loading...