975-0526-01-02 19
Installing the Truecharge 2 Battery Charger
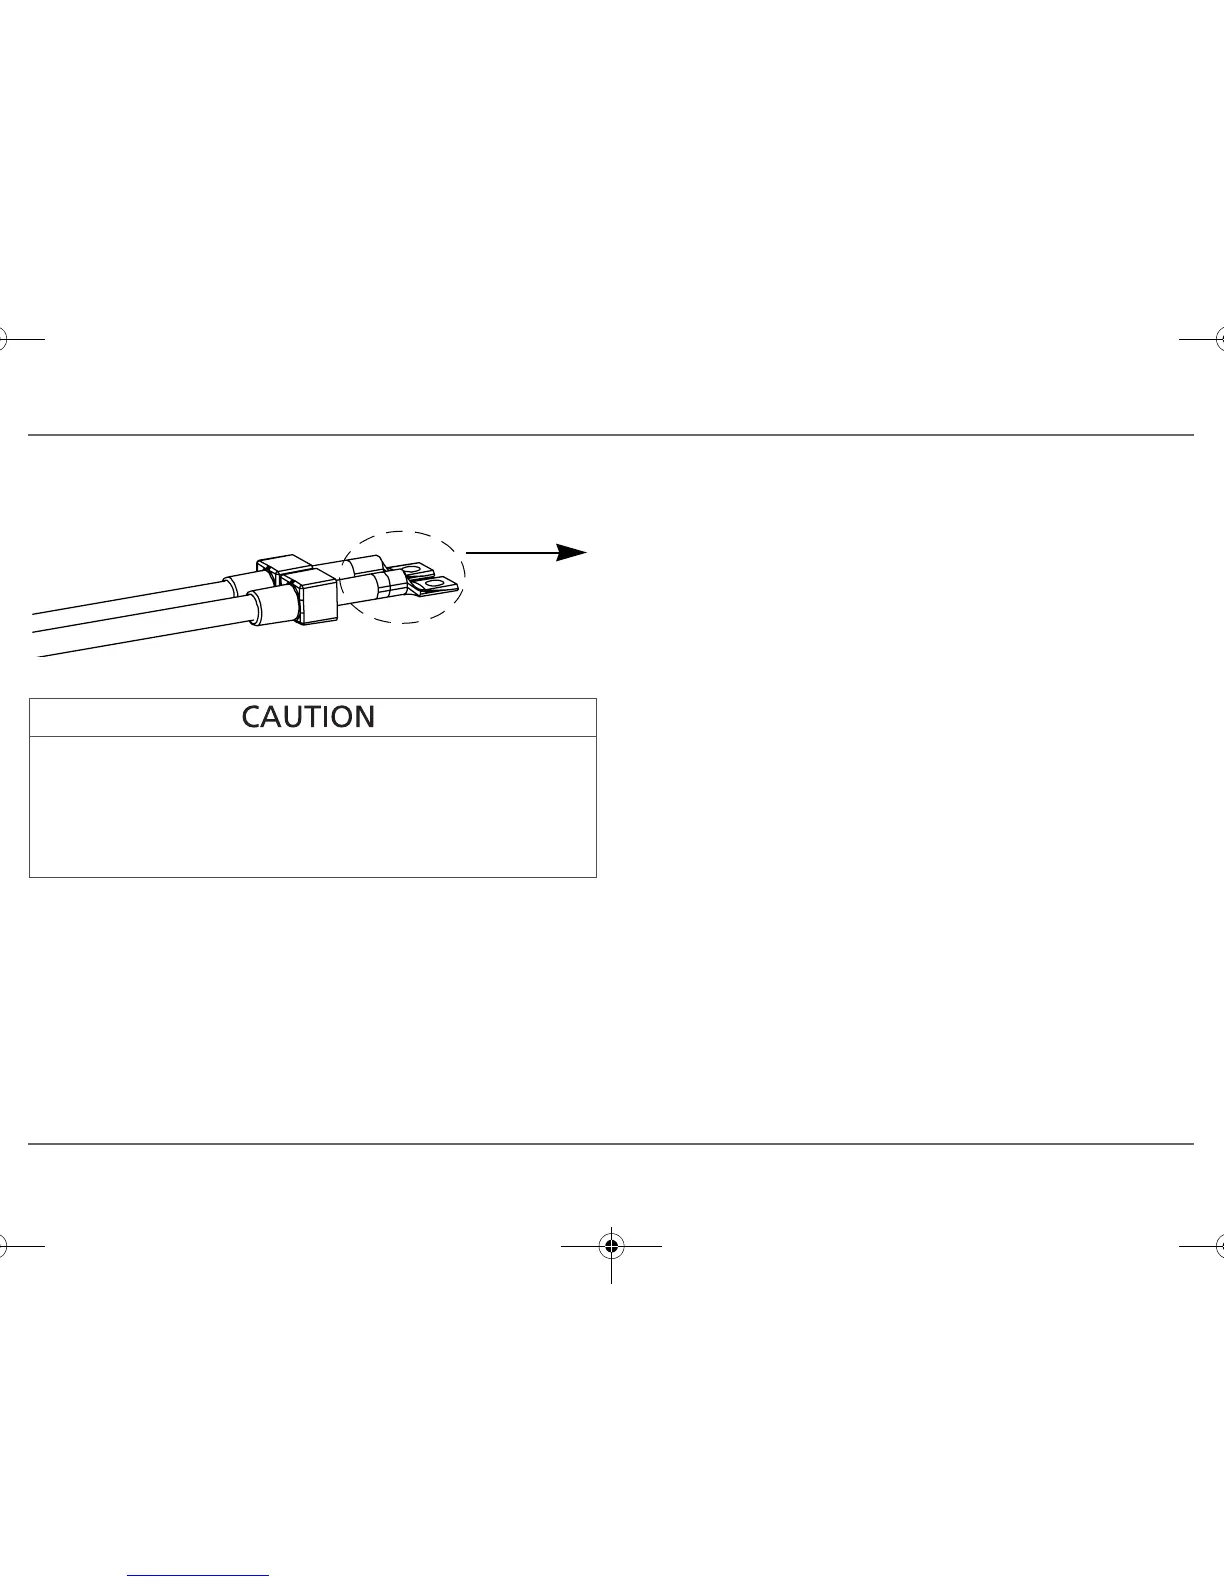
7. Install crimp lugs on the charger end of the DC battery cables using the
crimp manufacturer’s instructions and tool.
NOTE: Make sure the positive terminals of the Truecharge2 Battery Charger
will be connected to the correct terminals of the battery (fuses or breakers)
and from there to the positive terminals of the battery. Make sure the
negative terminal of the Truecharge2 Battery Charger will be connected to
the battery negative terminal (or DC negative bus).
8. Connect the negative cable to the negative DC terminal on the charger.
See Figure 4, “Configuration for Normal Loads” on page 8.
For one battery or bank
◆ Connect the negative cable from the negative terminal on the battery to
the negative DC terminal on the Truecharge2 Battery Charger.
Use a flat washer, a lock washer and a nut (five of each included in the
installation kit) to secure the connection.
For more than one battery or bank
◆ Connect the negative cable from the negative terminal on the negative
ground bar or bus to the negative DC terminal on the Truecharge2
Battery Charger.
Use a flat washer, a lock washer and a nut (five of each included in the
installation kit) to secure the connection.
9. Tighten the nuts to 2.3 N-m (20 lb-in.) torque and test that the wire is
secure. Do not over-tighten as this may result in damage to the charger.
10. Connect each positive cable to the correct positive DC terminal on the
Truecharge2 Battery Charger.
Use a flat washer, a lock washer and a nut (five of each included in the
installation kit) to secure the connection.
11. Tighten the nuts to 2.3 N-m (20 lb-in.) torque and test that the wire is
secure.
12. Connect the free end of each positive cable assembly to the correct
positive terminal of the battery, using sufficient torque as
recommended by your battery manufacturer.
13. Connect the free end of the negative cable to the negative terminal on
the battery, using sufficient torque as recommended by your battery
manufacturer.
REVERSE POLARITY DAMAGE
Before proceeding to the next step, carefully check the wiring polarity.
Do not reverse the connections. See note below.
Failure to follow these instructions can damage the unit and/or
damage other equipment.
To charger
TC2 204060 Series BattChg Owners Guide.book Page 19 Friday, July 8, 2011 11:44 AM
 Loading...