Installing a SIMM
D-2
DocuPrint P8ex Reference Guide
Installing a SIMM
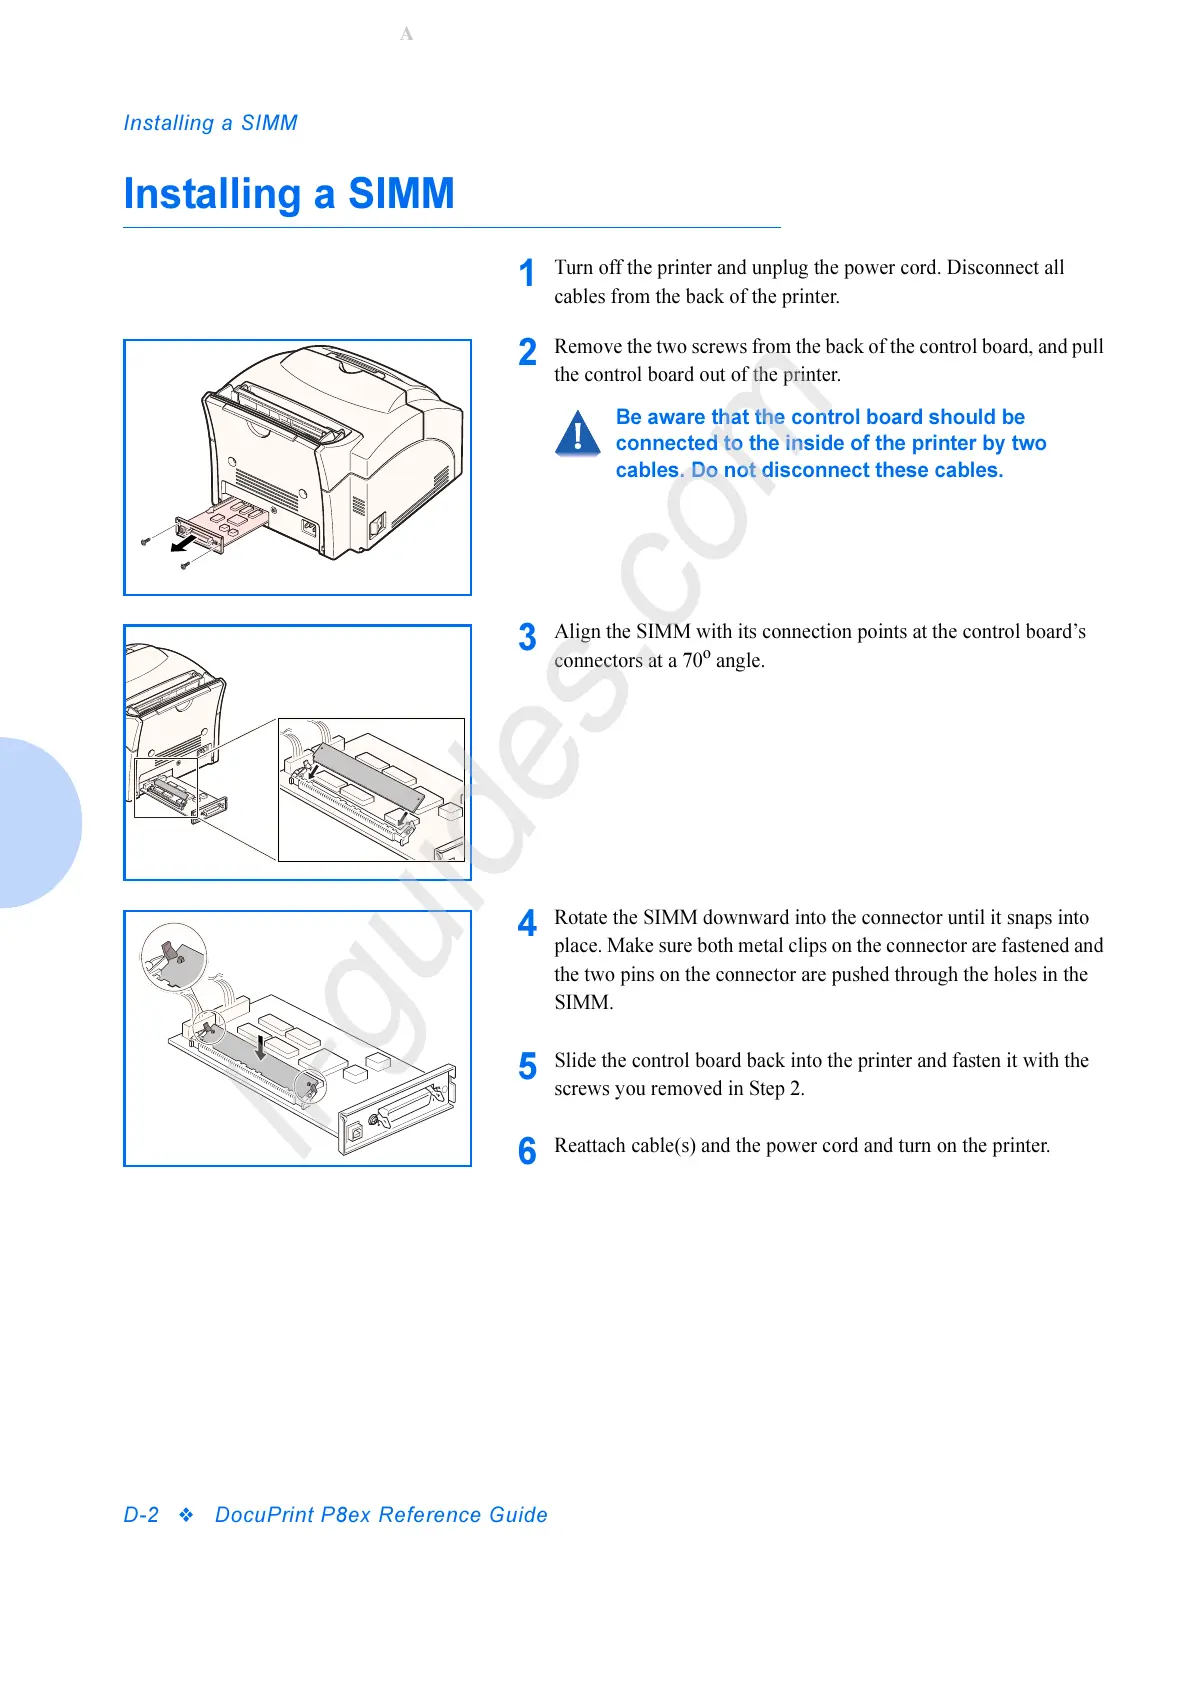
1
Turn off the printer and unplug the power cord. Disconnect all
cables from the back of the printer.
2
Remove the two screws from the back of the control board, and pull
the control board out of the printer.
Be aware that the control board should be
connected to the inside of the printer by two
cables. Do not disconnect these cables.
3
Align the SIMM with its connection points at the control board’s
connectors at a 70
o
angle.
4
Rotate the SIMM downward into the connector until it snaps into
place. Make sure both metal clips on the connector are fastened and
the two pins on the connector are pushed through the holes in the
SIMM.
5
Slide the control board back into the printer and fasten it with the
screws you removed in Step 2.
6
Reattach cable(s) and the power cord and turn on the printer.

 Loading...


