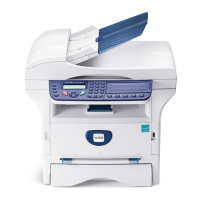
Sharing the Printer Locally
25
6 Sharing the Printer
Locally
You can connect the printer directly to a selected computer,
which is called “host computer,” on the network.
The following procedure is for Windows XP. For other Windows
OS, refer to the corresponding Windows User Guide or online
help.
N
OTES
:
• Check the Operating System(s) that are compatible with
your printer. Please refer to the OS Compatibility section of
Printer Specifications in your Printer User Guide.
• If you need to know the exact name of your printer, you can
check the supplied CD-ROM.
Setting Up a Host Computer
1
Start Windows.
2
From the
Start
menu select
Printers and Faxes
.
3
Double-click
your printer driver icon
.
4
From the
Printer
menu, select
Sharing
.
5
Check the
Share this printer
box.
6
Fill in the
Shared Name
field, and then click
OK
.
Setting Up a Client Computer
1
Right-click the Windows
Start
button and select
Explore
.
2
Select
My Network Places
and then right-click
Search
for Computers
.
3
Fill in the IP address of host computer in
Computer name
field, and click
Search
. (In case host computer requires
User name
and
Password
, fill in User ID and password
of host computer account.)
4
Double-click
Printers and Faxes
.
5
Right-click printer driver icon, select
Connect
.
6
Click
Yes
, if the installation confirm message appears.