© Copyright 2016 Xilinx
Booting U-BOOT from JTAG:
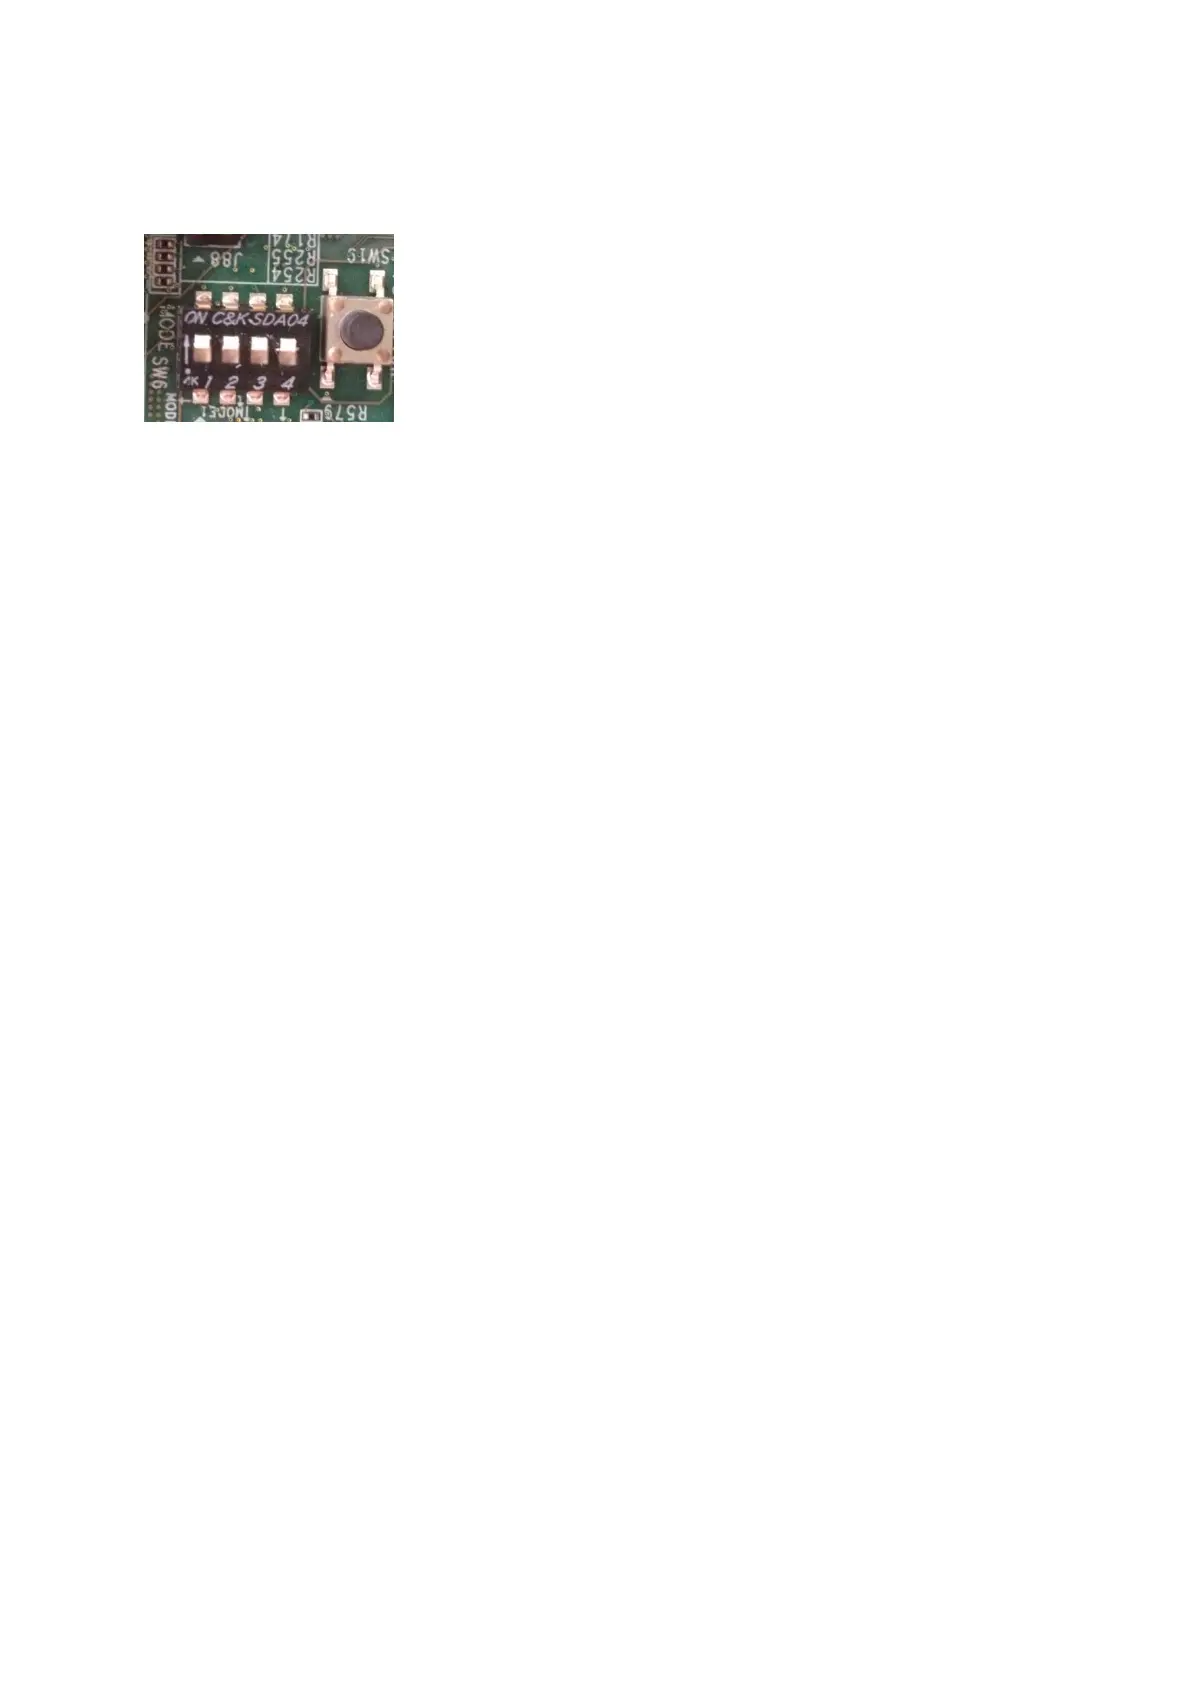
Set the BootMode (SW6) pins to JTAG Mode:
Launch the XSCT (or XSDB) and use the commands below to boot from JTAG below. This script is
given in the jtag_linux folder.
connect
targets -set -filter {name =~ "MicroBlaze PMU"}
dow pmufw.elf
con
targets -set -filter {name =~ "PSU"}
fpga -f design_1_wrapper.bit
# disable isolation for PL
mask_write 0XFFD80118 0x00800000 0x00800000
mask_write 0XFFD80120 0x00800000 0x00800000
# write bootloop and release A53-0 reset
mwr 0xffff0000 0x14000000
mwr 0xFD1A0104 0x380E
exec sleep 1
source psu_init.tcl
psu_init
psu_post_config
dow -data image.ub 0x80000
#Or if using the OSL flow
#dow -data Image 0x80000
#dow -data system.dtb 0x4000000
mwr -force 0xFF1800A8 0xC0
mwr -force 0xFF1800AC 0xC0
targets -set -filter {name =~ "Cortex-A53 #0"}
dow u-boot.elf
dow bl31.elf
con
This will boot the u-boot, then the Linux kernel. If it fails to boot the Linux image, just use the
command below:
booti 0x80000 – 0x4000000
 Loading...