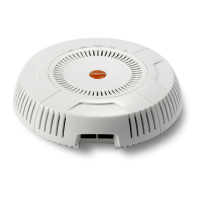
Wireless Access Point
Using Tools on the Wireless AP 421
11. Upload Signature File: First, download the latest signature file from the
Xirrus Customer Support site: ArrayOS - XR Platform Latest Release to
your file system. Click the Browse button, then browse to locate the new
signature file. Click the Upload button when it appears. The new file will
be uploaded to the AP and will be used for identifying applications. You
must turn Application Control off and back on again on the Filter Lists
page to make the new signature file take effect. See “Filter Lists” on
page 390. No reboot is required.
Active Signature File shows which file is currently being used by
Application Control. If you have installed any custom DPI signature files,
you may use Manage Signature Files.
Web Page Redirect (Captive Portal)
The AP uses a Perl script and a cascading style sheet to define the default
splash/login Web page that the AP delivers for WPR. You may replace these
files with files for one or more custom pages of your own. See Step 14 below
to view the default files. See Step 15 page 282 for more information about
WPR and how the splash/login page is used.
Each SSID that has WPR enabled may have its own page. Custom files for a
specific SSID must be named based on the SSID name. For example, if the
SSID is named Public, the default
wpr.pl and hs.css files should be
modified as desired and renamed to
wpr-Public.pl and hs-Public.css
before uploading to the AP. If you modify and upload files named
wpr.pl
and
hs.css, they will replace the factory default files and will be used for any
SSID that does not have its own custom files, per the naming convention just
described. Be careful not to replace the default files unintentionally.
Figure 201. Managing WPR Splash/Login page files

 Loading...