VESDA-EVES-A10-P Product Guide
www.xtralis.com 101
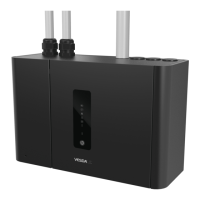
Figure7-25: Remove the three screws holding the Ultrasonics Flow Sensing and Scanning Module
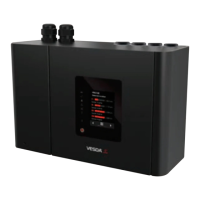
4. Remove the Ultrasonics Flow Sensing and Scanning Module from the detector base. (Figure7-26)
Figure7-26: Remove the Ultrasonics Flow Sensing and Scanning Module
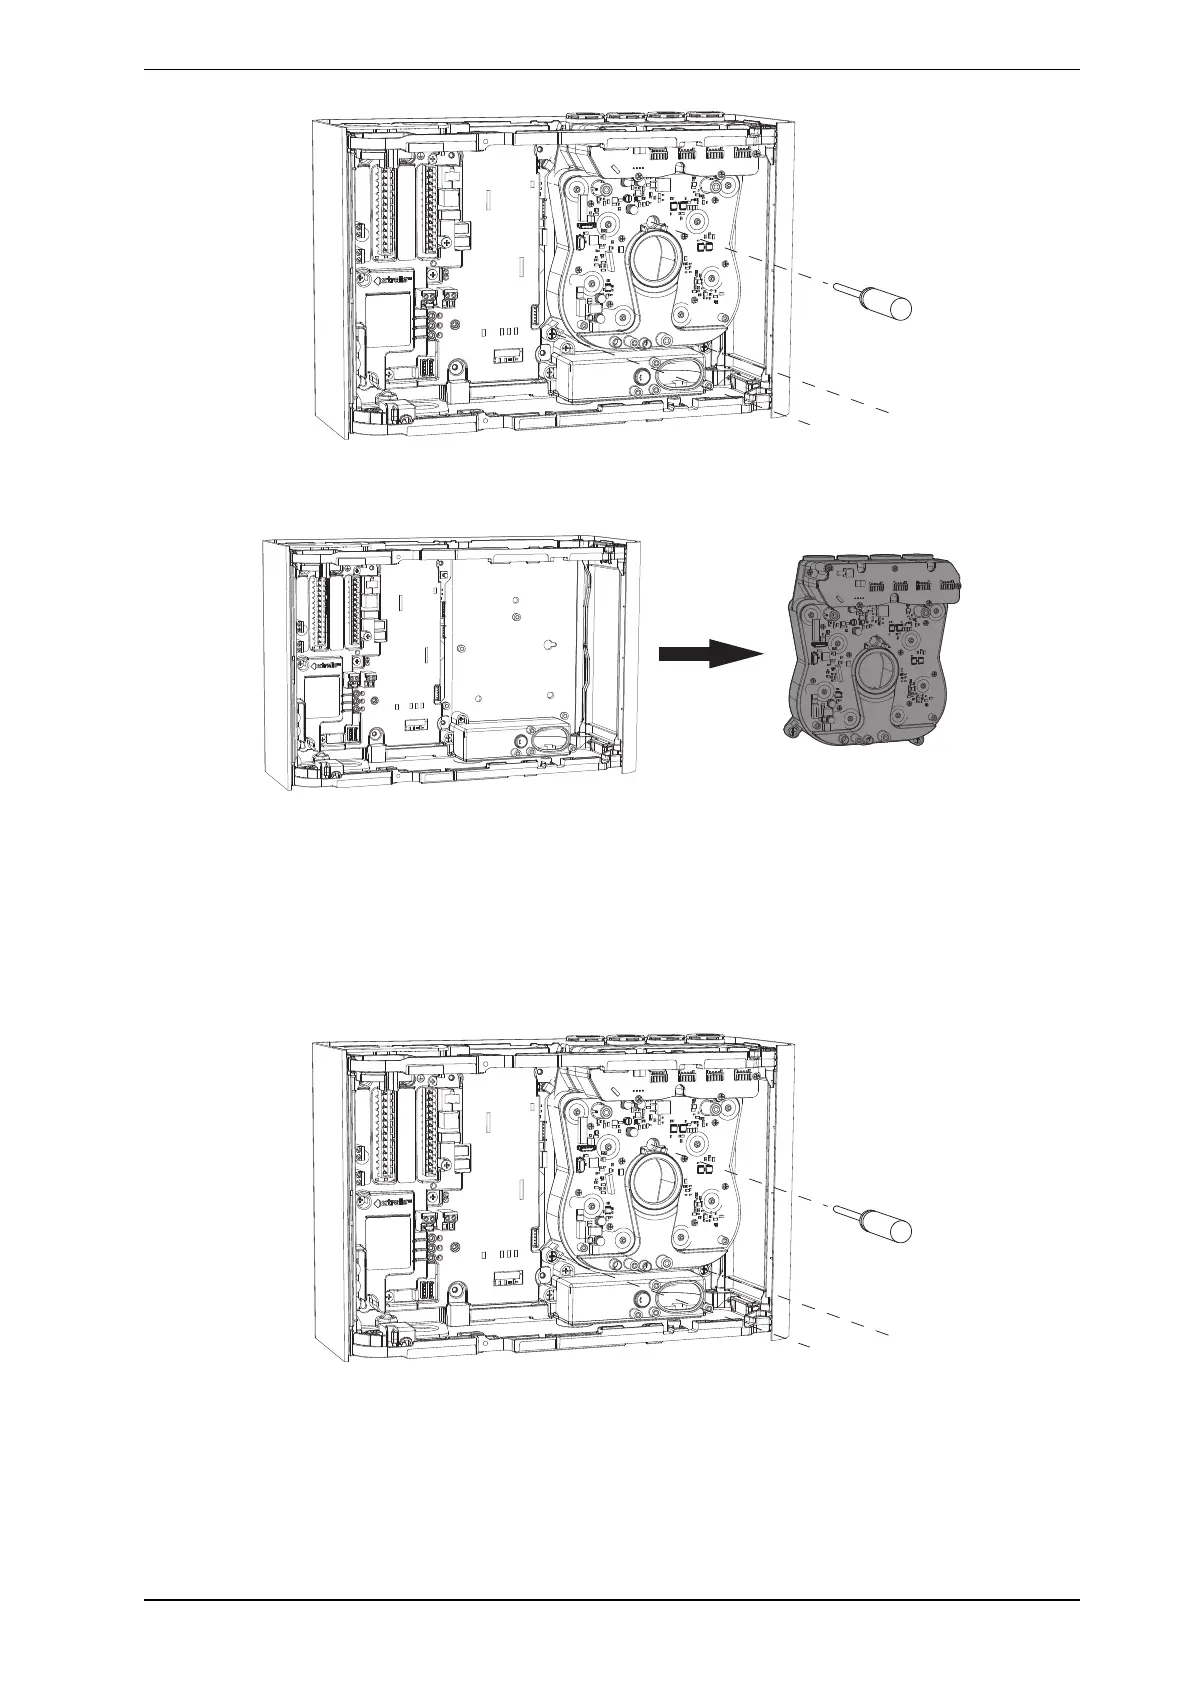
Installing the replacement Ultrasonics Flow Sensing and Scanning Module
1. Re-install the Ultrasonics Flow Sensing and Scanning Module into the detector base ensuring that the
looms are not trapped under the module.
2. Secure the three screws that hold the Ultrasonics Flow Sensing and Scanning Module to the detector
base.
3. Reconnect the main board loom connection at J2 and antenna connection at J11.