EasyManuals Logo

Yale Assure Lock 2 Plus User Manual

Yale Assure Lock 2 Plus
36 pages
To Next Page IconTo Next Page
To Previous Page IconTo Previous Page
Page #14 background imageLoading...
Page #14 background image
14
P/N YRD450-N-MNL-0039 Rev A
1
5
4
3
3
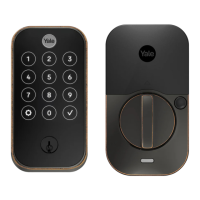
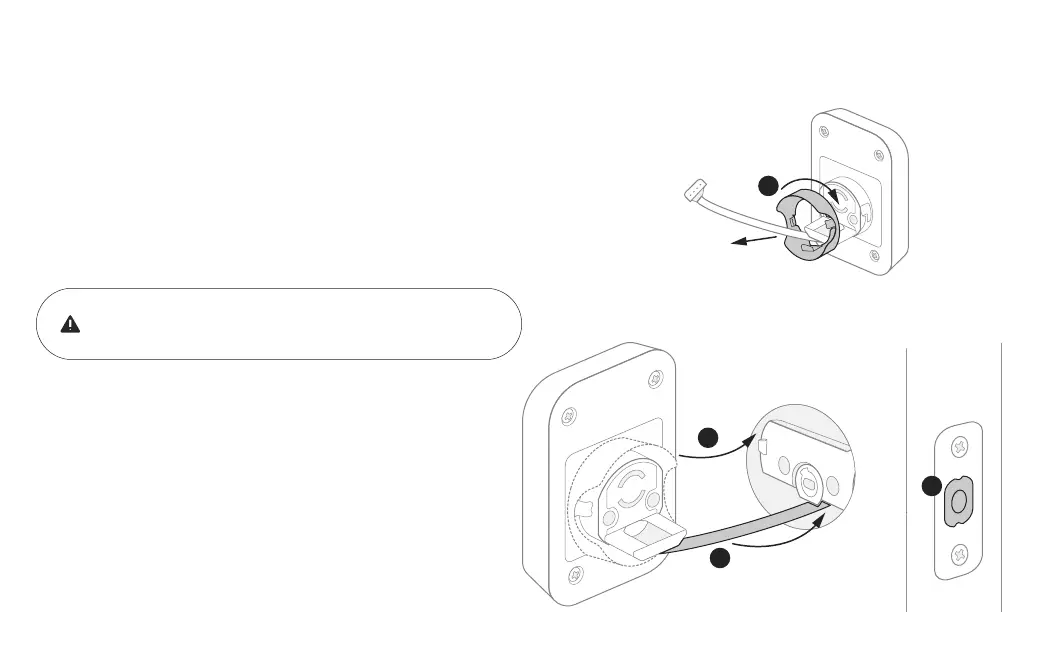
Install Exterior Keypad
Install your lock with the door open.
Do not close your door until all the steps are completed.
1. Refer to measurements G and H on the Door Checker (page 6) to measure
face bore hole. If the hole is less than 21/8” (H), remove adapter by
twisting it off the body of the lock.
Note: Removing the adapter might also help if your face bore and edge bore are of
irregular shape or are not properly aligned.
2. Remove the plastic cover from the keypad.
3. Make sure your deadbolt latch is in an unlocked position.
Refer to step 2, point 4 (page 13) for guidance on how to
retract it, if needed.
4. Guide the wire cable under the deadbolt.
5. Slide the keypad in place, making sure it’s on the exterior
part of your door.

Questions and Answers:

Question and Answer IconNeed help?

Do you have a question about the Yale Assure Lock 2 Plus and is the answer not in the manual?

Yale Assure Lock 2 Plus Specifications

General IconGeneral
Lock TypeDeadbolt
Power Source4 AA Batteries
Finish OptionsSatin Nickel, Oil Rubbed Bronze, Black Suede
Battery LifeUp to 1 year
Door Thickness1-3/8" to 2-1/4"
Bump Key ProofYes
ConnectivityBluetooth, Wi-Fi
CompatibilityAmazon Alexa, Google Assistant, Apple HomeKit
KeypadYes, touchscreen
Smartphone AppYale Access App
Weather ResistanceYes
Backset2-3/8" or 2-3/4"
Auto-LockYes
Backup Power9V Battery Terminal
User CodesUp to 25 (unlimited with app)

Related product manuals