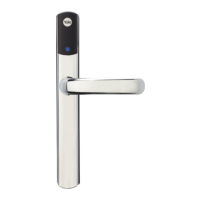
* The pictures in this installation manual are for illustration purposely,
and the actual product or parts may vary. *
Table of contents
1 Preparation before installation
2 Product installation
1.1 Product parts list
1.2 Optional accessories
1.3 Door direction confirmation
1.4 Mortise installation preparation
1.5 Fixing handing direction
1.6 Reversing handing direction (if needed)
1.7 Installation of threaded pull tube, positioning plug
and transmission plate
1.8 Main body handle cover removal
1.9 Door holes opening
2.1 Mortise installation
2.2 Front body installation
2.3 Main body plate installation
2.4 Main body installation
2.5 Striker plate and striker box installation
2.6 Key installation
2.7 Acceptance test
................................
................................
................................
................................
................................
................................
................................
................................
................................
01
03
05
06
07
09
11
12
12
................................
................................
................................
................................
................................
................................
................................
13
14
15
16
17
18
19
 Loading...
