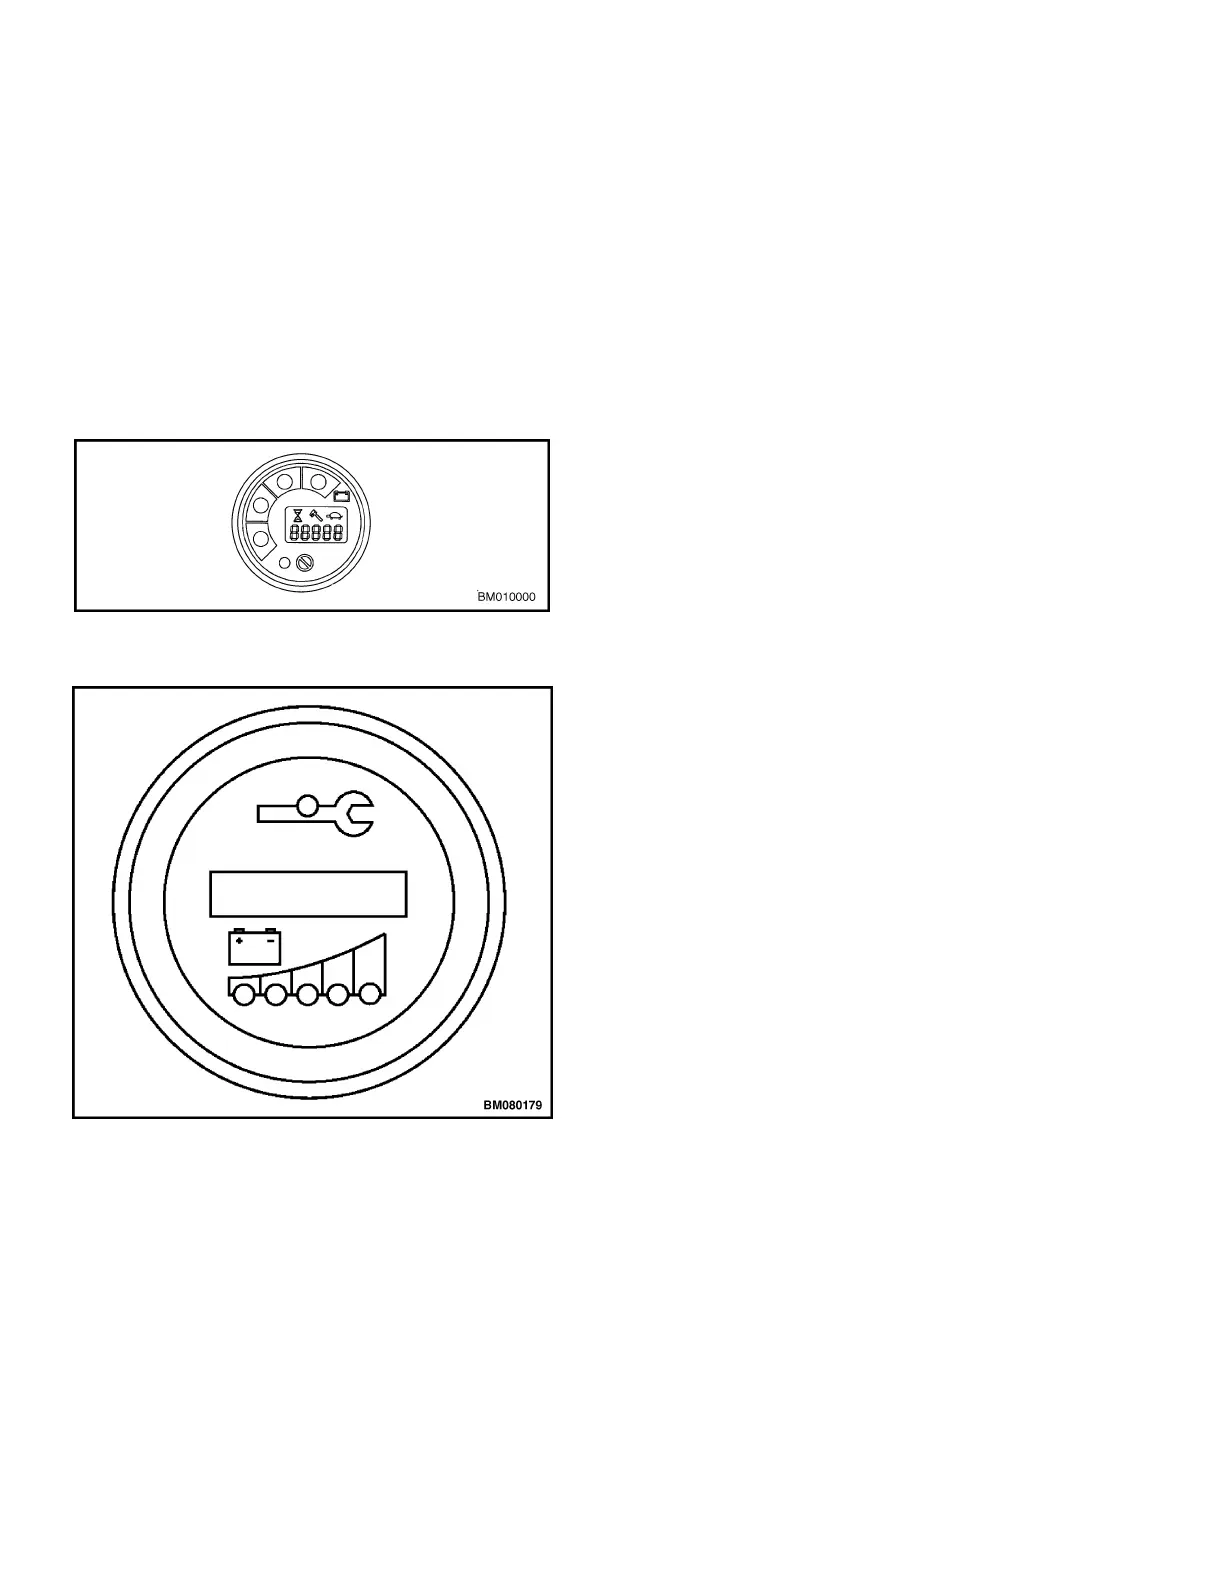
Battery Indicator/Hourmeter Display
NOTE: On some models, the dash indicator will dis-
play the code: EP 107 (or a higher number) for 1 to 2
seconds every time the key switch is turned to the ON
position. This code represents the EEPROM software
version and DOES NOT INDICATE A FAULT CODE.
The Battery Indicator/Hourmeter Display shows bat-
tery charge status, truck hours, and fault codes. See
Figure 8.
Figure 8. Battery Indicator/Hourmeter Display
Figure 9. Battery Indicator/Hourmeter Display
REMOVE
1. Turn the key switch to the OFF position and dis-
connect battery.
2. Remove the upper drive unit compartment cover.
3. Discharge the capacitor. See Special Precautions
in this section.
4. Disconnect the wire harness plug from the back of
the display. Locking tab is hidden underneath rub-
ber boot.
5. Remove nuts and washers holding retaining
bracket. Remove bracket and gauge from control
panel.
INSTALL
1. Install gauge in control panel.
2. Install retaining bracket, washers, and nuts.
Tighten nuts.
3. Reconnect display wire harness plug.
4. Connect battery and turn the key switch to the ON
position.
5. Test operation of lift truck in a safe area.
6. Install the upper drive unit compartment cover.
Battery Indicator/Hourmeter Display 2200 YRM 1007
14
 Loading...