6
Unpack and power all the devices
2
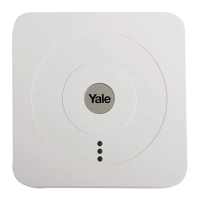
Smart Hub 2.0
1. Plug in the power adaptor and connect the Smart Hub
to your internet router using the cable provided.
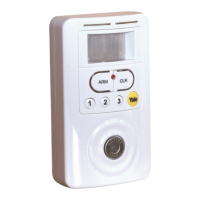
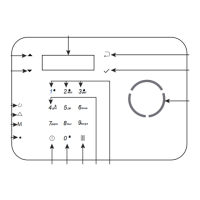
Key Pad
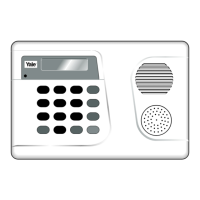
PIR Motion Detector
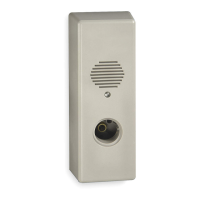
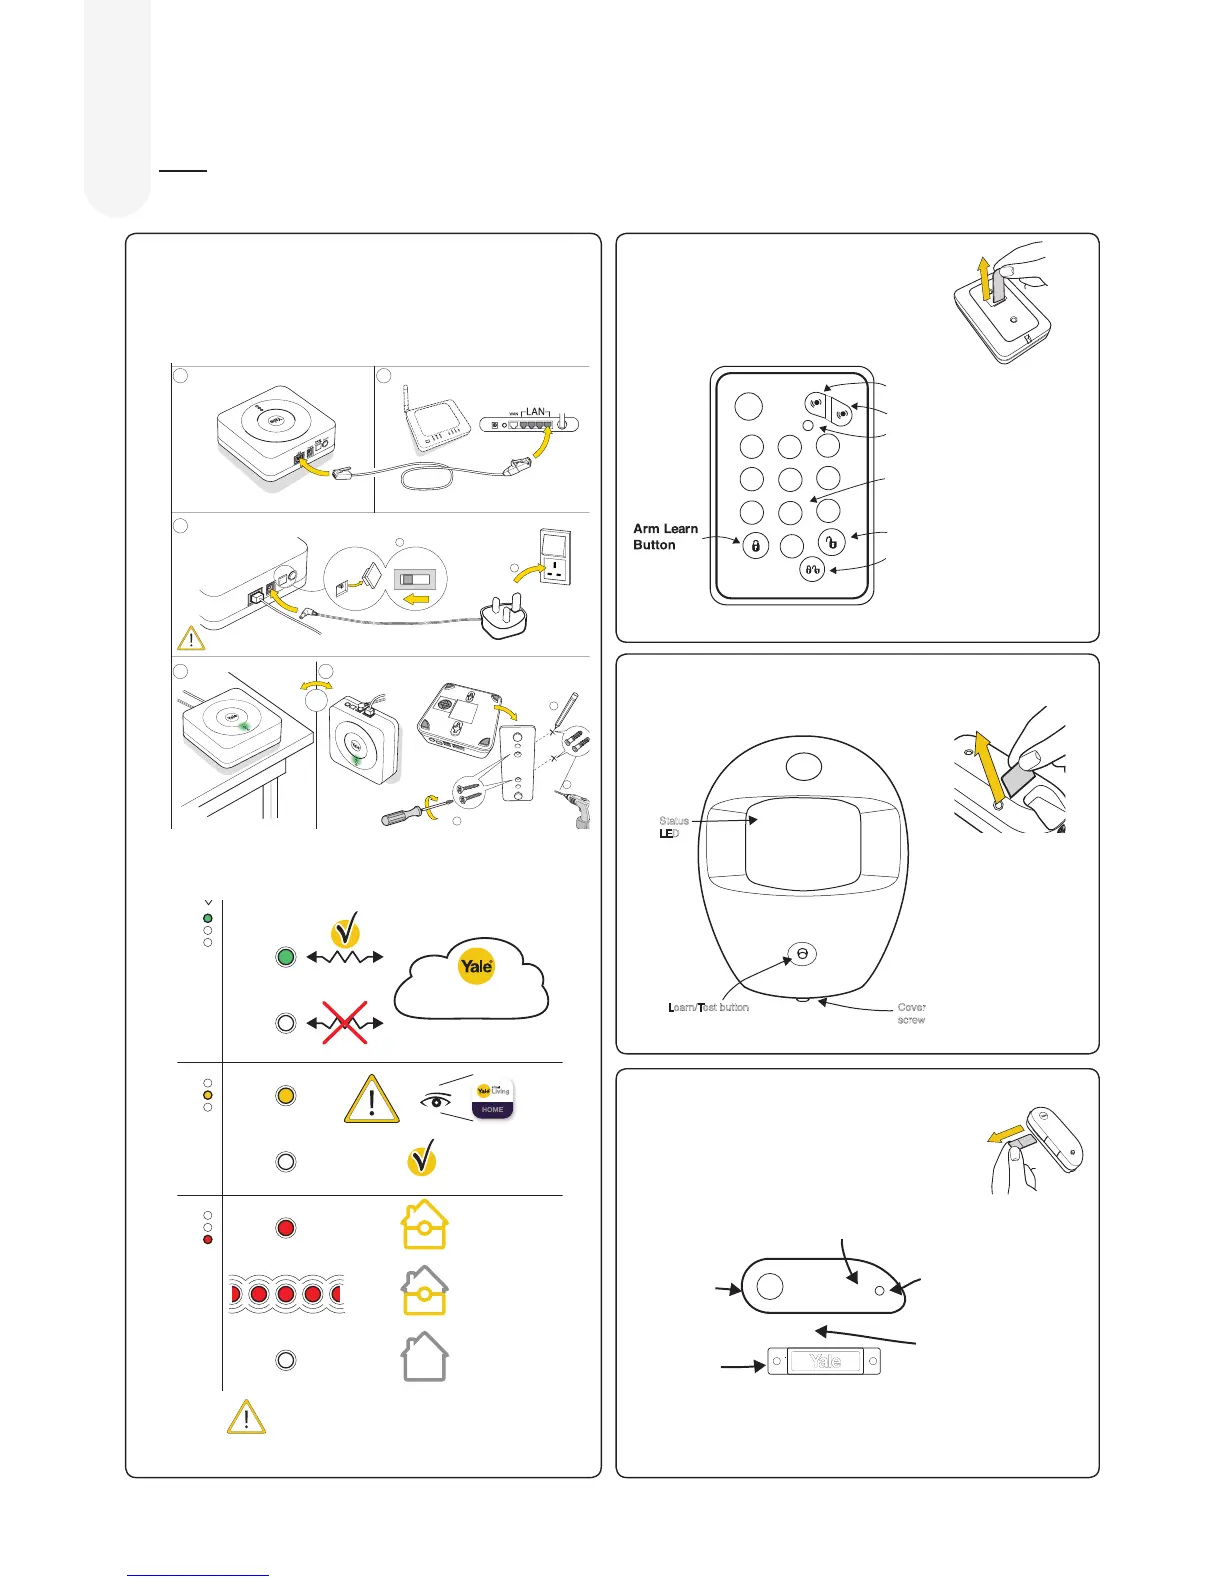
Door/Window Contact
ale
Y
1
2
3
6
5
4
7
8
9
0
Panic button A
Panic button B
Disarm
Home
Arm
LED
Learn button=
Press 8 and 9 together
/
Away
ale
Y
Status
LED
Learn/Test button Cover
screw
(09)
(GB) Setting up - (IT) ITSetting up - (DE) DESetting up - (NO) NOSetting up - (SE) SESetting up -
(DK) Opsætning.
Router
NOT INCLUDED
Learn
Power
LAN
Batt
ery
<On O>
Battery
<On O>
<On O>
Learn
P
ower
LAN
Battery
<On O>
OR
a
b
c
Ø5mm
Learn
Pow
er
L
AN
Bat
tery
<On O
>
a
b
(10)
(GB) Reset - (IT) Reset - (DE) Reset - (NO) Tilbakestill - (SE) Återställning - (DK) Nulstil .
Learn
Power
LAN
Battery
<On Off>
Battery
<On Off>
<On Off>
Learn
Power
LAN
Battery
<On Off>
<On Off>
GB - Network
IT - Rete
DE - Netzwerk
NO - Nettverk
SE - Nätverk
DK - Netværk
GB - Fault Status
IT - Guasto Stato
DE - Fehlerstatus
NO - Feil Status
SE - Felindikering
DK - Fejlstatus
GB - PANEL MODE
IT - Modalitá Pannello
DE - Panel-Modus
NO - Panel Mode
SE - Larmstatus
DK - Panel tilstand
4
(GB) Setting up - (IT) Configurazione - (DE) Einstellung -
(NO) Tilkobling og montering av alarmsentralen - (SE) Driftsättning -
(DK) Opsætning.
(GB) Installation - (IT) Installazione - (DE) Installation - (NO) Installasjon - (SE) Installation -
(DK) Installation.
Remove battery strips
(1
Test your planned location of components (2
Test location for radio signal strength (4
Press button to test connection
(3
(11)
(1 (IT) Rimuovi la linguetta della batteria - (DE) Entfernen der Batteriefolie - (NO) Fjern plastbeskyttelsen på batteriet
(SE) Ta bort batterifliken - (DK) Fjern batteri-strimmel
(2 (IT) Verifica la posizione scelta per i dispositivi - (DE) Testen Sie den geplanten Standort -
(NO) Test plasseringen av komponenten - (SE) Testa tilltänkta placeringen av sensorerna -
(DK) Test komponent placering
(3 (IT) Premere il pulsante per verificare la connessione - (DE) Drücken Sie den Knopf um die Verbindung zu testen
(NO) Trykk på knappen for å teste forbindelse - (SE) Tryck på knappen för att testa kopplingen -
(DK) Tryk knap for test af forbindelse.
(4 (IT) Verifica la connessione nella posizione prescelta - (DE) Testen Sie den Ort für die Stärke des Signals -
(NO) Test plassering i forhold til stabilitet av de trådløse signalene - (SE) Testa radiosignalens styrka -
(DK) Test placering for god trådløs forbindelse
8 9
5
6
Alarm Hub Status
Connected
to server
Fault
Light
Fully Armed
Part Armed
Disarmed
Unit must be turned on otherwise
orange light will appear on Smart Hub.
See page 16 for Key pad
installation.
ale
Y
Learn/Test
button
LED
Gap no more
than 10mm
Magnet
Sensor
Please Note: The door sensor will not work correctly if the magnet is
parallel to the curved part of the sensor or similar statement. MUST be
mounted as in the diagram, either vertically or horizontally. Also FLUSH
with each other.
Alarm hub status (and troubleshooting page 225)
– the red led will extinguish on the next alarm arm/
disarm cycle.
 Loading...