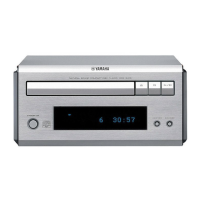
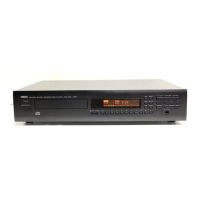
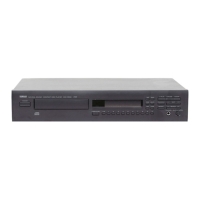
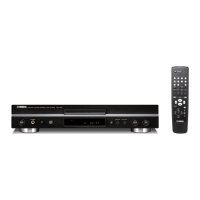
CDX-E410
8
CDX-E410
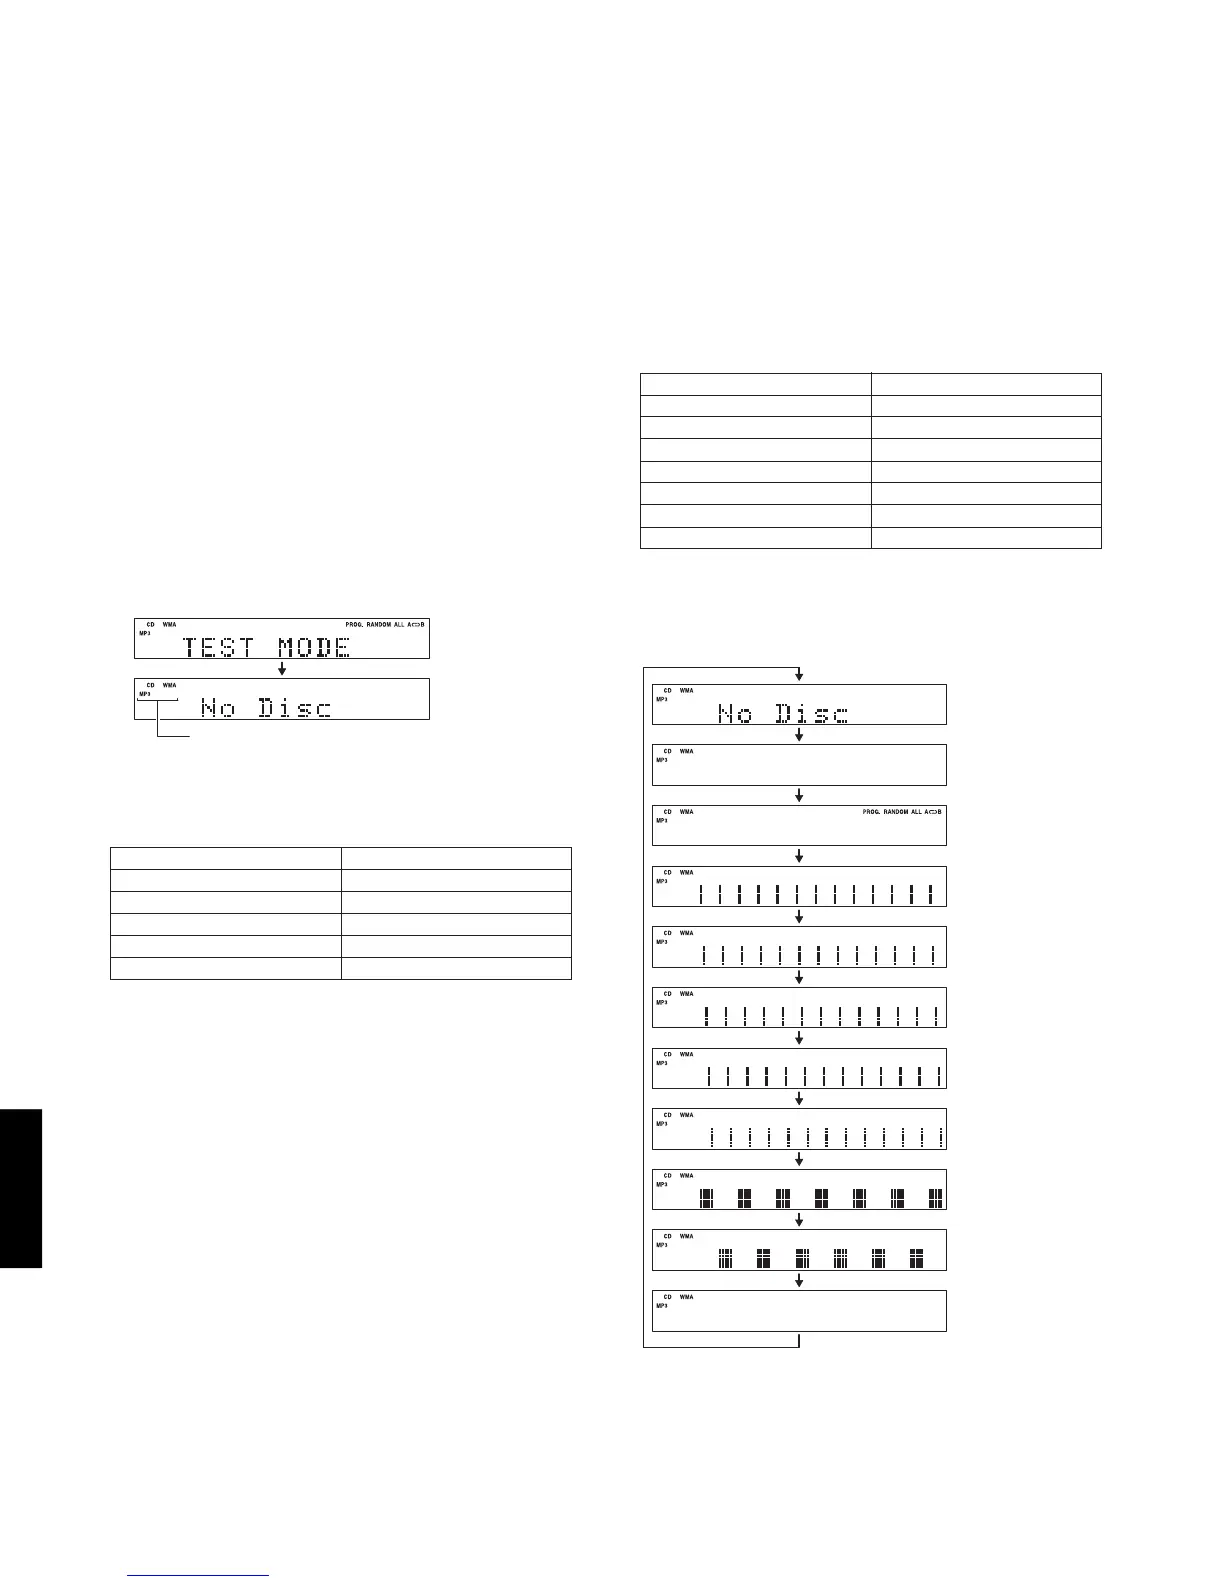
■ TEST MODE
Starting
TEST mode
This part is always displayed
when in the TEST mode.
2 seconds
*1 Check FL display
The display condition varies as shown below accord-
ing to the “TIME/INFO” key of the remote control.
Initial display
Icon (left)
Icon (right)
Pattern 1
Pattern 2
Pattern 3
Pattern 4
Pattern 5
Pattern 6
Pattern 7
Icon (left)
2. Function list of remote control keys.
FF
FF
F (OPEN/CLOSE)
WW
WW
W /
DD
DD
D (PLAY/PAUSE)
AA
AA
A (STOP)
TT
TT
T /
EE
EE
E (SKIP-/SEARCH-)
RR
RR
R /
YY
YY
Y (SKIP+/SEARCH+)
Tray open/close.
Playback/Pause.
Stop.
Move traverse reverse.
Move traverse forward.
1. Function list of panel keys.
WW
WW
W
(PLAY)
DD
DD
D (PAUSE)
AA
AA
A
(STOP)
TT
TT
T
(SKIP-)
YY
YY
Y (SKIP+)
TIME/INFO
RANDOM
Playback.
Pause.
Stop.
Move traverse reverse.
Move traverse forward.
Check FL display. (*1)
Spindle servo on/off.
Panel key Function
Panel key Function
• Starting Test Mode
a. Connect the power cable of CDX-E410 and RX-
E410 to the AC outlet.
b. Press the “STANDBY/ON” key of the CDX-E410.
RX-E410 and CDX-E410 will start up.
c. Press the “FILE/A-E” key of the remote control while
simultaneously pressing “STOP” key of the CDX-
E410.
When in the TEST mode, the “TEST MODE” is dis-
played for 2 seconds.
With CDX-E410 alone, it is not possible to start the TEST mode.
Be sure to prepare, receiver (RX-E410), system control cable and remote control.
Preparation and precautions before starting the operation
Connect the “TO RX-E410” terminal of the CDX-E410 to the “TO CDX-E410” terminal of the RX-E410 with the system
control cable.
• Canceling Test Mode
Press the “STANDBY/ON” key of the CDX-E410.