24
RX-V661/HTR-6060/DSP-AX761
RX-V661/HTR-6060/
DSP-AX761
24.TI BOOT ?
24.TI BOOT...
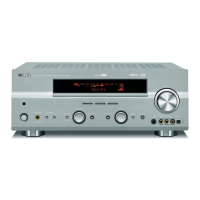
Fig. 8
6. [RDY]ボタンを押し、書き込みの予約をします。(Fig.8)
7. 本機の電源コードをACコンセントに接続します。
8. 本機のSTRAIGHTキーとAUDIOSELECTキーを押
しながら、STANDBY/ONキーを押し、ダイアグを起
動します。(Fig.5)
9. DIAG24.TIBOOT?を選択します。
10. 本機のSTRAIGHTキーを押し、書き込みを開始しま
す。
[RDY] button
[RDY]ボタン
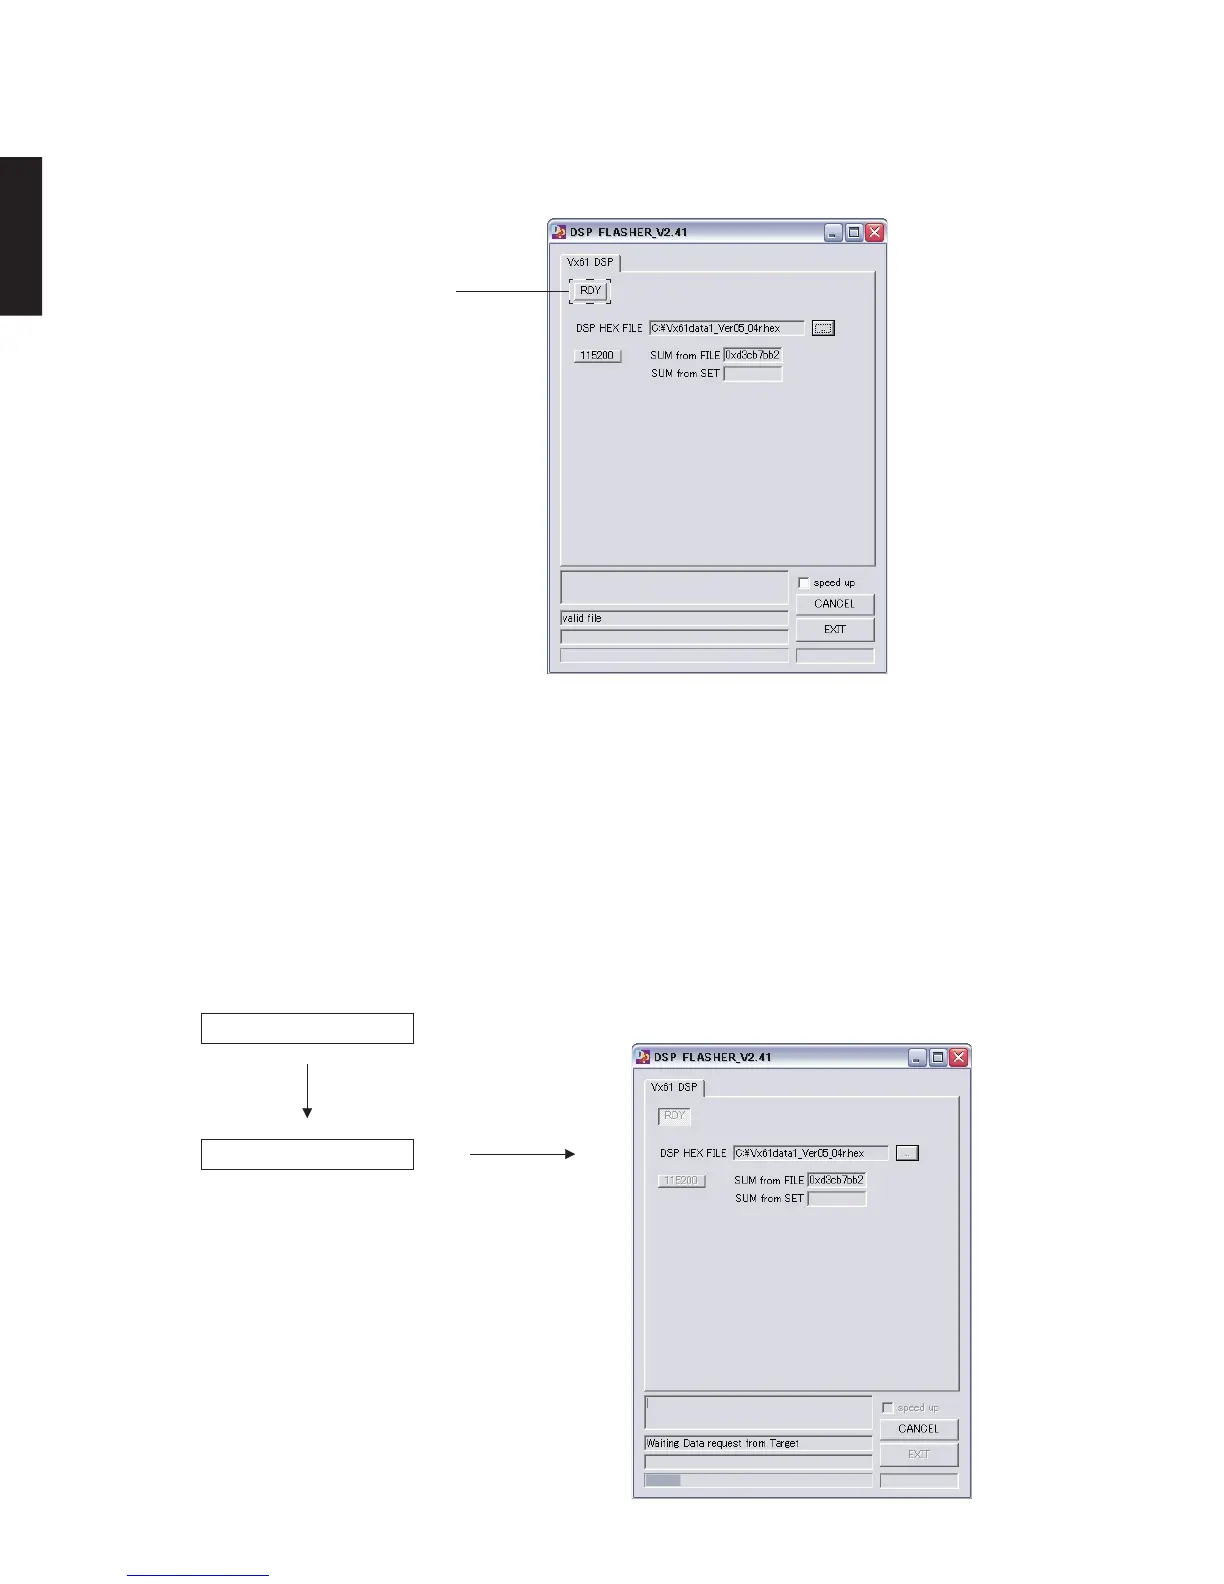
Press the “STRAIGHT” key.
STRAIGHTキーを押します。
Writing / 書き込み中
Fig. 9
6. Press the [RDY] button to reserve writing. (Fig. 8)
7. Reconnect the power cable of main unit to the AC outlet.
8. Press the “MASTER ON/OFF” (RX-V661, HTR-6060:
G model) / “STANDBY/ON” (HTR-6060: U, C models,
DSP-AX761) key while simultaneously pressing
“STRAIGHT” and “AUDIO SELECT” keys of the main
unit. Then the DIAG function is activated. (Fig. 5)
9. Select the DIAG menu “24. TI BOOT ?”.
10. Press the “STRAIGHT” key of the main unit and start
writing.
 Loading...