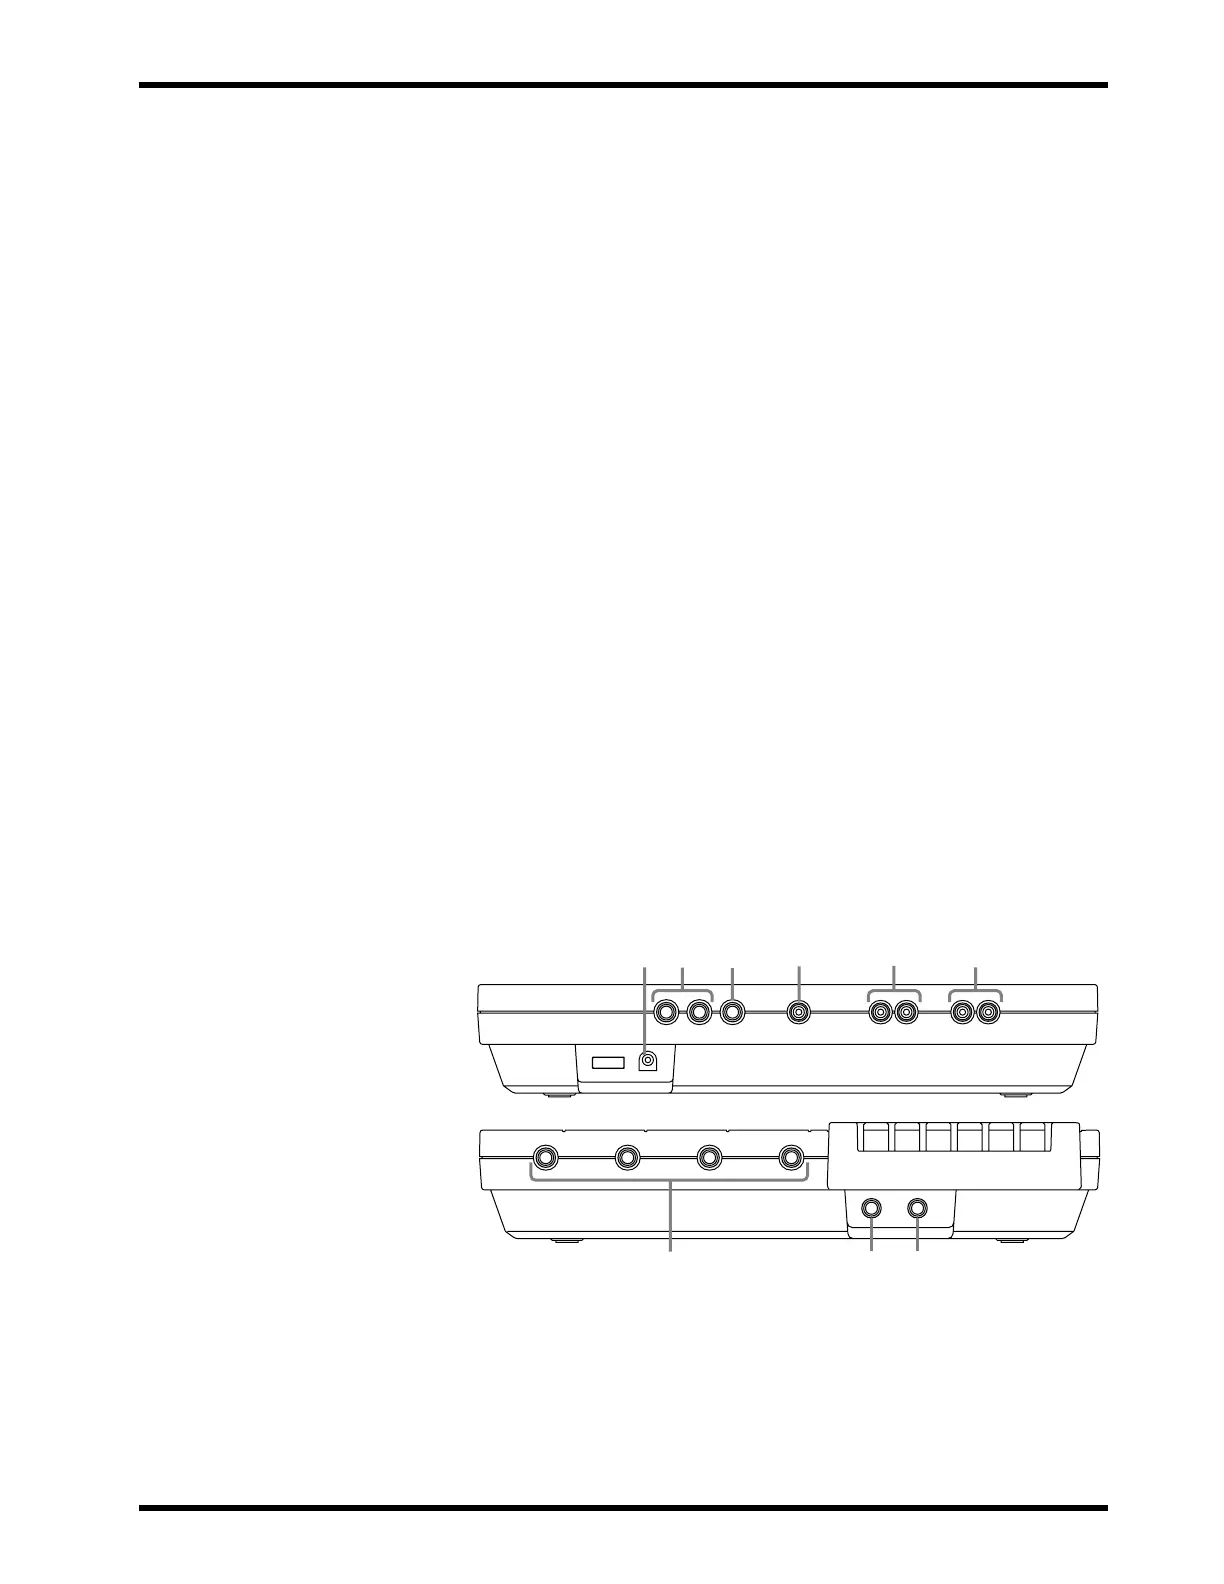
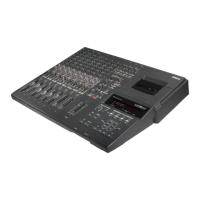
Connections
7
MT50 User’s Guide
Connections
1
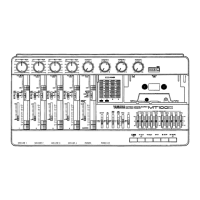
MIC/LINE input jacks:
Microphones, instruments, and
line-level sources are connected here for recording.
2
PHONES jack:
A pair of stereo headphones is connected here
to enable you to monitor the recording or playing back of tracks.
3
PUNCH I/O jack:
An optional footswitch, such as the Yamaha
FC4 or FC5, is connected here for punch-in/out recording.
4
STEREO OUT jacks:
During mix down, signal is output from
these outputs to the master recorder. Connect these outputs to the
inputs of the master recorder.
5
MONITOR OUT jacks:
The monitor signal is output from these
L/R jacks. Connect a pair of speakers with built-in amplifiers.
6
SYNC OUT jack:
This jack outputs the FSK signal to synchro-
nize the MT50 and a MIDI sequencer or drum machine. Connect
a MIDI-FSK convertor such as the Yamaha YMC10.
7
AUX SEND jack:
The aux send signal is output at this jack.
Connect this jack to the input on an external effects processor,
such as the Yamaha FX770 or REV100.
8
AUX RETURN jacks:
The effects signal is returned here. Con-
nect this to the output on an external effects processor. Use the
L(MONO) input jack for mono return signals. Use both the
L(MONO) and R jacks for stereo return signals.
9
DC 12V POWER connector:
Connect the AC adaptor here.
231
9
8
6
5
4
7