●
Editing
●
39
Basic Procedure
1. Starting from PLAY mode, press [SHIFT]+[EDIT]. The LCD returns the message
Which pad?
▼ Once you have entered EDIT mode, you can return to PLAY mode at any time by pressing [EXIT]
once or (in some cases) twice.
2. Select the sample you want to edit. Press [BANK] to select the bank, then press
the pad corresponding to the sample.
The LCD displays the Edit xx? message (where xx identifies the selected
pad). If you like, you can change the selection by pressing [BANK], a different
pad, or [+1], [–1]. When you are satisfied with your selection, press [ENTER].
▼ If you press an empty pad, the LCD displays the Pad Empty message and waits for a different
selection.
▼ If you select a pad that is in a locked bank, the LCD briefly displays the Locked Bank!
message.
3. Move to the appropriate edit function.
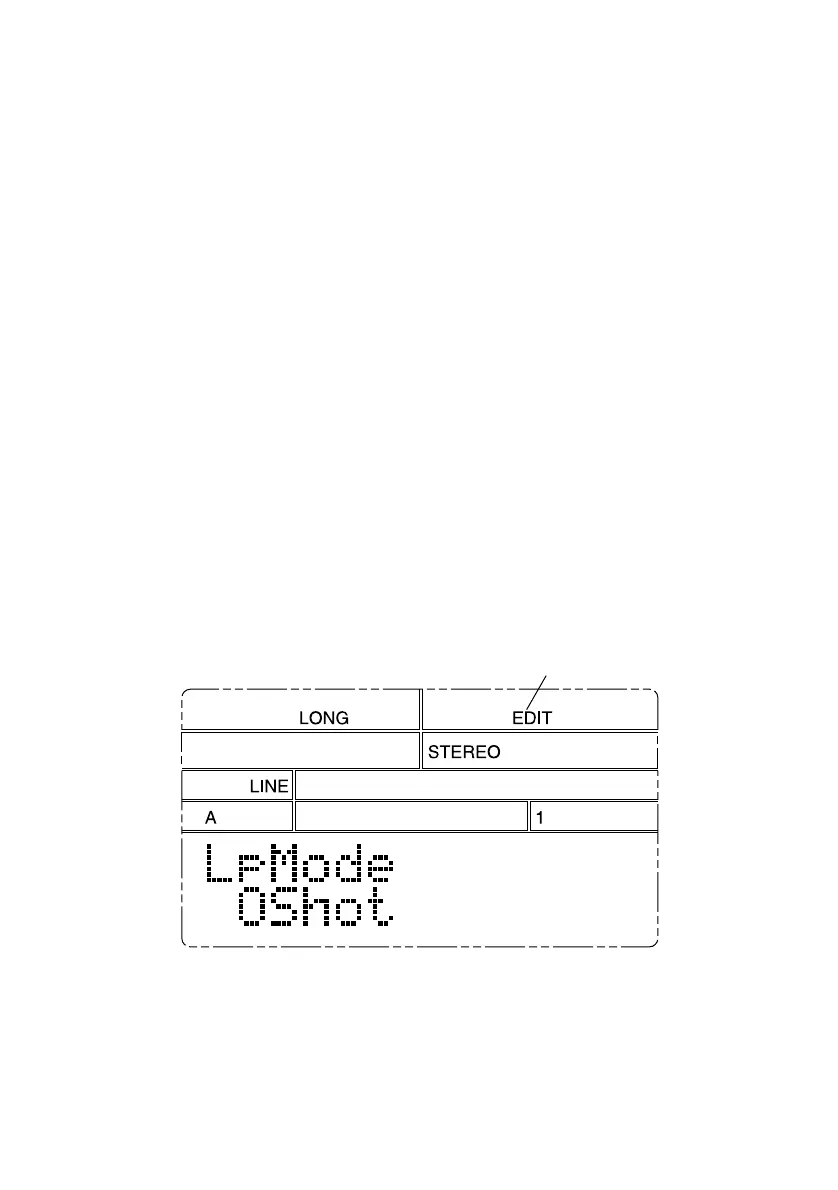
The SU10 begins from the first edit parameter — the loop-mode setting. If
loop mode is currently set to “One-Shot,” for example, the LCD will look
something like this.
Edit mode
If you are satisfied with the current setting, you can proceed to the next edit
function by pressing [>]. In general, you can move from function to function
by pressing [>] or [<]. The sequence is as follows:


 To Next Page