3
Screwdriver
3*6PMOZN3+
Screwdriver
3
4
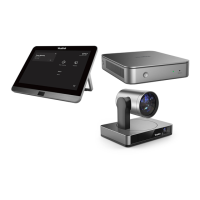
Installation
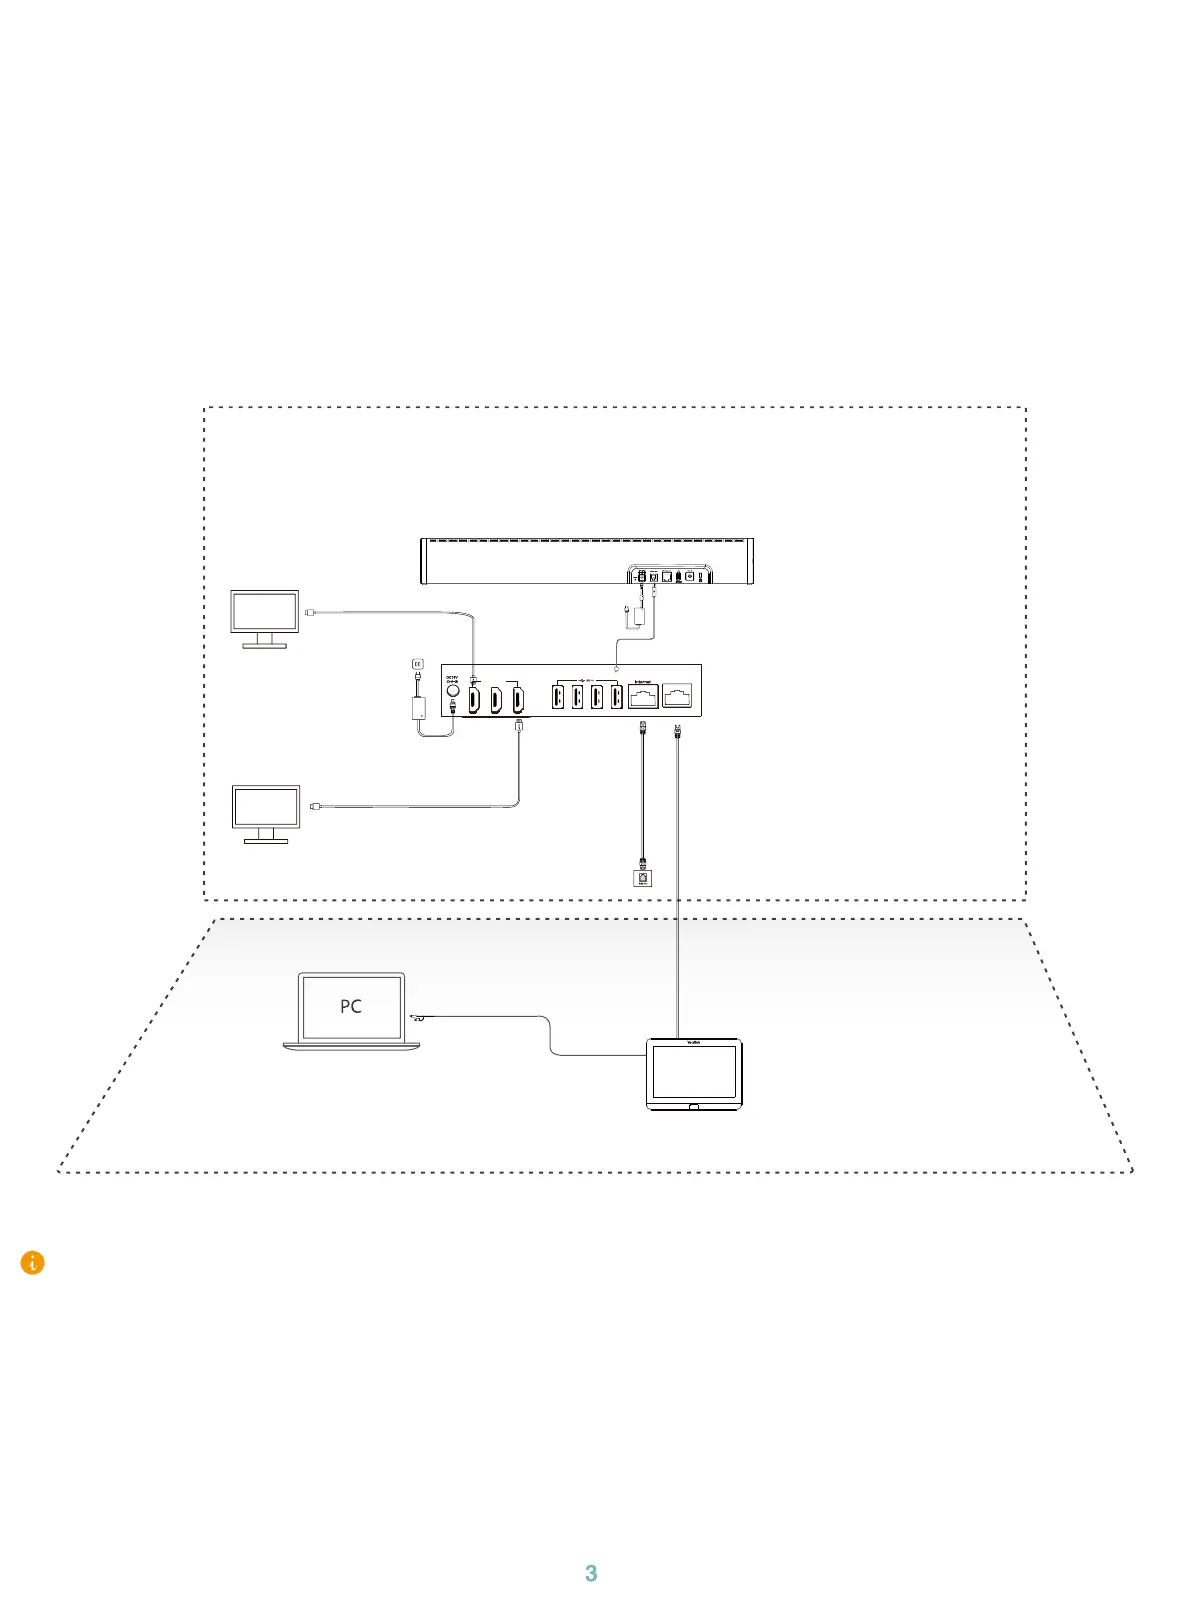
Connection
• MCore Pro supports
:
mount on the wall, mount on the TV, stick to the table.
• MTouch E2 supports: put on a table, mount on a wall.
• UVC40 supports
:
put on a at surface, mount on the wall.
• Install and deploy the accessories in the system according to the environment and actual needs. For how
to install and deploy, please refer to the quick start guide of each product.
MTouch
3x HDMI out
MCore Pro
Display
(not included)
Display
(not included)
PC
(not included)
MTouch E2
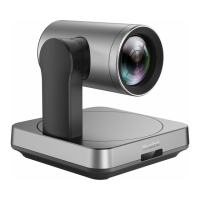
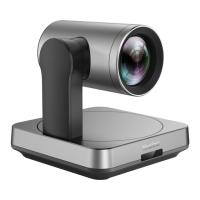
UVC40
(2.1 m, 6.89 ft)
Power
(19V/4.74A)
(1.8 m, 5.91 ft) HDMI
(1.8 m, 5.91 ft) HDMI
(3.5m, 11.48ft)
Power
(48V/0.7A)
(2.5m, 8.20ft)
USB 2.0 (A - B) Cable
(7.5 m, 24.60 ft) CAT5e
CAT5e Cable
(not included)
(1.2 m, 3.94 ft) USB 3.1 (C - C, HDMI)
• When starting up the system for the rst time, you need to connect a mouse to complete the initial
conguration. We recommend using the wireless mouse and keyboard kit.
• Not included accessories requirements:
»
Display: Resolution of 1080p or higher and with an HDMI port.
»
PC: Equipped with HDMI or USB-C (support DP protocol) Port.
»
Ethernet cable: CAT5e or higher ethernet cable.
»
HDMI: Standard HDMI cable.
»
PoE switch: If you use PoE to connect speakers or cameras, you need to use PoE+.
 Loading...