Yealink IP Phones Configuring Guide
18
8. Perform auto provisioning on the phone to download above configurations. For
more information on how to perform auto provisioning, refer to Downloading
Configuration Files on page 7.
Note
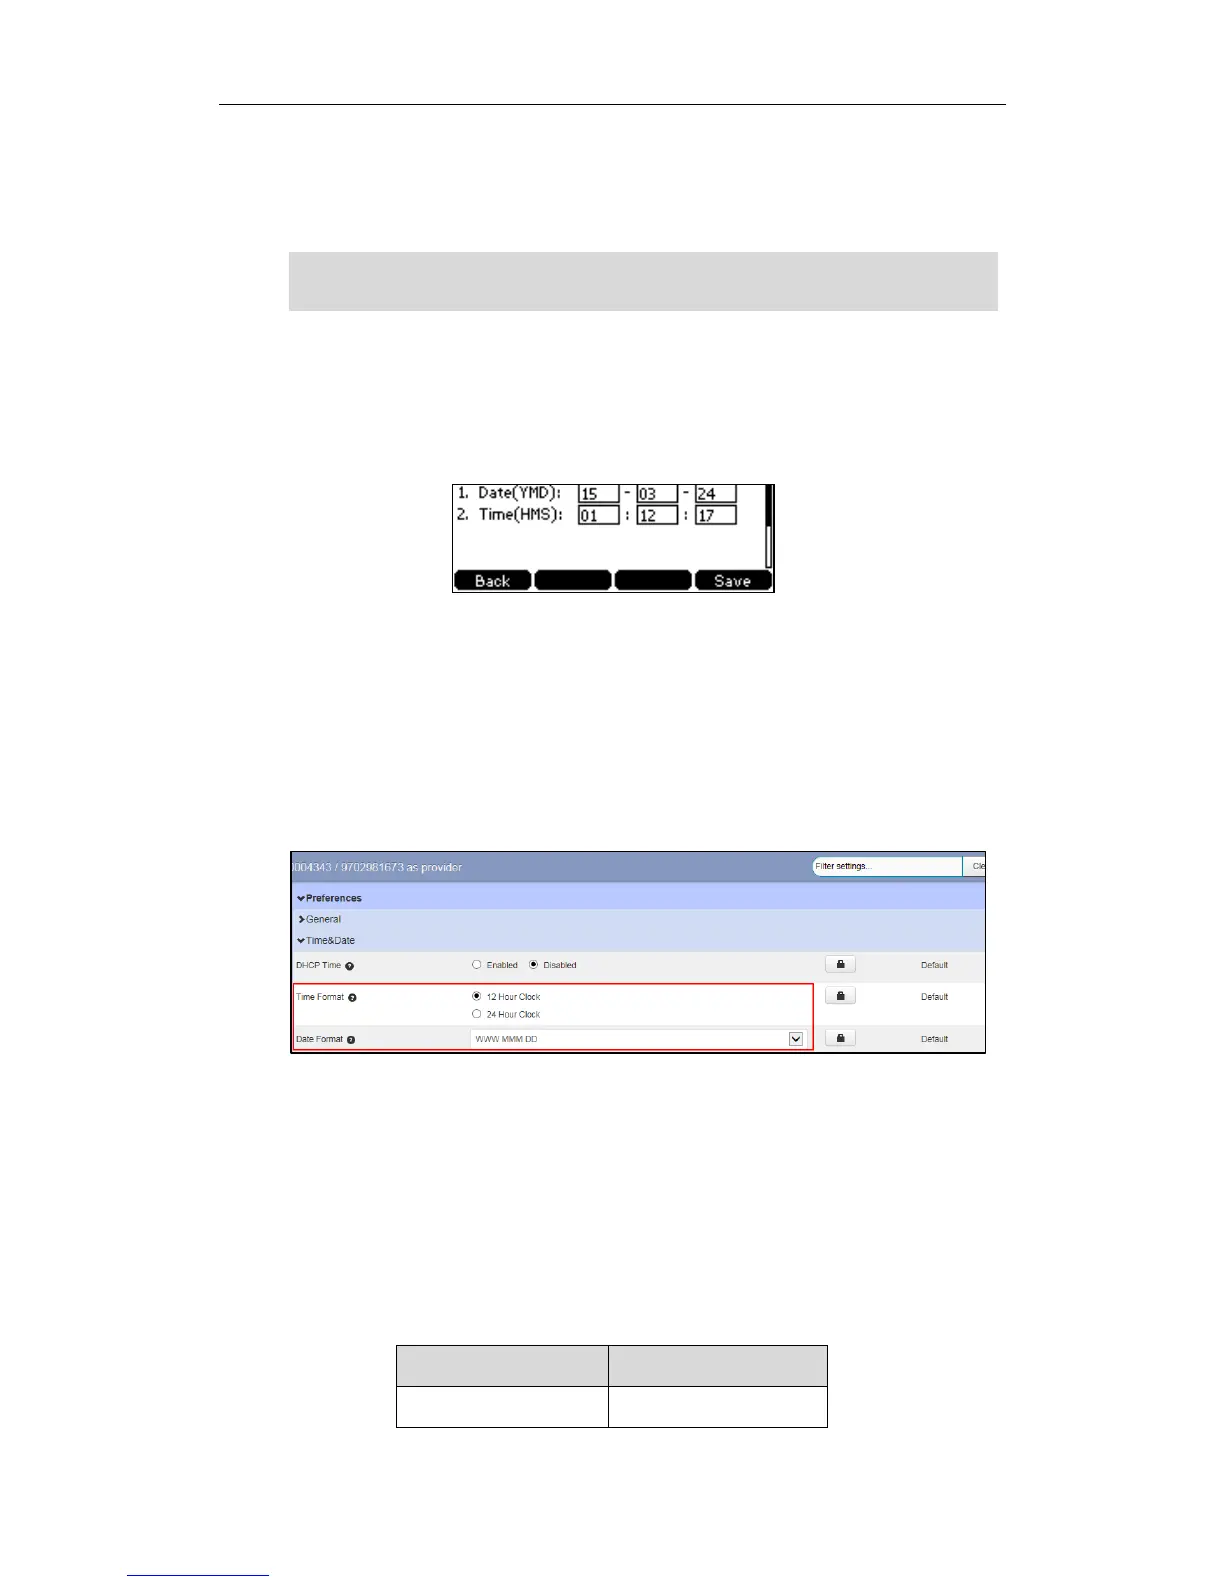
To configure the time and date manually via phone user interface:
1. Press Menu->Settings->Basic Settings->Time & Date->Manual Settings.
2. Enter the specific time and date.
3. Press the Save soft key to accept the change.
The date and time displayed on the LCD screen will change accordingly.
To configure the time and date format via CommPortal phone configurator:
1. Click on Preferences->Time&Date.
2. Mark the desired radio box of the Time Format field.
3. Select the desired date format from the Date Format pull-down list.
4. Click Save changes to accept the change.
5. Perform auto provisioning on the phone to download above configurations. For
more information on how to perform auto provisioning, refer to Downloading
Configuration Files on page 7.
There are 7 available date formats. For example, for the date format “WWW DD MMM”,
“WWW” represents the abbreviation of the weekday, “DD” represents the two-digit day,
and “MMM” represents the first three letters of the month.
The date formats available:
 Loading...