31
As noted previously, you can use Control-D2D
pairing to pair a FlexFob button to one or more
(up to 128!) compatible YoLink devices. Once
paired, you will be able to control the device
without the need of an internet connection or a
hub.
Each Control-D2D pairing consists of one device
that initiates the action, referred to as the
“controller”. The device(s) that are controlled are
called the “responder”. The FlexFob can only be
a controller.
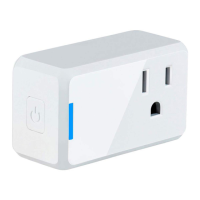
In this example, instructions are given to pair
your FlexFob to a YoLink Garage Door Controller.
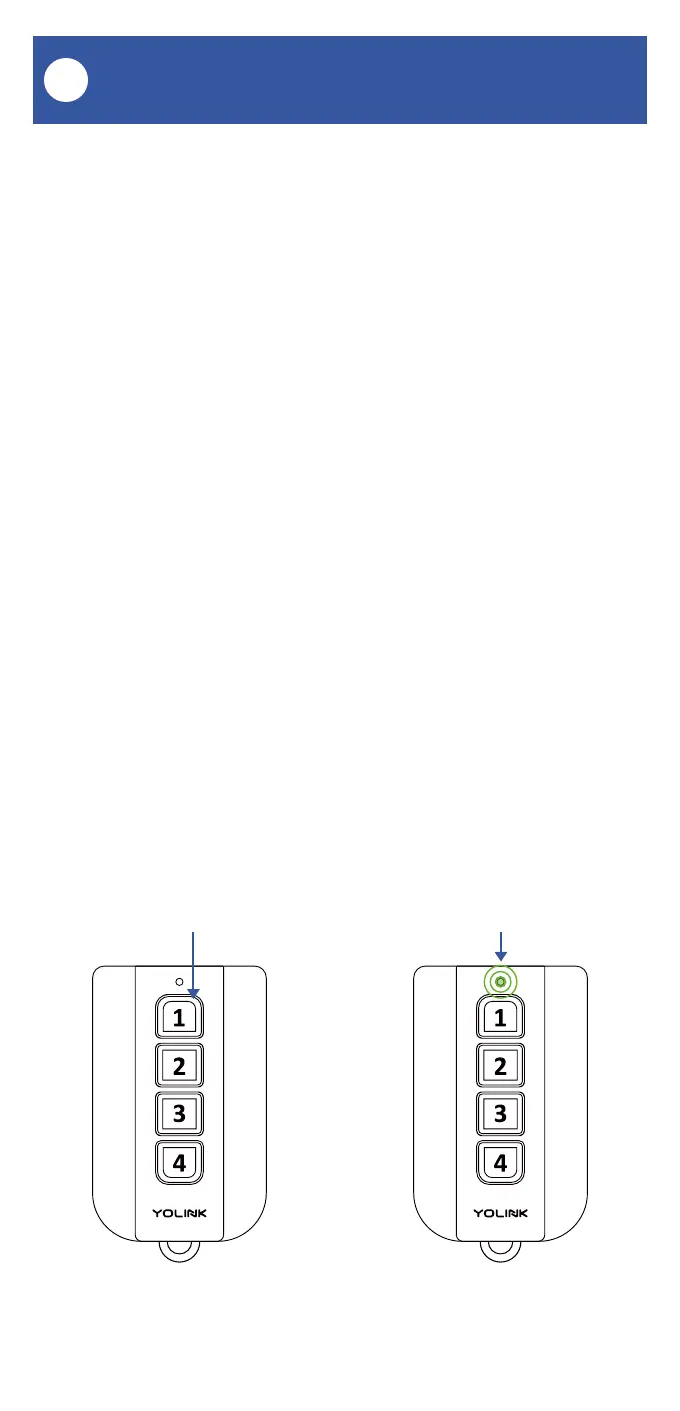
1. On the FlexFob, select a button. Press and
hold this button for 5 to 10 seconds, until the
LED flashes green, then release the button.
Until the LED Flashes GreenPress for 5-10 Seconds
FlexFob Settings: Control-D2D
Q