COUNTER-CLOCKWISE as tightly as possible with the #28 and #65 Multifunctional
Wrench.
NOTE:
*The Pedals are marked "L" and "R" for Left and Right. Be sure to attach Pedals on the
proper side of the Bike. Orientation is based from a seated position on the bike.
*The threads for pedals and cranks will be damaged if the install directions are not
following above instructions.
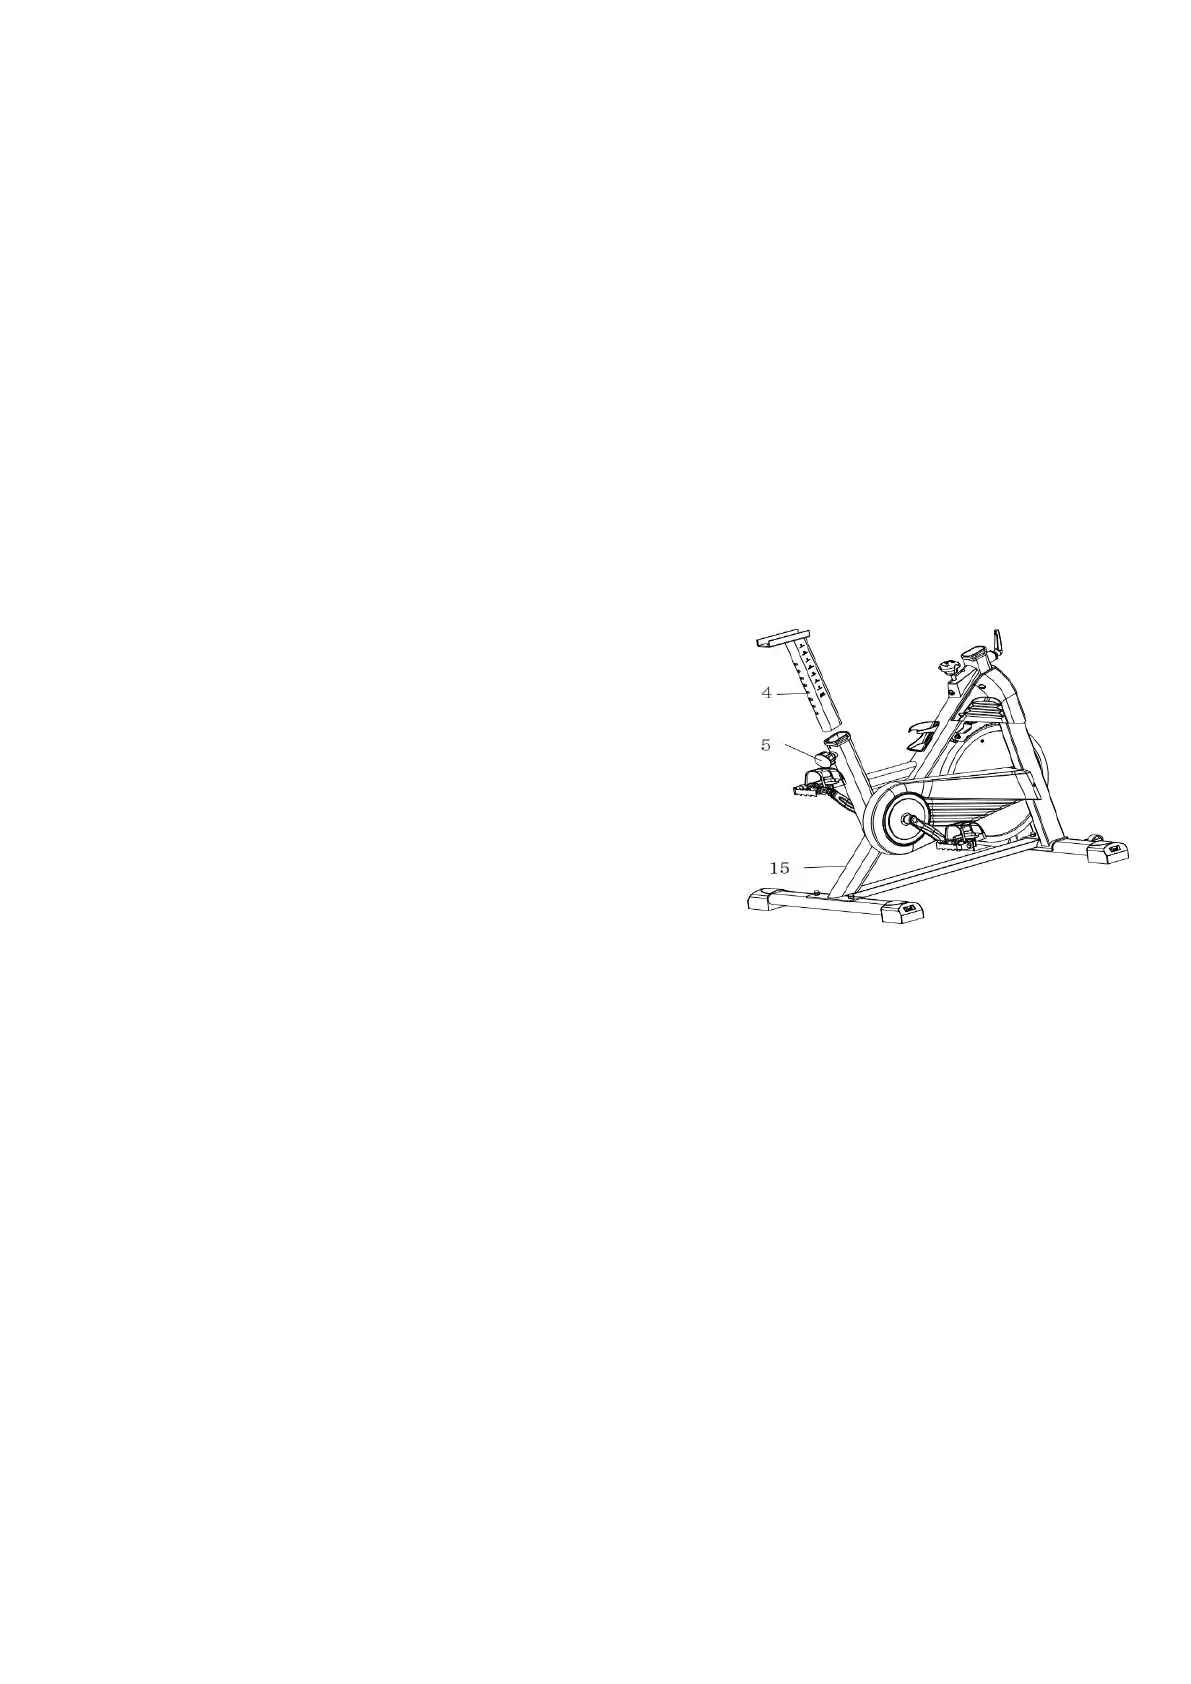
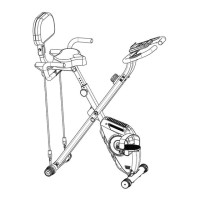
STEP3. Install the Adjustable Seat Post
Required parts:
#4-Seat Post
#5-Adjustment Pull Pin
#15-Main Frame
1. The #5-Adjustment Pull Pin holds the seat at the correct height. The pull pin aligns the
height with a hole in the #4-Seat Post.
2. Unscrew #5-Adjustment Pull Pin counter-clockwise until you can pull on it and the seat
tube is clear to insert #4-Seat Post.
3. Insert #4-Seat Post into the seat tube of #15-Main Frame while pulling the #5-
Adjustment Pull Pin to allow it in.
4. Adjust the seat height to a suitable location and release the pin into the closest notch
hole and screw down clockwise to tighten.