AC Power Cable
Preparations
The exterior cover must be removed prior to proceeding. (980428-101)
For best results, the detach the power supply from the printer bottom. (Procedure 980428-103)
Tools:
5/16 in. Nut Driver, #1 Phillips Screwdriver
980428-108 Rev. 1 Prelim. 23
Removal & Replacement
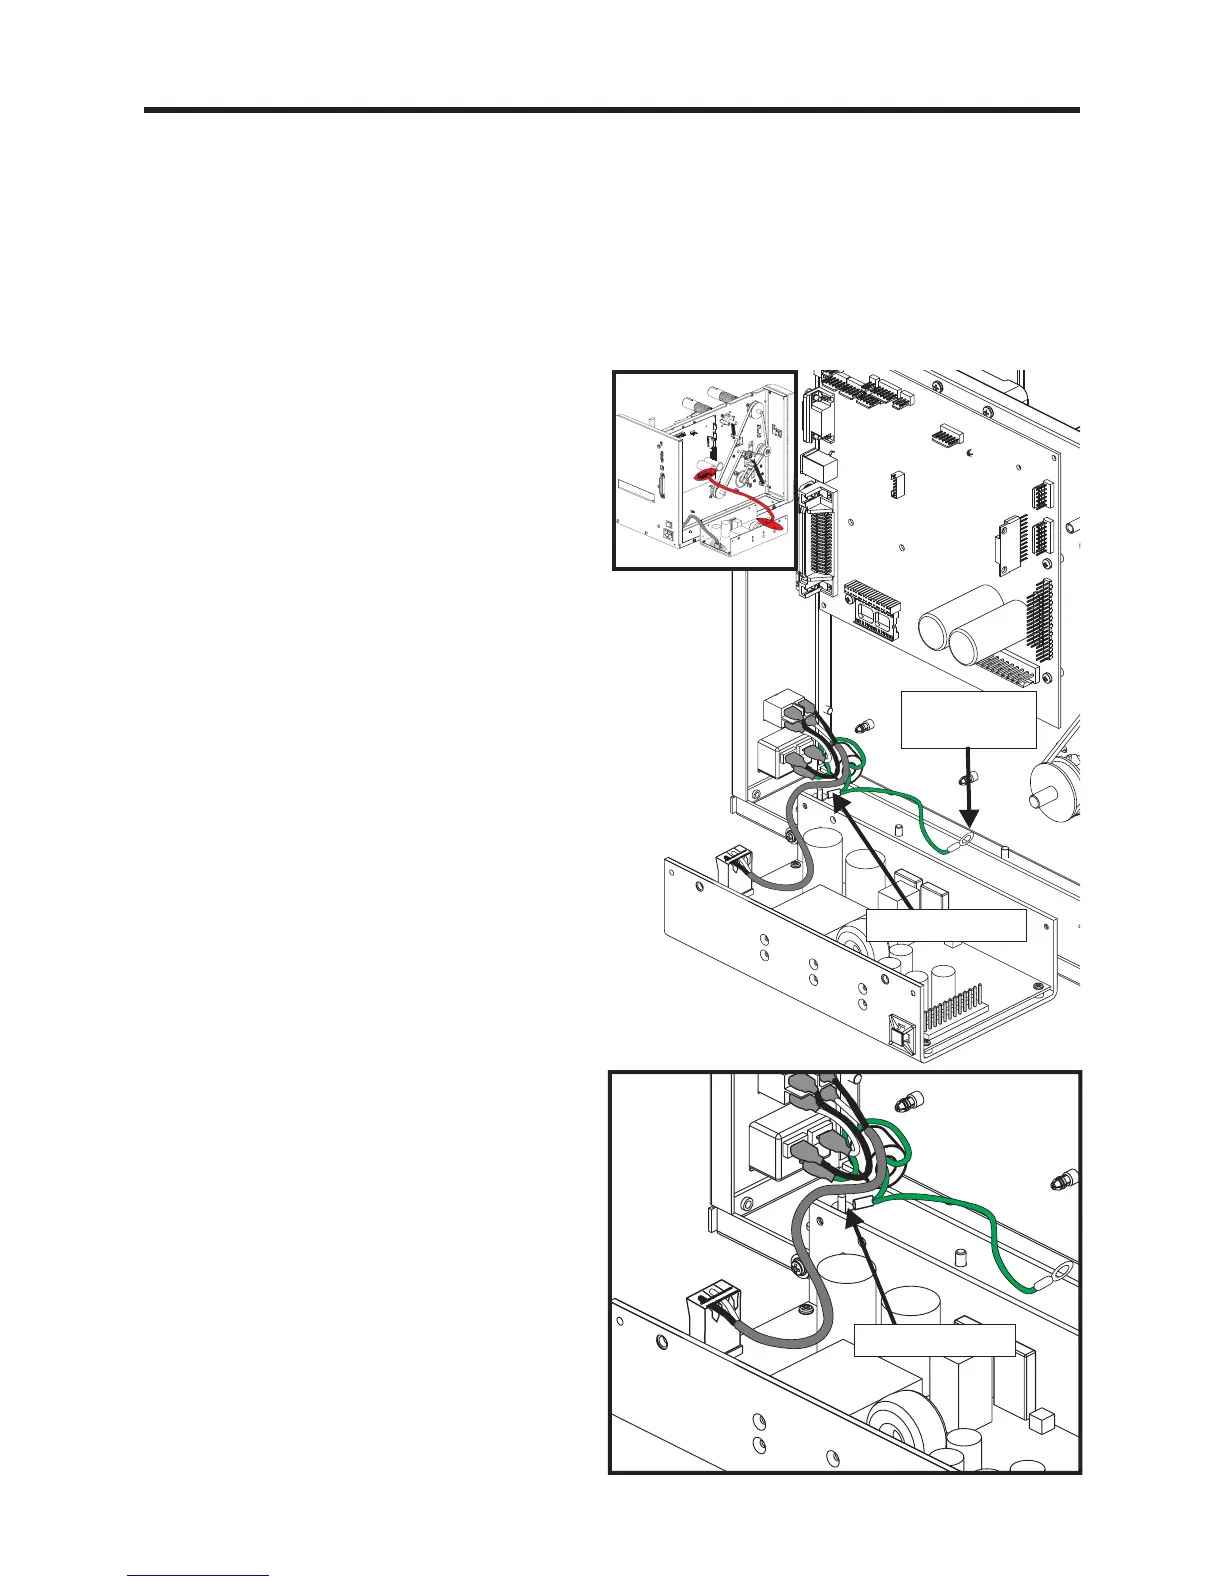
1. After the power supply is laying on its side
next to the printer, disconnect the AC power
cable’s connector from the power supply.
2. With a nut driver, disconnect the green
ground wire from the printer’s bottom
panel.
3. Remove and immediately replace the
individual AC cable components from the
AC Power Cable spares kit.
4. Important - Attach the chassis ground to
the bottom panel of the printer in the
following order: 1) Star Washer 2) Ground
wire and lug (½ inch from toroid) 3) Star
Washer 4) Nut.
Tighten the nut to 7.5 ±2 in. Lb. torque.
5. Re-attach the AC power cable to the power
supply.
6. Re-attach the power supply. See procedure
980428-009, note the power supply ground
and cable tie points.
Important - Re-attach the ground wire to
the power supply in the following order:
1) Star Washer 2) Ground wire and lug
(from toroid) 3) Star Washer 4) Screw.
Tighten the nut to 7.5 ±2 in. Lb. torque
Chassis Ground
Chassis Ground
Power Supply
Ground
 Loading...
