2. Printer Setup & Installation
1. USB: Connect the Zebra label printer to your PC/Mac using an USB cable and power it on.
Windows/OSX will automatically install the required driver. No additional driver installation is
required.
LAN (if supported): Connect the Zebra label printer to your local network (LAN) using a network cable and
power it on. Make sure your network is configured to automatically assign IP addresses (DHCP) or refer to
your printer manual for instructions on how to manually configure your printer’s IP address.
2. Download the Zebra Browser Print application:
For Windows, download:
https://zebra.sharepoint.com/:u:/s/ZXT-
CustomSolutions/EZAozrF4xMNPqYs5ObdNroMBw1i1tLQ1sqH0hb-w2dfxEw?e=XgRiea
For Mac, download:
https://zebra.sharepoint.com/:u:/s/ZXT-CustomSolutions/EbLNGPvPvTBAjVj0f0-
cblMBwHWyFGrKLKo5PG4zVQMrxw?e=fa0wmZ
(Complete the “Browser Print Request Form” and accept the “End User License Agreement”.)
3. Install Zebra Browser Print and run the application
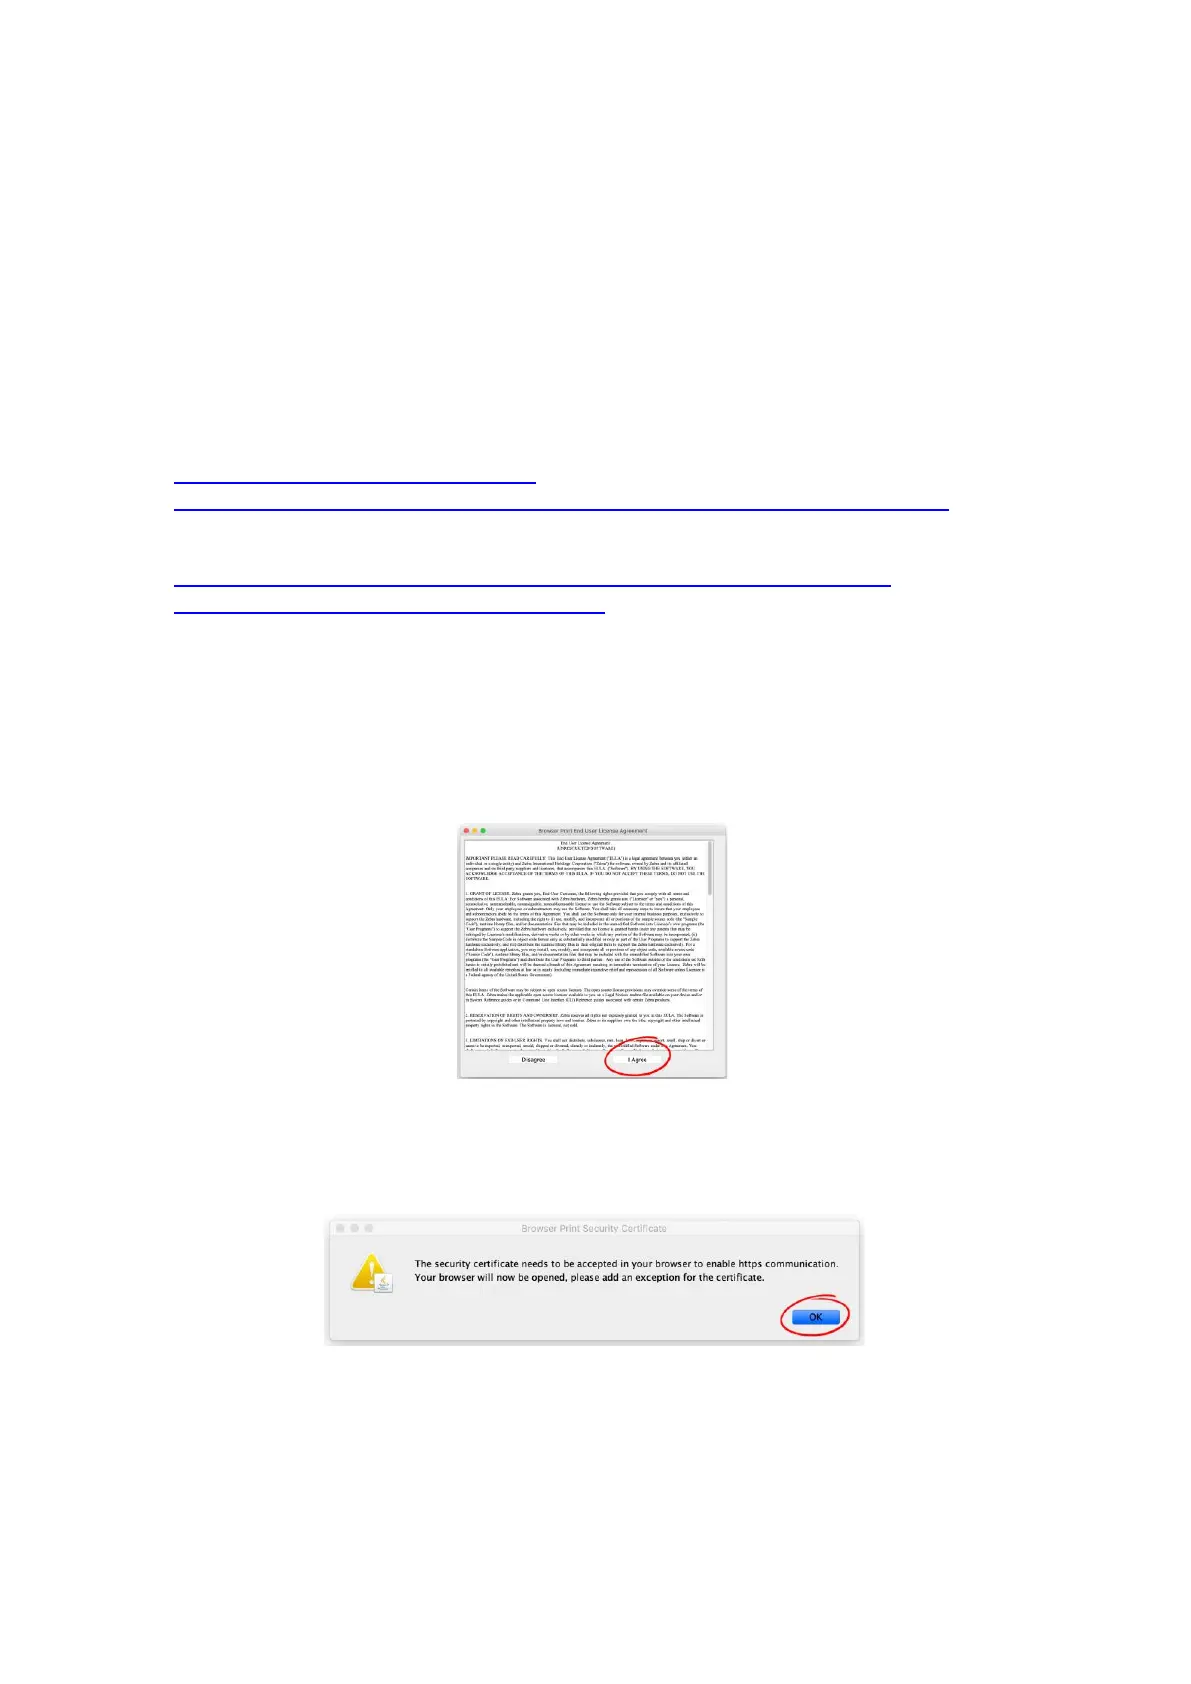
3.1. When prompted, accept the “Browser Print End User License Agreement”.
3.2. To enable secure communication between your printer and browser, a security exception
needs to be added to your browser. When prompted, click OK.
3.3. Depending on your browser (Chrome was used in this example) you will be shown a security
warning. Click “Advanced” and “Proceed to localhost”.
 Loading...

