3D Microscopy
Monitor version Axiovert 100/135/135 M
26 B 40-022-4 e 09/98
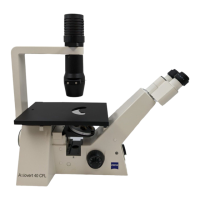
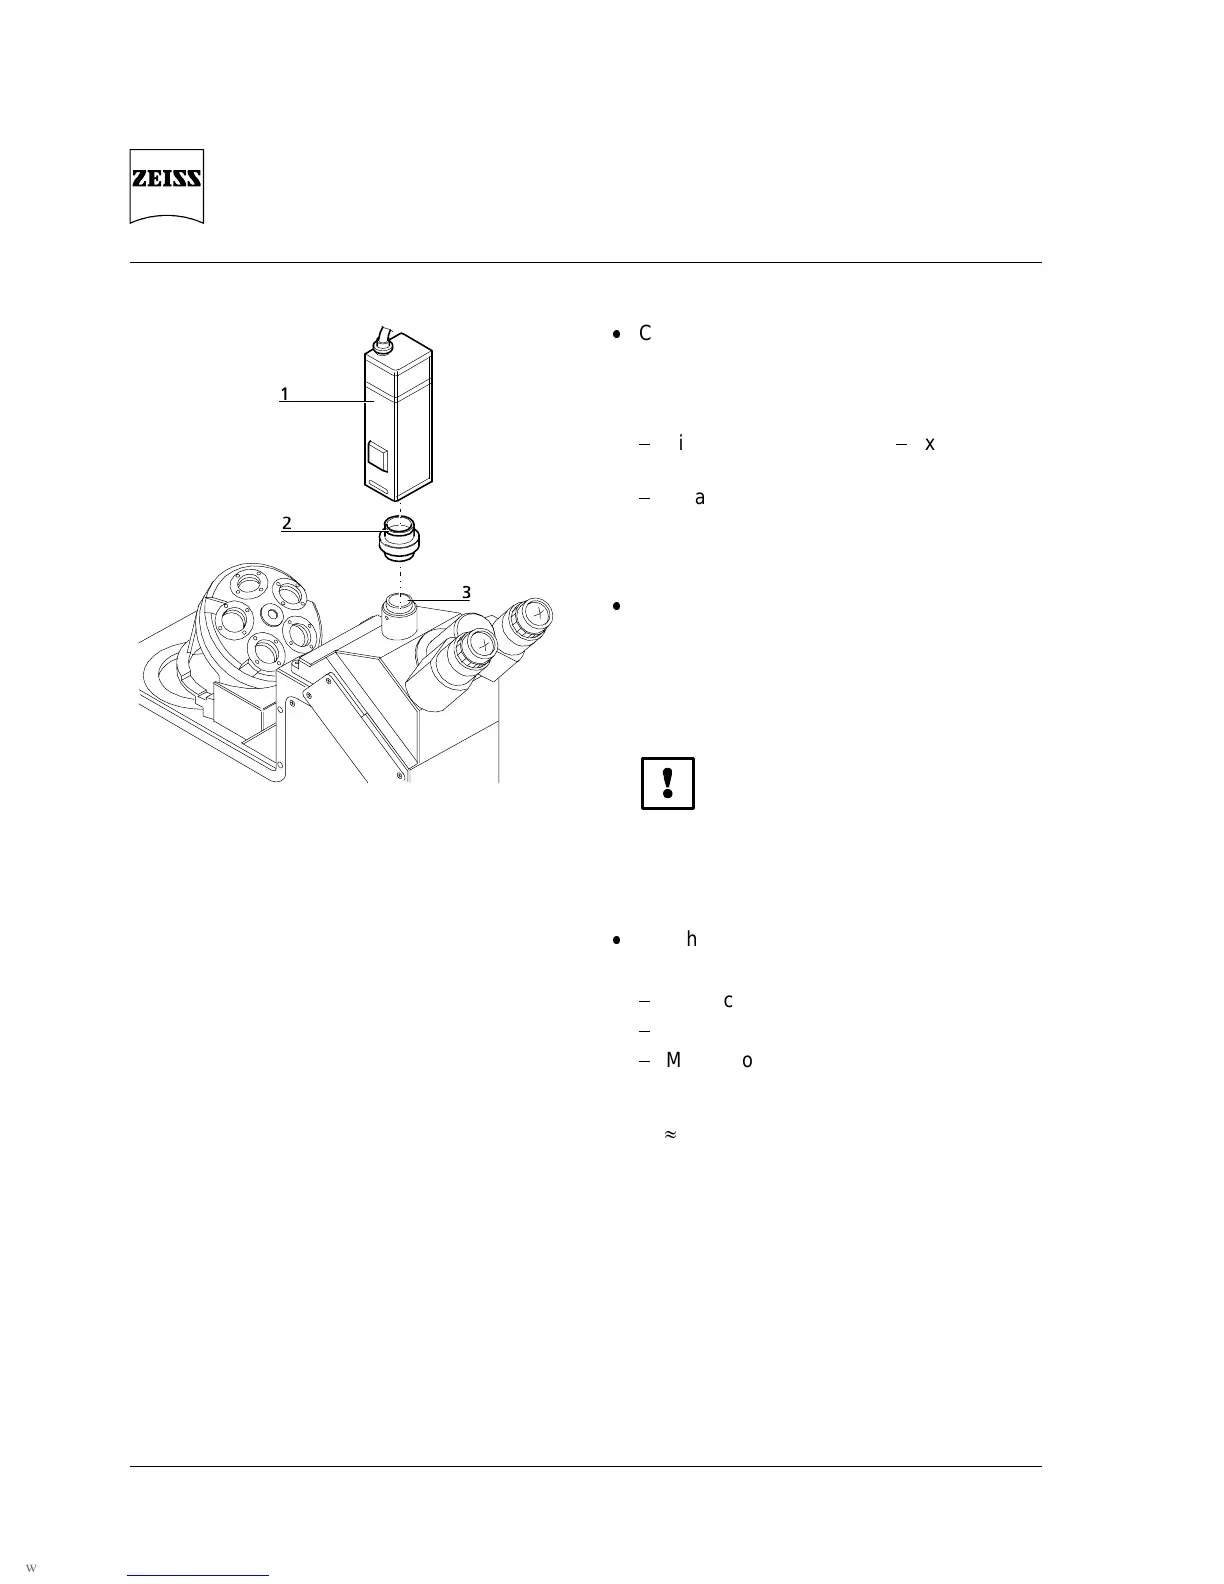
1 Camera
2 Adapter
3 Phototube
Fig. 12 Attachment of camera
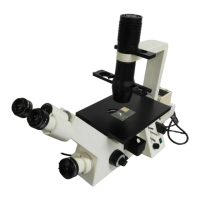
Connect camera to phototube via
instrument-specific video adapter or video
zoom;
the following adapters are recommended:
Video zoom adapter 0.4x
2x
with C-mount
TV adapter 1x for chip camera
with C-mount
Fig. 12
Push 3D illumination shutter in the recess
provided in the condenser of the
Axiovert 100/135, close to the aperture
diaphragm:
Fig. 4
Do not touch the polarizing foil, since it can
be easily scratched.
Switch components on in the following
order:
microscope
monitor
MCU II control unit
Running-up time of the monitor shutter:
3 min