Install the MXK
52 MXK Hardware Installation Guide
5 Replace the clear protective and mounting screws.
6 Using 10 AWG wire, secure the grounding lug to the chassis and the other
end to a single point building ground. Tighten the nut using a suitable
torque driver to 12 ± 1 inch-lbs (1.3 ± 0.1 N·m).
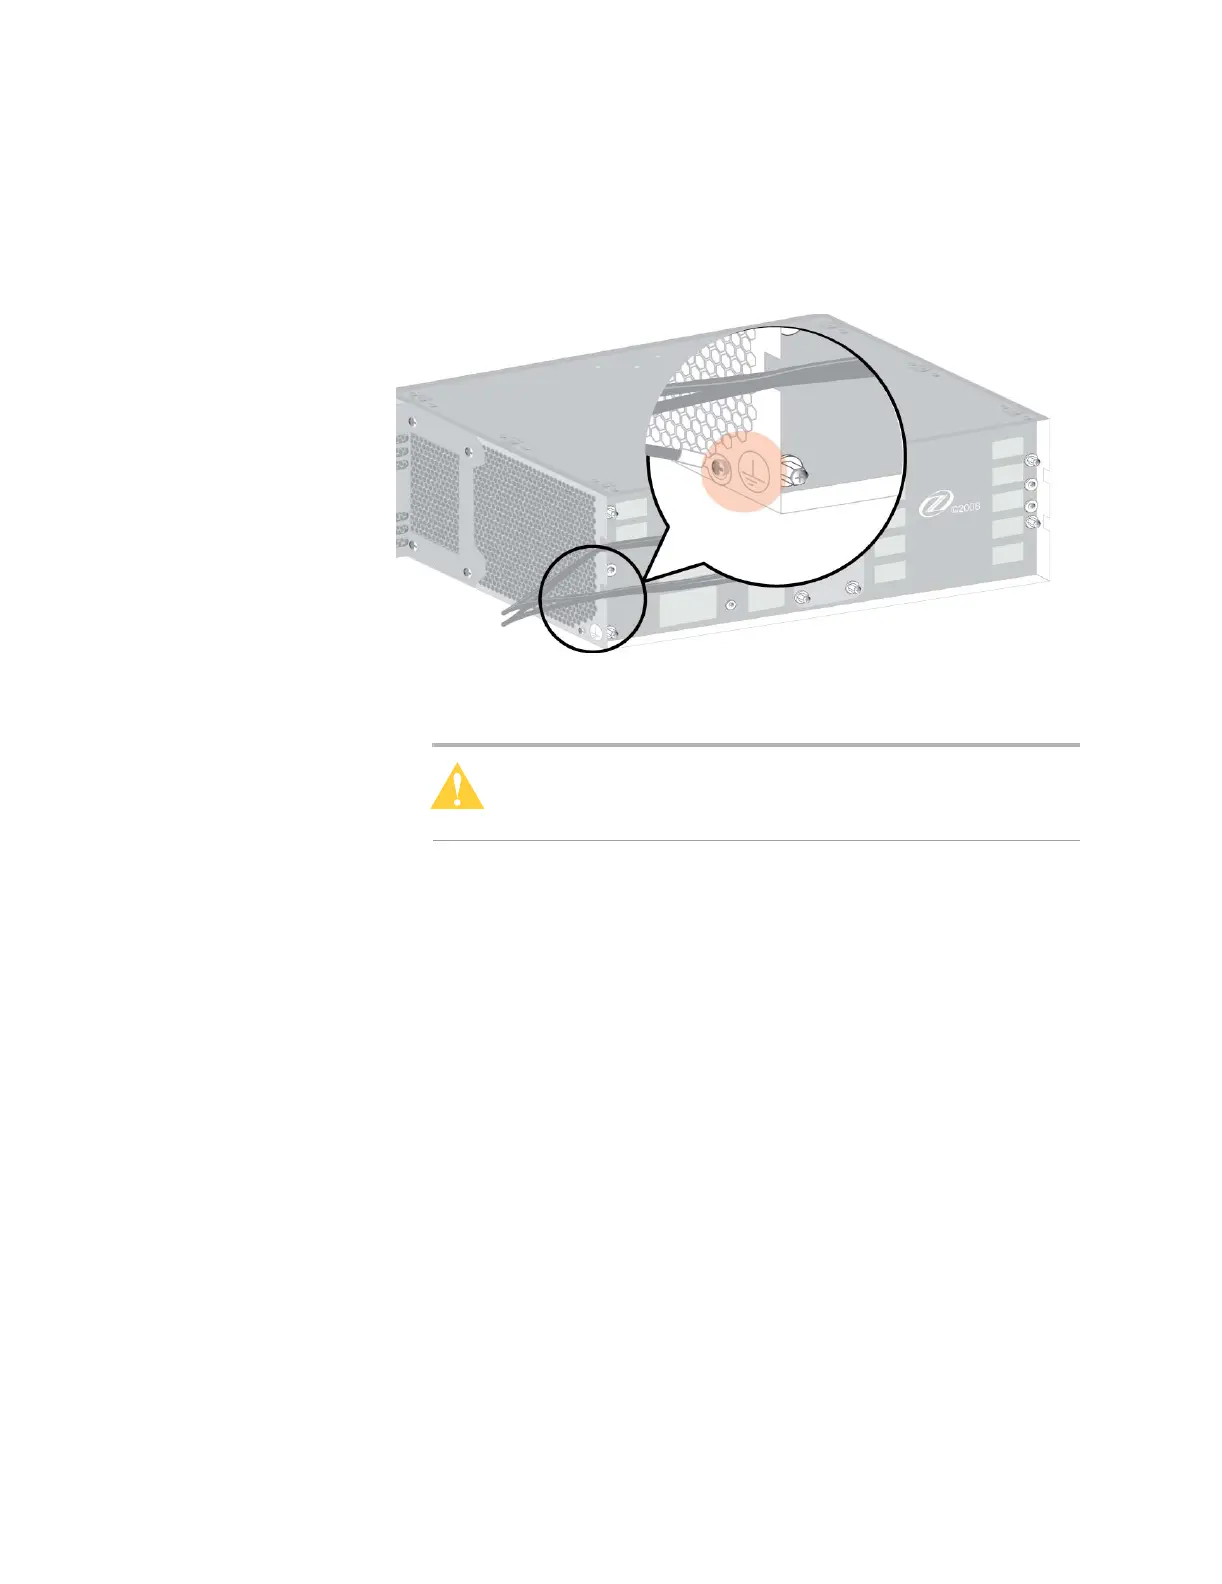
Figure 26: Grounding the MXK 319
7 To verify proper grounding, please see Verifying proper grounding
between the chassis and the rack, page 52.
Caution: This procedure is service affecting and requires that
ground be isolated from the equipment. Perform this procedure
during a maintenance window.
8 Turn on the power to power supply A (and to power supply B, if present),
using 30 A (maximum) fuses.
The system is now live and ready to initialize the slot cards as they are
installed.
Verifying proper grounding between the chassis and the
rack
Proper grounding reduces the effect of line surges and limits the voltages and
RF interference that may affect communication among network devices.
1 Test the impedance from the grounding cable or bar (point 1 in the
graphic) to the rack (point 2 in the graphic)