ES3, ES4 & ES6 Instructions. V1.06 Page 8 August / 2014
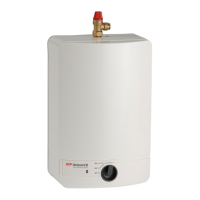
Fig. 2
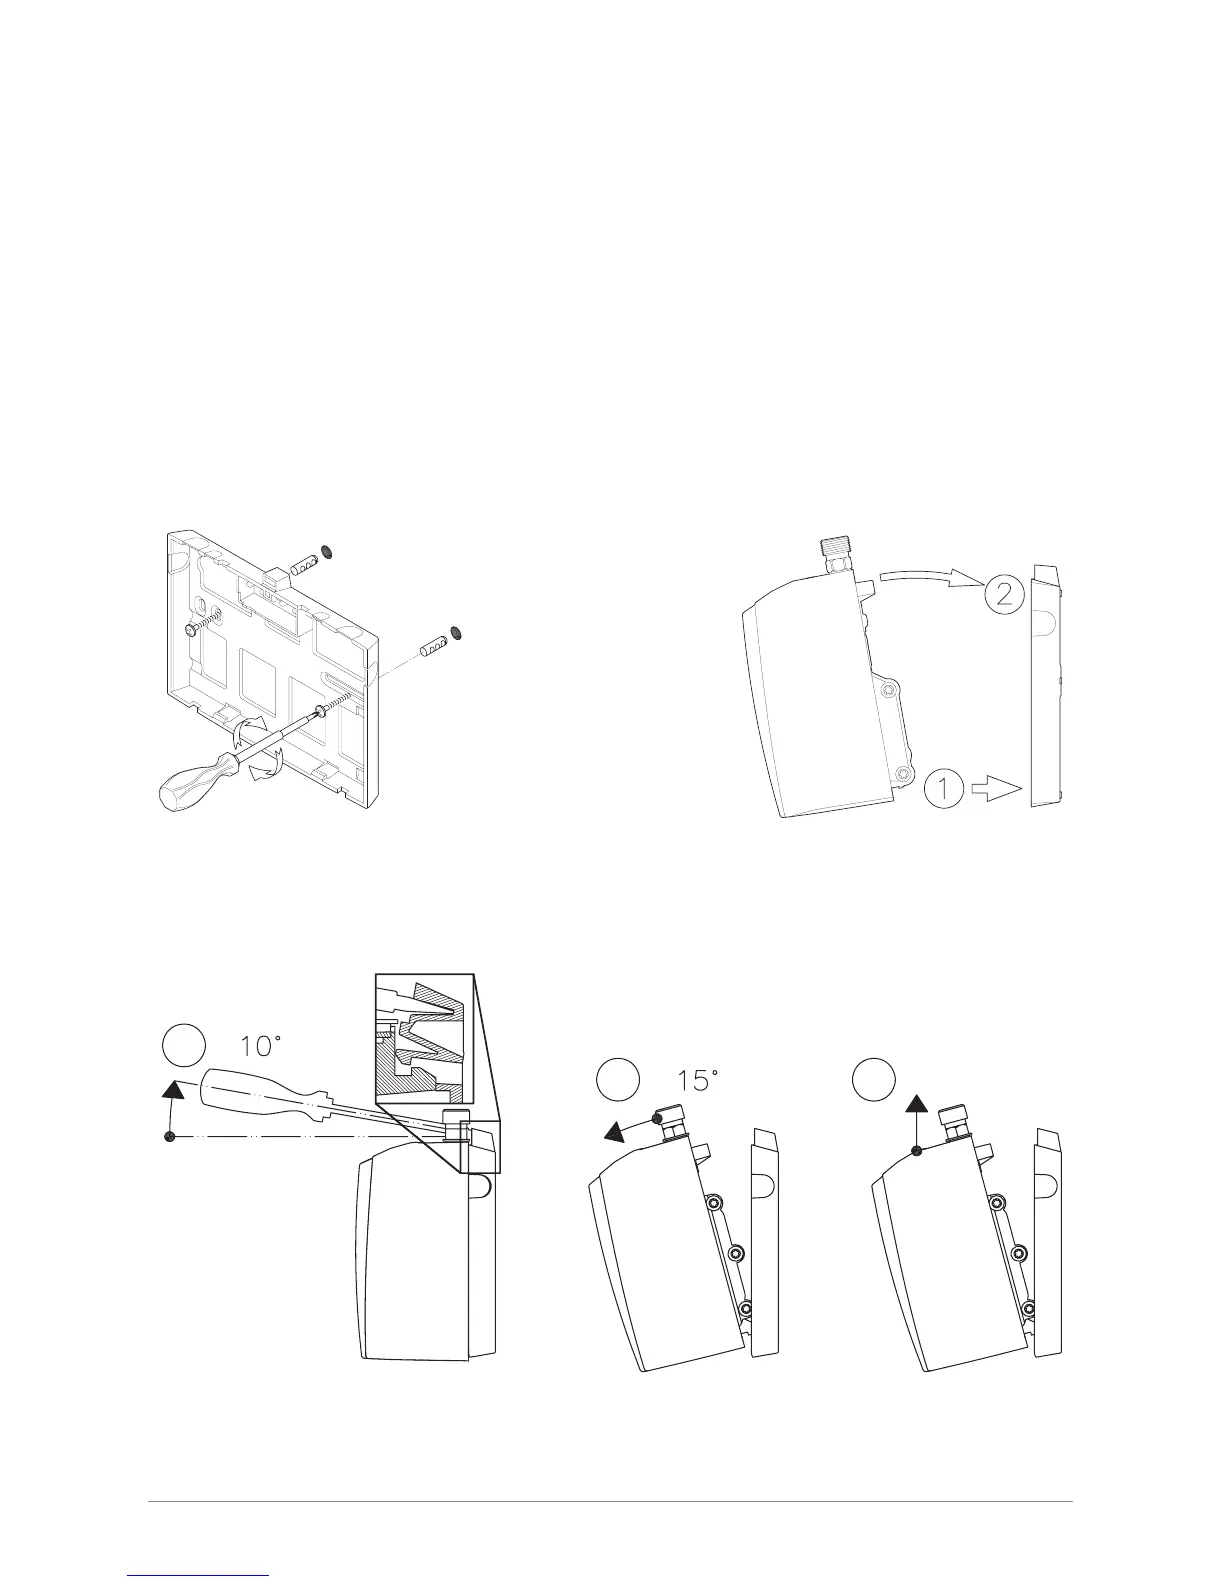
Installing the appliance
1. Secure the wall bracket to the wall with screws and wall plugs supplied (Fig. 1).
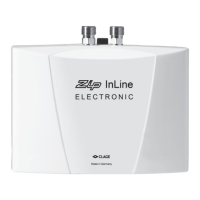
2. Place the appliance on the wall bracket and snap into position (Fig. 2).
Note! This appliance is intended for under sink installation with the water connections
pointing vertically upwards.
Fig. 1
Drill size Ø 7mm.
Use the mounting
bracket as a guide for
xing marks.
Drilling width variable:
100mm minimum to
145mm maximum.
To remove the appliance from the wall bracket.
Put the at screwdriver tip into the interlock between the water connections unil it stops and lift
it slightly upwards (Fig. A), tilt the appliance forward by max. 15° (Fig. B) and remove it upwards
(Fig. C).
A
B
C