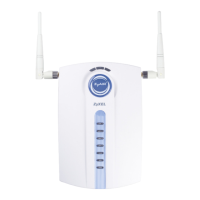
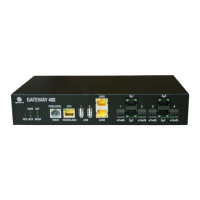
Gateway 400 User Guide | Setup
20
4Setup
4.1 Computer Settings
Check the LAN settings of your computer to automatically connect your computer to the Gateway
400 via the network connection using DHCP. Please refer to Chapter 1.4, page 10.
4.2 Carrier Detection
You can use the Automatic area configuration for the initial startup of the Gateway 400; it is initi-
ated automatically immediately after switching on the Gateway 400. The message “The carrier de-
tection is in process“ will appear in the Overview screen dialog of the Gateway 400. This indicates
that your Internet connection is being configured automatically and should be available after a
maximum of 5 minutes. Alternatively, the Gateway 400 can also be preconfigured individually by
the ISP (depending on the procurement source).
Carrier detection can also be started manually. In this case, you can use any computer with a current
web browser:
1. Connect the computer to the LAN 1 socket on the Gateway 400.
2. Start your web browser and enter http://sphairon.box in the address line.
You can also enter
http://192.168.100.1 for a network connection via the LAN 1 socket, or http://192.168.200.1
for a network connection via the LAN 2 socket.
3. You are now prompted to enter the access credentials. The factory defaults are as follows:
Access name: admin
Password: admin
4. The start screen dialog of the Gateway 400 user interface is displayed.
Click on the System | Protocol Stack menu item
5. In the Protocol Stack screen dialog, click the Carrier Detection button.
Note
You can cancel the Automatic carrier detection via the Overview menu item.
Note
It is recommended to first configure the network settings (Chapter 5.8.1, Protocol Stack,
on page 39) and then the device services to avoid duplicating the configuration effort.
 Loading...